Honey Garlic Chicken
Honey Garlic Chicken That Actually Caramelizes (Not Just Simmers)
Most honey garlic chicken recipes give you a thin, watery sauce that never quite grips the meat. The fix isn’t more cornstarch, it’s cooking the sauce down separately while the chicken rests, then finishing everything together in a hot pan for the last two minutes. That’s the difference between a glaze that clings and one that pools at the bottom of the plate. This version uses bone-in thighs for flavor, though boneless works fine if you’re short on time, and the sauce hits a real caramelization point instead of just tasting sweet.
Why This Honey Garlic Chicken Holds Up Better Than Most Versions
The sauce reduces on its own before it touches the chicken, so you control exactly how thick it gets instead of guessing while the meat is also cooking.
Fresh garlic goes in twice: once early for depth, once at the very end raw, so you get both the mellow cooked flavor and a sharp bite that fried garlic alone doesn’t give you.
Skin-on thighs render their own fat, and that fat gets used to fry the garlic, so nothing here is wasted and the pan never needs extra oil.
A splash of rice vinegar right before serving cuts the sweetness so the dish doesn’t taste like candy by the third bite, which is the most common complaint about honey garlic recipes.
You can make the full sauce three days ahead and just reheat it with fresh-cooked chicken, which makes this workable for a weeknight even though the ingredient list looks long.
Quick Information
Prep time: 10 minutes. Cook time: 25 minutes. Total time: 35 minutes. Servings: 4. Difficulty: Easy. Calories: about 410 per serving. The tool that matters most here is a heavy skillet that holds heat, since a thin pan will scorch the honey before the chicken finishes cooking. Good for a weeknight dinner over rice.
Ingredients
For the chicken:
- 8 bone-in, skin-on chicken thighs (about 2.5 lbs), patted completely dry
- 1 teaspoon salt
- 1/2 teaspoon black pepper
- 1 tablespoon cornstarch
Patting the thighs dry matters more than people expect. Any surface moisture steams the skin instead of browning it, and you lose the crisp base the sauce needs to stick to.
For the sauce:
- 1/3 cup honey
- 1/4 cup low-sodium soy sauce (use tamari for a gluten-free version, the flavor shifts slightly sweeter)
- 6 garlic cloves, minced and divided
- 1 tablespoon fresh ginger, grated
- 2 tablespoons rice vinegar, divided
- 1/2 cup chicken broth
- 1 teaspoon toasted sesame oil
- 2 green onions, thinly sliced, for finishing
The honey is doing more than sweetening here. As it reduces with the soy sauce, the sugars start to caramelize around 235 to 240°F, which is what gives the finished glaze its color and slight stickiness instead of a flat, syrupy texture. If you swap in maple syrup, the sauce won’t caramelize the same way and you’ll need an extra 2 to 3 minutes of reduction time to compensate.
You may also like: swedish meatballs
Recipe Timing
Prep: 10 minutes. Cook: 25 minutes. Rest: none required. Total: 35 minutes. Servings: 4. Difficulty: Easy. Cuisine: Asian-American. Course: Main dish.
Allergen and Dietary Disclosure
This recipe contains soy (from the soy sauce) and sesame (from the sesame oil). For a soy-free version, coconut aminos work as a substitute, though the sauce will taste noticeably sweeter and you should cut the honey by a tablespoon to balance it. Sesame oil can be left out entirely with no real loss to the dish, it’s there for aroma more than function.
Equipment Needed
A heavy stainless or cast iron skillet, at least 12 inches, holds heat evenly enough that the sauce won’t scorch while reducing. A small saucepan for the sauce itself. A microplane or fine grater for the ginger, since coarsely grated ginger leaves stringy bits in the finished sauce. Tongs for turning the chicken without tearing the skin. A meat thermometer takes the guesswork out of doneness, since color alone can lie on dark meat.
Nutrition Information
Calories: 410 per serving. Protein: 32g. Carbs: 24g. Fat: 20g. Fiber: 0g. Sugar: 21g. Sodium: 640mg. Serving size: 2 thighs with sauce. Servings per recipe: 4. This dish is a solid protein source for the calorie count, though the sugar content runs higher than most weeknight chicken dinners because of the honey. These numbers are estimates based on standard USDA nutrition data and will vary depending on exact brands used, not a substitute for a nutrition label or lab analysis.
Why the Sauce Actually Thickens (And Most Recipes Don’t Explain This)
Honey is roughly 80% sugar, and sugar syrups thicken through evaporation, not through starch alone. When you simmer the honey and soy sauce mixture uncovered, water cooks off and the remaining liquid gets more concentrated by the minute. That’s why rushing this step with high heat backfires: the outside reduces fast while the center is still thin, and you end up with a sauce that looks done but breaks apart into a puddle once it hits a hot pan.
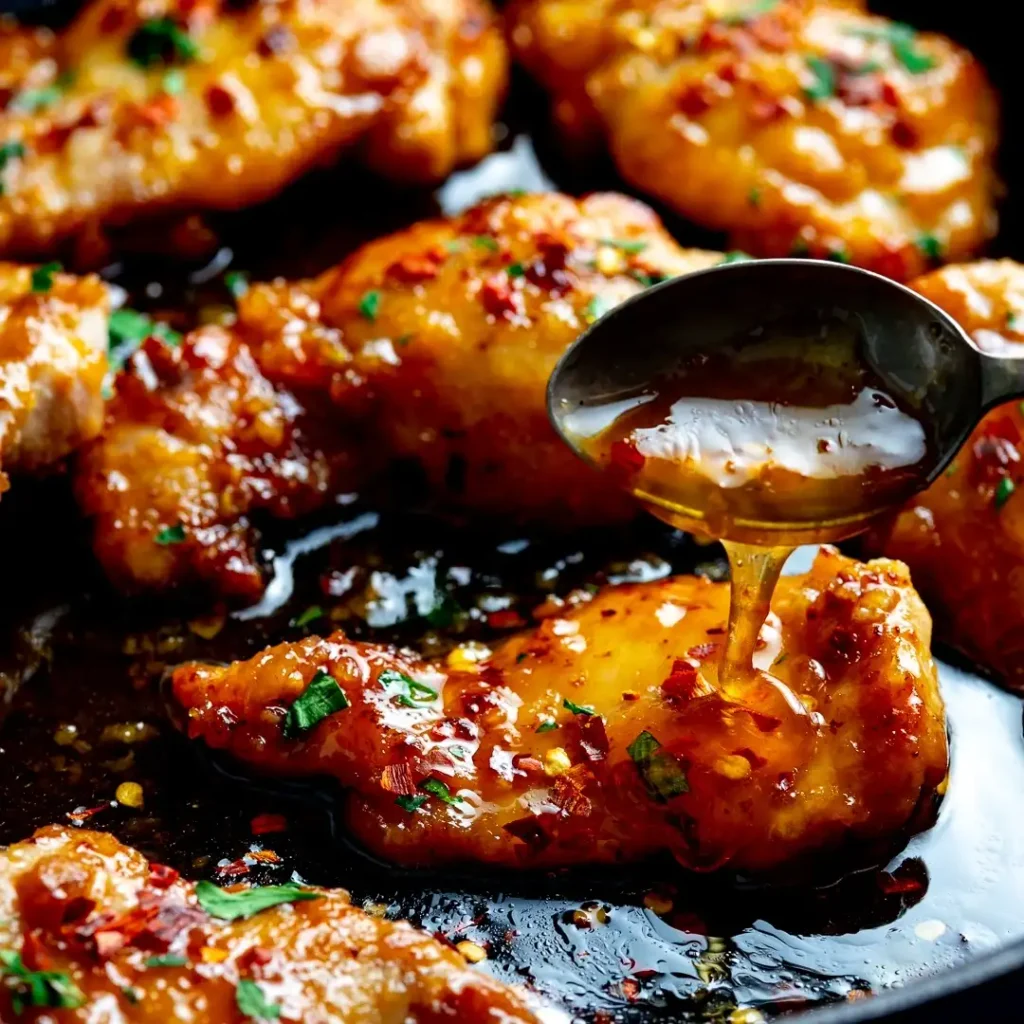
A small amount of cornstarch on the chicken itself, not in the sauce, gives you a second layer of thickening exactly where you want it: clinging to the meat rather than diluted through the whole pan.
Preparation
Take the chicken out of the fridge about 15 minutes before cooking so it comes closer to room temperature, which helps it brown more evenly. Mince the garlic and divide it into two portions, roughly two-thirds for the sauce base and one-third to add raw at the end. Grate the ginger. Measure out the sauce ingredients into separate small bowls so you’re not fumbling with measuring cups once the pan is hot.
Step-by-Step Method
- Season the chicken thighs with salt and pepper, then dust the skin side lightly with the cornstarch, pressing it in so it sticks. Skip this step and the skin won’t hold the glaze later.
- Heat the skillet over medium-high with no added oil, skin side down first. The thighs release enough fat on their own within the first 2 minutes to prevent sticking.
- Let the skin sit undisturbed for 7 to 8 minutes, checking only once around the 5-minute mark. You’re looking for a deep amber color and skin that releases easily from the pan without tugging, a sign it’s actually rendered rather than just browned on the surface.
- Flip the thighs and cook the second side for another 6 minutes, until an instant-read thermometer reads 175°F at the thickest part near the bone. Chicken thighs are more forgiving than breasts, but pulling them at exactly 165°F still leaves the meat slightly tighter in texture than letting it climb those extra 10 degrees.
- Transfer the chicken to a plate and tent loosely with foil. Don’t skip the rest, even though it’s tempting to keep moving, since the juices redistribute during these few minutes instead of running out onto your cutting board later.
- Pour off all but 1 tablespoon of fat from the skillet, keeping the browned bits at the bottom, since that’s where most of the roasted garlic flavor for the sauce is going to come from.
- Add two-thirds of the garlic and the ginger to the residual fat over medium heat. Because the pan is already hot, this takes only 30 seconds, and you’ll smell it turn from sharp to fragrant almost immediately, that’s your cue to move fast before it burns.
- Pour in the honey, soy sauce, and 1 tablespoon of the rice vinegar, scraping up the browned bits as the liquid hits the pan. Raw meat juices were on this pan minutes ago, so let the sauce come to a full simmer for at least 1 minute before tasting or adjusting anything.
- Add the chicken broth and reduce the heat to medium-low, letting the sauce simmer uncovered for 8 to 10 minutes. You want it reduced by roughly half, thick enough to coat the back of a spoon and hold a line when you drag a finger through it.
- Return the chicken to the skillet skin side up, spooning sauce over the top, and let it cook together for 2 more minutes so the glaze sets slightly against the hot skin instead of sitting wet on top.
- Off the heat, stir in the remaining raw garlic, the last tablespoon of rice vinegar, and the sesame oil. This late addition is what keeps the dish from tasting one-note sweet, since raw garlic and vinegar both cut through the honey in a way that cooked additions can’t.
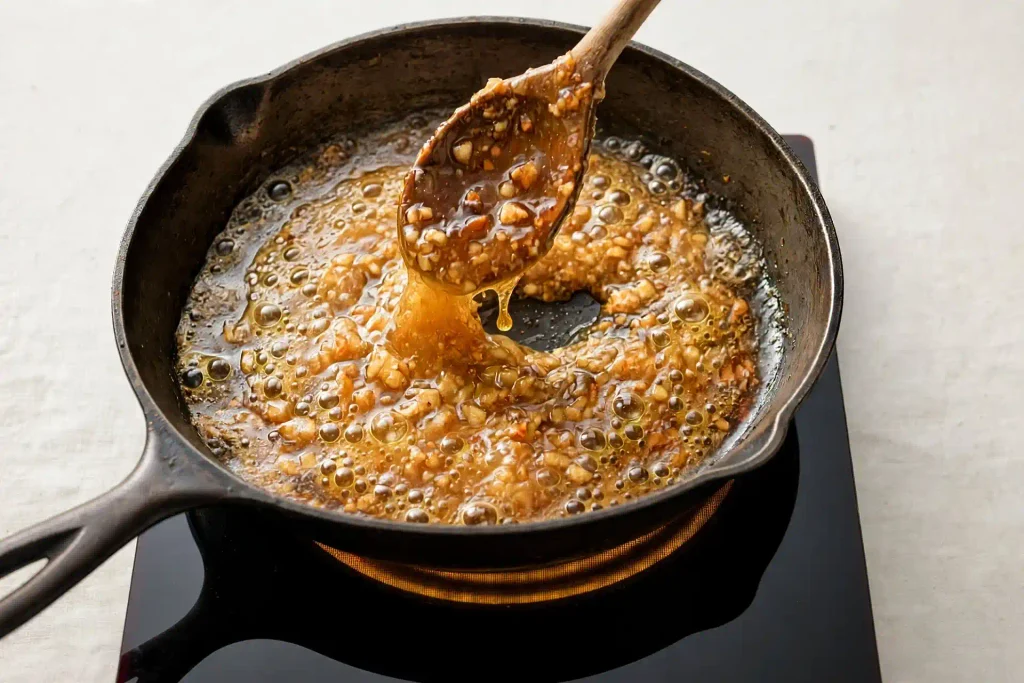
Chef’s Note: If your sauce isn’t thickening after 10 minutes, your heat is probably too low. Bump it up slightly rather than extending the cook time, or you’ll lose more moisture than sugar concentration and end up with a sauce that’s just thinner and saltier.
Chef’s Note: Bone-in thighs release more collagen into the pan drippings than boneless, which gives the sauce a slightly richer mouthfeel you won’t get with boneless cuts. Not a dealbreaker if that’s what you have, just worth knowing.
Chef’s Note: Adding raw garlic at the very end isn’t a garnish choice, it changes the flavor profile measurably. Cooked garlic mellows into sweetness; raw garlic added off heat still carries its sharp, slightly peppery bite.
You may also like: marry me chicken
Expert Tips & Tricks
You can make the sauce up to 3 days ahead and store it in the fridge, then just reheat it gently in the skillet with freshly cooked chicken, saving most of the active cooking time on a weeknight.
Leftovers keep in an airtight container in the fridge for up to 4 days. The sauce thickens further once cold, so add a splash of water or broth when reheating to loosen it back up.
If your chicken skin isn’t crisping, check that the pan was actually hot before the chicken went in. A cold start steams the surface instead of searing it, no matter how long you cook after that.
Swapping breasts for thighs works, but drop the initial sear time to about 5 minutes per side and pull the chicken at 165°F, since breast meat dries out fast past that point.
A cast iron skillet holds residual heat longer than stainless, which means the sauce keeps reducing slightly even after you turn off the burner, worth accounting for if you’re timing things closely.
Doubling the sauce recipe and freezing half in a small container gives you a shortcut for a second dinner without doubling the whole cooking process.
Common Mistakes & Troubleshooting
Sauce stays thin no matter how long it simmers. This usually means the heat is too low to actually evaporate liquid, just keeping it warm instead of reducing it. Raise the heat to a steady simmer, not a boil, and give it the full 8 to 10 minutes uninterrupted.
Chicken skin turns rubbery instead of crisp. Almost always caused by flipping too early. Give the skin its full undisturbed time and it will release from the pan on its own when it’s ready; forcing it early tears the crisped layer off.
Sauce tastes flat and one-dimensional. This happens when all the garlic goes in early and cooks all the way through. Reserve that final third raw, added off heat, to bring back the brightness that long cooking strips out.
Garlic burns and turns bitter. The pan is usually too hot when the garlic goes in, or it sits too long before the liquid follows. Have the honey and soy sauce measured and ready to pour in within 30 seconds of the garlic hitting the pan.
Chicken is done on the outside but sauce hasn’t reduced enough. Pull the chicken out to rest while the sauce keeps reducing on its own; there’s no reason both have to finish on the same timeline.
Honest Trade-Off
This method takes about 10 minutes longer than versions where you just dump everything in one pan and simmer it together, because the sauce reduces separately. If you’re genuinely pressed for time on a weeknight, a one-pan version will get you fed faster, just with a thinner, less caramelized sauce. Someone who wants dinner on the table in 20 minutes flat should skip the separate reduction step; someone who wants the glaze to actually cling to the chicken should not.
Storage & Make-Ahead
Refrigerate leftovers in an airtight container for up to 4 days. The chicken and sauce reheat best together in a skillet over medium-low heat with a splash of water, rather than in the microwave, which tends to make the skin soggy.
Freezing works for up to 2 months, though the texture of the chicken skin won’t come back the same after thawing. If you’re planning to freeze, it’s worth making the sauce fresh when you reheat and only freezing the cooked chicken meat itself.
Variations & Substitutions
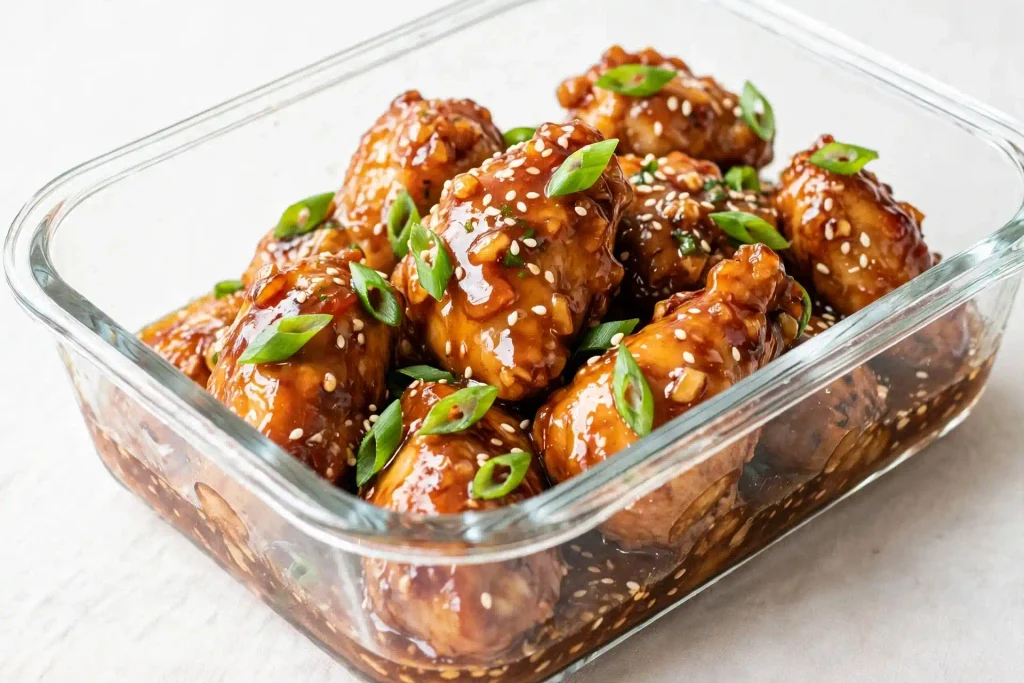
For a spicier version, add 1 teaspoon of red pepper flakes or a tablespoon of chili garlic sauce when the honey and soy sauce go into the pan.
For a milder, kid-friendly version, cut the garlic in half and skip the raw garlic addition at the end entirely, keeping the flavor sweeter and less sharp.
For a vegetarian version, swap the chicken thighs for extra-firm tofu, pressed and pan-fried until golden, and use vegetable broth in place of chicken broth. The sauce reduction time stays about the same.
For a gluten-free version, use tamari instead of regular soy sauce and double-check the broth label, since some brands include wheat-based additives.
You may also like: butter chicken
Serving Suggestions
Steamed jasmine rice is the most obvious pairing, and it’s obvious for a reason, since it soaks up the extra sauce without competing with it. Roasted broccoli or bok choy adds some textural contrast against the sticky glaze. A simple cucumber salad with rice vinegar on the side cuts through the richness of the dish. For drinks, something acidic like iced green tea works better here than anything sweet, since the dish already brings plenty of sugar to the table.
FAQ
Can I make honey garlic chicken ahead of time?
Yes, the sauce holds up well made 2 to 3 days in advance and stored separately in the fridge. Reheat it gently in a skillet, then add freshly cooked chicken so the skin doesn’t lose its texture sitting in sauce overnight.
Why is my honey garlic sauce too thin?
Thin sauce almost always means it hasn’t reduced enough, usually from heat that’s set too low to actually evaporate liquid. Give it a full 8 to 10 minutes at a steady simmer and check for a spoon-coating thickness before pulling it off the heat.
Can I substitute maple syrup for honey in this recipe?
You can, but the sauce won’t caramelize the same way honey does, since maple syrup has a different sugar composition. Add 2 to 3 extra minutes of reduction time to get closer to the same thickness.
How do I know when the chicken thighs are done without a thermometer?
Look for skin that releases cleanly from the pan on its own and juices that run clear when you cut into the thickest part near the bone. A thermometer reading 175°F removes the guesswork entirely, especially since color can be misleading on dark meat.
Is this recipe safe for someone with a soy allergy?
Regular soy sauce contains soy, so this recipe isn’t allergen-free as written. Coconut aminos work as a substitute, though the sauce turns out noticeably sweeter, so cutting the honey by about a tablespoon helps rebalance the flavor.
One Thing Worth Remembering
The reduction step is the entire recipe. Skip it or rush it and you get sweet chicken with wet sauce pooling underneath, technically the same ingredients but a completely different dish. Give the honey and soy sauce mixture its full time in the pan, let it actually thicken before the chicken goes back in, and the glaze will hold onto the meat instead of running off the plate. That’s the one variable that separates this from the version most people end up with on a Tuesday night.
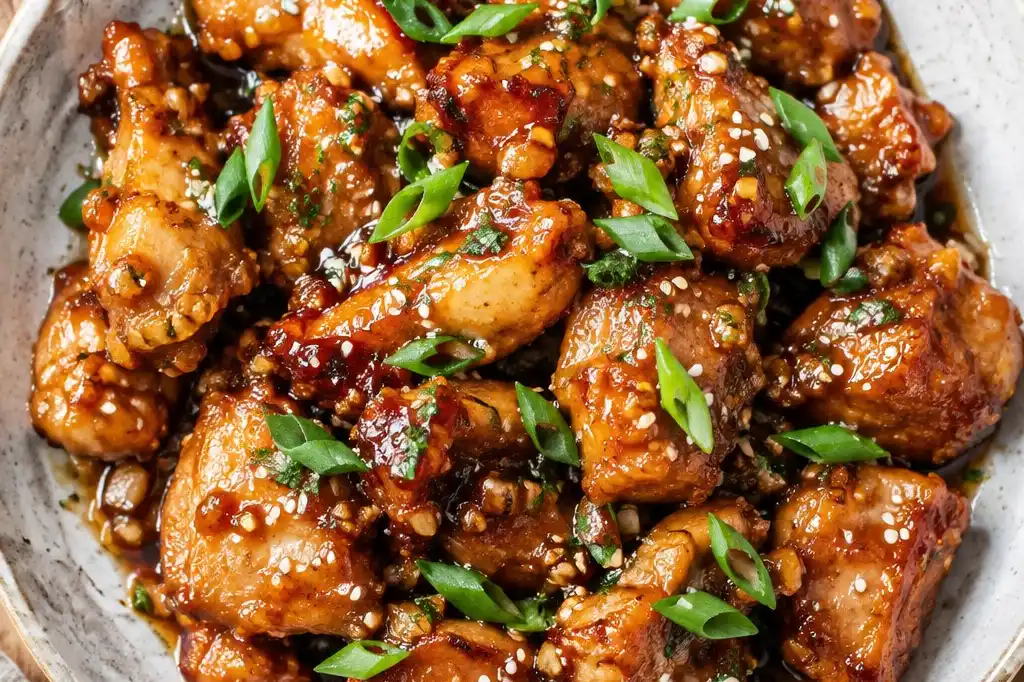
Honey Garlic Chicken Thighs
Ingredients
Method
- Season chicken with salt, pepper, and cornstarch on the skin side.
- Sear skin side down, no oil, 7 to 8 minutes until deep amber and skin releases easily.
- Flip, cook 6 minutes more until 175°F internal temp.
- Rest chicken under foil. Pour off excess fat, keeping browned bits.
- Cook two-thirds of the garlic and ginger 30 seconds in the residual fat.
- Add honey, soy sauce, and 1 tbsp rice vinegar, simmer 1 minute.
- Add broth, reduce uncovered 8 to 10 minutes until spoon-coating thick.
- Return chicken skin side up, spoon sauce over, cook 2 minutes.
- Off heat, stir in remaining raw garlic, remaining vinegar, and sesame oil.
- Garnish with green onions before serving.


3 Comments
Comments are closed.