
Fall Cookies
Fall Cookies Recipe With Warm Spices and a Brown Butter Glaze
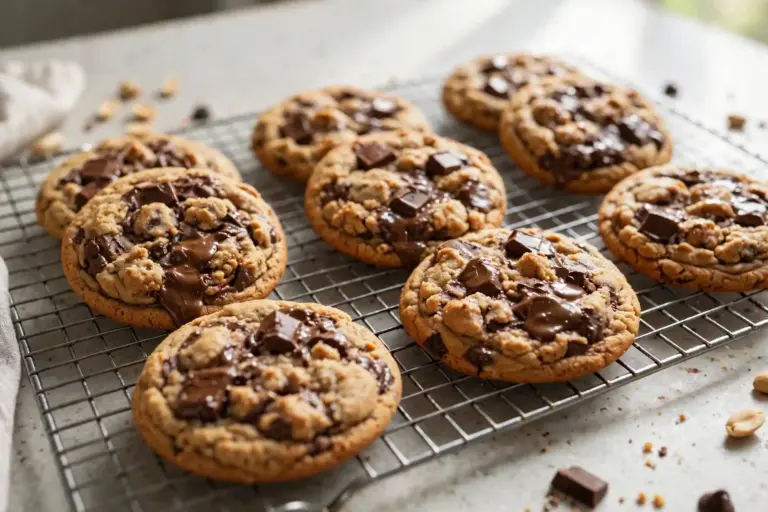
Fall cookies built around brown butter and warm spices taste like the inside of a pumpkin pie without needing a crust or a fork. Butter browned until it smells nutty replaces plain melted butter in the dough, and a blend of cinnamon, nutmeg, and ginger runs through every bite. A thin maple glaze goes over the top once the cookies cool, adding just enough sweetness without turning them into a frosted dessert cookie.
The usual issue with a spiced cookie like this one is a dough that spreads too thin and bakes into a flat, crisp disc instead of staying soft and chewy. That happens when the butter goes in too warm, or the dough skips its chill time entirely. This version browns the butter ahead and lets it cool before mixing, then chills the dough for a short rest that keeps the cookies thick and tender rather than thin and crackly.
The recipe makes about two dozen cookies, takes around 40 minutes including the glaze, and fills the kitchen with exactly the smell most people associate with the start of fall baking season.
Why These Fall Cookies Stay Soft and Chewy
- Browning the butter first adds a nutty, caramelized depth that plain melted or softened butter can’t reach, the same flavor boost that makes brown butter chocolate chip cookies stand out from a basic recipe.
- A short chill time firms up the dough just enough to stop it from spreading thin in the oven, so the cookies bake up thick instead of flat.
- Cinnamon, nutmeg, ginger, and a pinch of cloves are measured heavier than most cookie recipes call for, since the dough mutes spice more than people expect once it bakes.
- Brown sugar outweighs white sugar in the mix, which keeps the crumb soft and slightly chewy rather than crisp.
- The maple glaze goes on only once the cookies are fully cool, so it sets into a thin, matte coating instead of melting into the dough.
- No mixer is strictly required, though one speeds up creaming the butter and sugar together.
Quick Recipe Snapshot
- Prep time: 20 minutes
- Cook time: 11 minutes
- Chill time: 30 minutes
- Total time: 61 minutes
- Servings: 24 cookies
- Difficulty: Easy
- Calories: About 150 per cookie
- Most important ingredient: Browned butter
- Best for: Fall baking, lunchboxes, cookie exchanges
Ingredients
The Dough
Browning the butter and letting it cool fully before mixing keeps the dough from turning greasy and overly soft, which is what happens if warm butter goes straight into the sugar.
- 1 cup unsalted butter (2 sticks)
- 2¼ cups all purpose flour
- 1 teaspoon baking soda
- ½ teaspoon baking powder
- ½ teaspoon fine salt
- 2 teaspoons ground cinnamon
- 1 teaspoon ground ginger
- ½ teaspoon ground nutmeg
- ¼ teaspoon ground cloves
- 1 cup packed light brown sugar
- ¼ cup granulated sugar
- 1 large egg, plus 1 egg yolk
- 1 teaspoon vanilla extract
The Maple Glaze
A glaze mixed to a thick, slow drizzle consistency sets with a bit of structure, while one thinned too far soaks straight into the cookie instead of sitting on top.
- 1 cup powdered sugar
- 2 tablespoons pure maple syrup
- 1 to 2 tablespoons milk
- ¼ teaspoon ground cinnamon
- Pinch of fine salt
Substitutions that hold up: Regular melted butter works in a pinch if there’s no time to brown it, though the cookies lose some of their nutty depth. Dark brown sugar can replace light brown for a deeper molasses note. A gluten free 1:1 flour blend substitutes for the all purpose flour, though the dough should chill the full 30 minutes without skipping ahead, since gluten free doughs tend to spread more without that rest.
Recipe Timing
- Prep: 20 minutes
- Cook: 11 minutes
- Chill: 30 minutes
- Total: 61 minutes
- Servings: 24 cookies
- Difficulty: Easy
- Cuisine: American
- Course: Dessert, snack
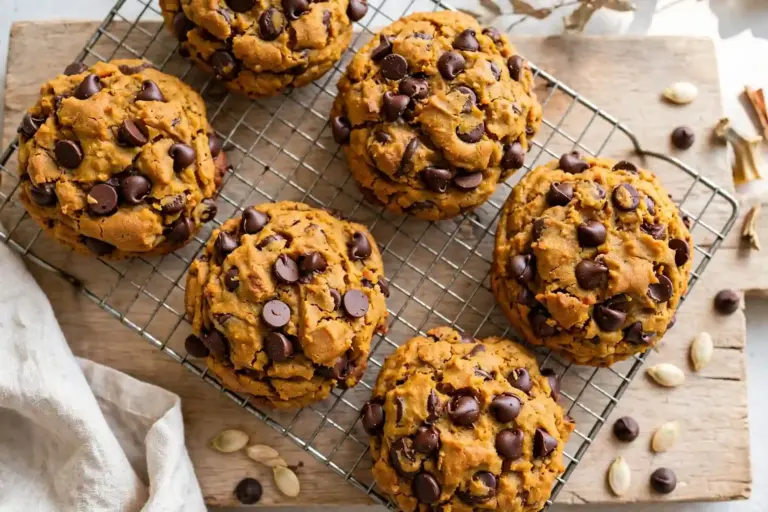
Craving another fall bake with the same warm spice profile? Pumpkin chocolate chip cookies layer the same cinnamon and nutmeg blend into a softer, cakier cookie.
Allergen and Dietary Disclosure
These cookies contain dairy (butter, milk in the glaze), egg, and wheat/gluten (flour).
- Dairy: A plant based butter stick works for browning in place of dairy butter, though the nutty flavor comes through slightly less than with real butter. Any unsweetened plant based milk replaces the milk in the glaze.
- Egg: A flax egg (1 tablespoon ground flaxseed mixed with 3 tablespoons water, rested 5 minutes) replaces the whole egg and yolk combined, though the dough turns a touch denser.
- Gluten: A gluten free 1:1 baking flour blend substitutes for the all purpose flour at the same amount.
Equipment Needed
- Light colored saucepan. A pale interior makes it far easier to judge when the butter has turned the right shade of amber, since a dark pan hides the color change.
- Stand mixer or hand mixer. Not strictly required, but speeds up creaming the butter and sugar into a smooth, aerated base.
- Cookie scoop. A 1½ tablespoon scoop keeps every cookie the same size, so they all bake in the same amount of time.
- Wire cooling rack. Lets air circulate under the cookies so the bottoms don’t turn soggy from trapped steam while they cool.
Nutrition Information
Per cookie (24 cookies per batch, glaze included):
- Calories: 150
- Protein: 2 g
- Carbohydrates: 20 g
- Fat: 7 g
- Fiber: 0 g
- Sugar: 13 g
- Sodium: 95 mg
Browning the butter doesn’t change its calorie count, since it’s the same fat with water cooked out of it, just concentrated flavor rather than concentrated calories. These figures are estimates built from USDA FoodData Central data and shift with the exact glaze thickness and cookie size.
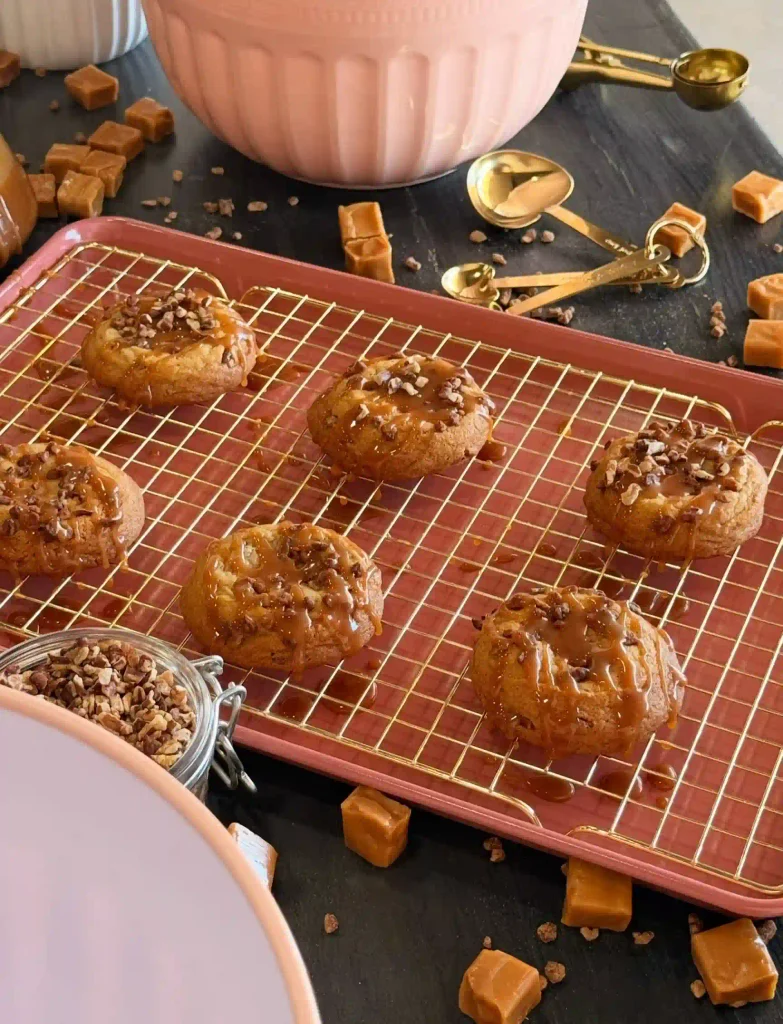
How Browning Butter Changes This Fall Cookie’s Flavor
Butter is roughly 80 percent fat, 15 percent water, and a small amount of milk solids. When butter melts and continues cooking, the water boils off first, and once it’s gone, the milk solids left behind begin to toast directly in the hot fat, turning from pale yellow to amber and releasing a nutty, caramelized aroma through a browning reaction similar to what happens when bread crust forms in a hot oven. That toasted flavor is what separates a brown butter cookie from one made with plain melted butter, which tastes comparatively flat by contrast.
Cooling the browned butter before mixing matters for texture, not just safety. Warm butter stirred straight into sugar and eggs can partially melt the fat before the dough ever reaches the oven, which leads to cookies that spread too thin and bake up crisp instead of staying thick. Letting the butter firm back up slightly, even just to room temperature, keeps the fat solid enough to hold its structure through the initial mixing.
A short chill afterward reinforces that same structure. Cold fat takes longer to melt once the dough hits a hot oven, which buys the leavening agents time to lift the dough before it has the chance to spread flat across the pan.
What makes a brown butter cookie different from a regular cookie? A brown butter cookie starts with butter cooked past melting until the milk solids toast and turn amber, which adds a nutty, caramelized flavor that plain melted or softened butter can’t produce on its own.
Preparation
Melt and brown the butter first, since it needs time to cool before going into the dough. Whisk the flour, baking soda, baking powder, salt, and spices together in one bowl and set it aside. Have the eggs at room temperature if there’s time, since cold eggs added to room temperature butter can make the fat seize slightly. Line two baking sheets with parchment paper.
Step by Step Method
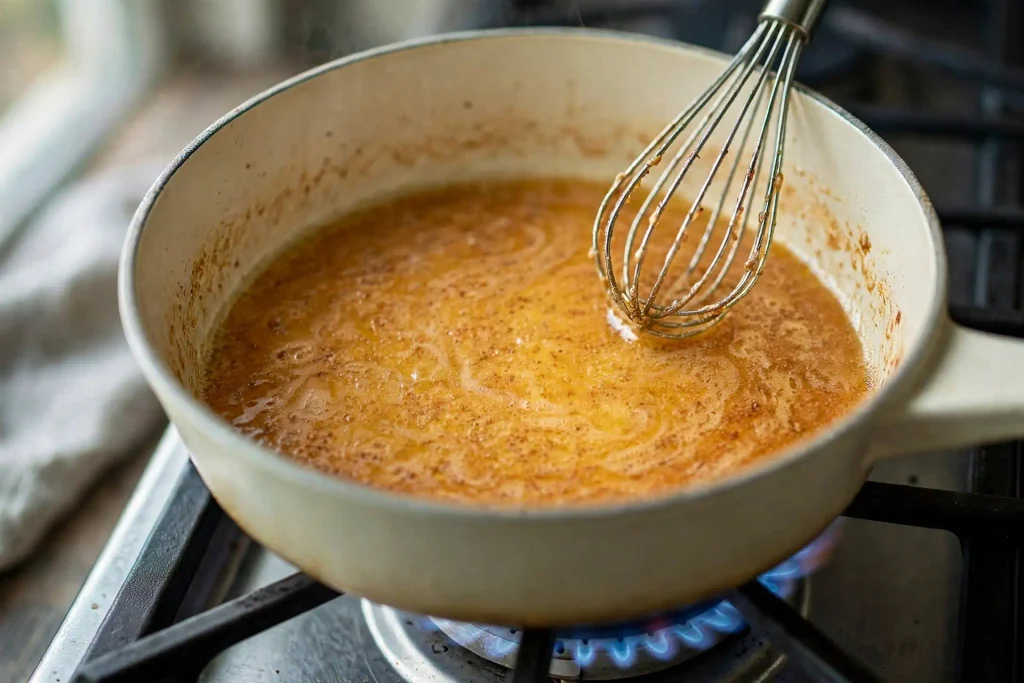
Melt the butter in a light colored saucepan over medium heat. Once melted, continue cooking, swirling the pan often, for 5 to 7 minutes, until the butter turns deep amber and small brown flecks appear at the bottom, smelling distinctly nutty.
Chef’s Note: Butter can go from perfectly browned to burnt within 30 seconds once it starts turning color. Pull the pan off the heat the moment it smells nutty rather than waiting for a darker shade.
Pour the browned butter into a heatproof bowl, scraping in all the toasted bits from the bottom of the pan, and let it cool to room temperature, about 20 minutes.
Once cooled, beat the browned butter with both sugars until the mixture looks light and slightly fluffy, about 2 minutes with a mixer or several minutes of vigorous hand whisking.
Beat in the egg, egg yolk, and vanilla until fully combined and the mixture looks smooth and glossy.
Add the dry ingredients to the wet mixture in two additions, mixing on low speed or folding by hand just until no streaks of flour remain. Overmixing at this stage toughens the final cookie.
Chef’s Note: Stop mixing the moment the flour disappears. A few seconds of extra mixing here is the step most likely to turn a soft, chewy cookie into a tough one.
Cover the dough and refrigerate for 30 minutes. This chill is what keeps the cookies from spreading too thin in the oven.
Preheat the oven to 350°F while the dough chills. Once ready, scoop the dough into 1½ tablespoon balls and place them on the prepared baking sheets, spaced about 2 inches apart.
Bake for 10 to 11 minutes, until the edges look set and just barely golden while the centers still look slightly underdone. The cookies will continue firming up as they cool on the pan.
Chef’s Note: Pulling the cookies while the centers still look a touch soft is intentional. They finish setting on the hot pan during the first few minutes out of the oven.
Let the cookies cool on the baking sheet for 5 minutes before transferring them to a wire rack to cool completely.
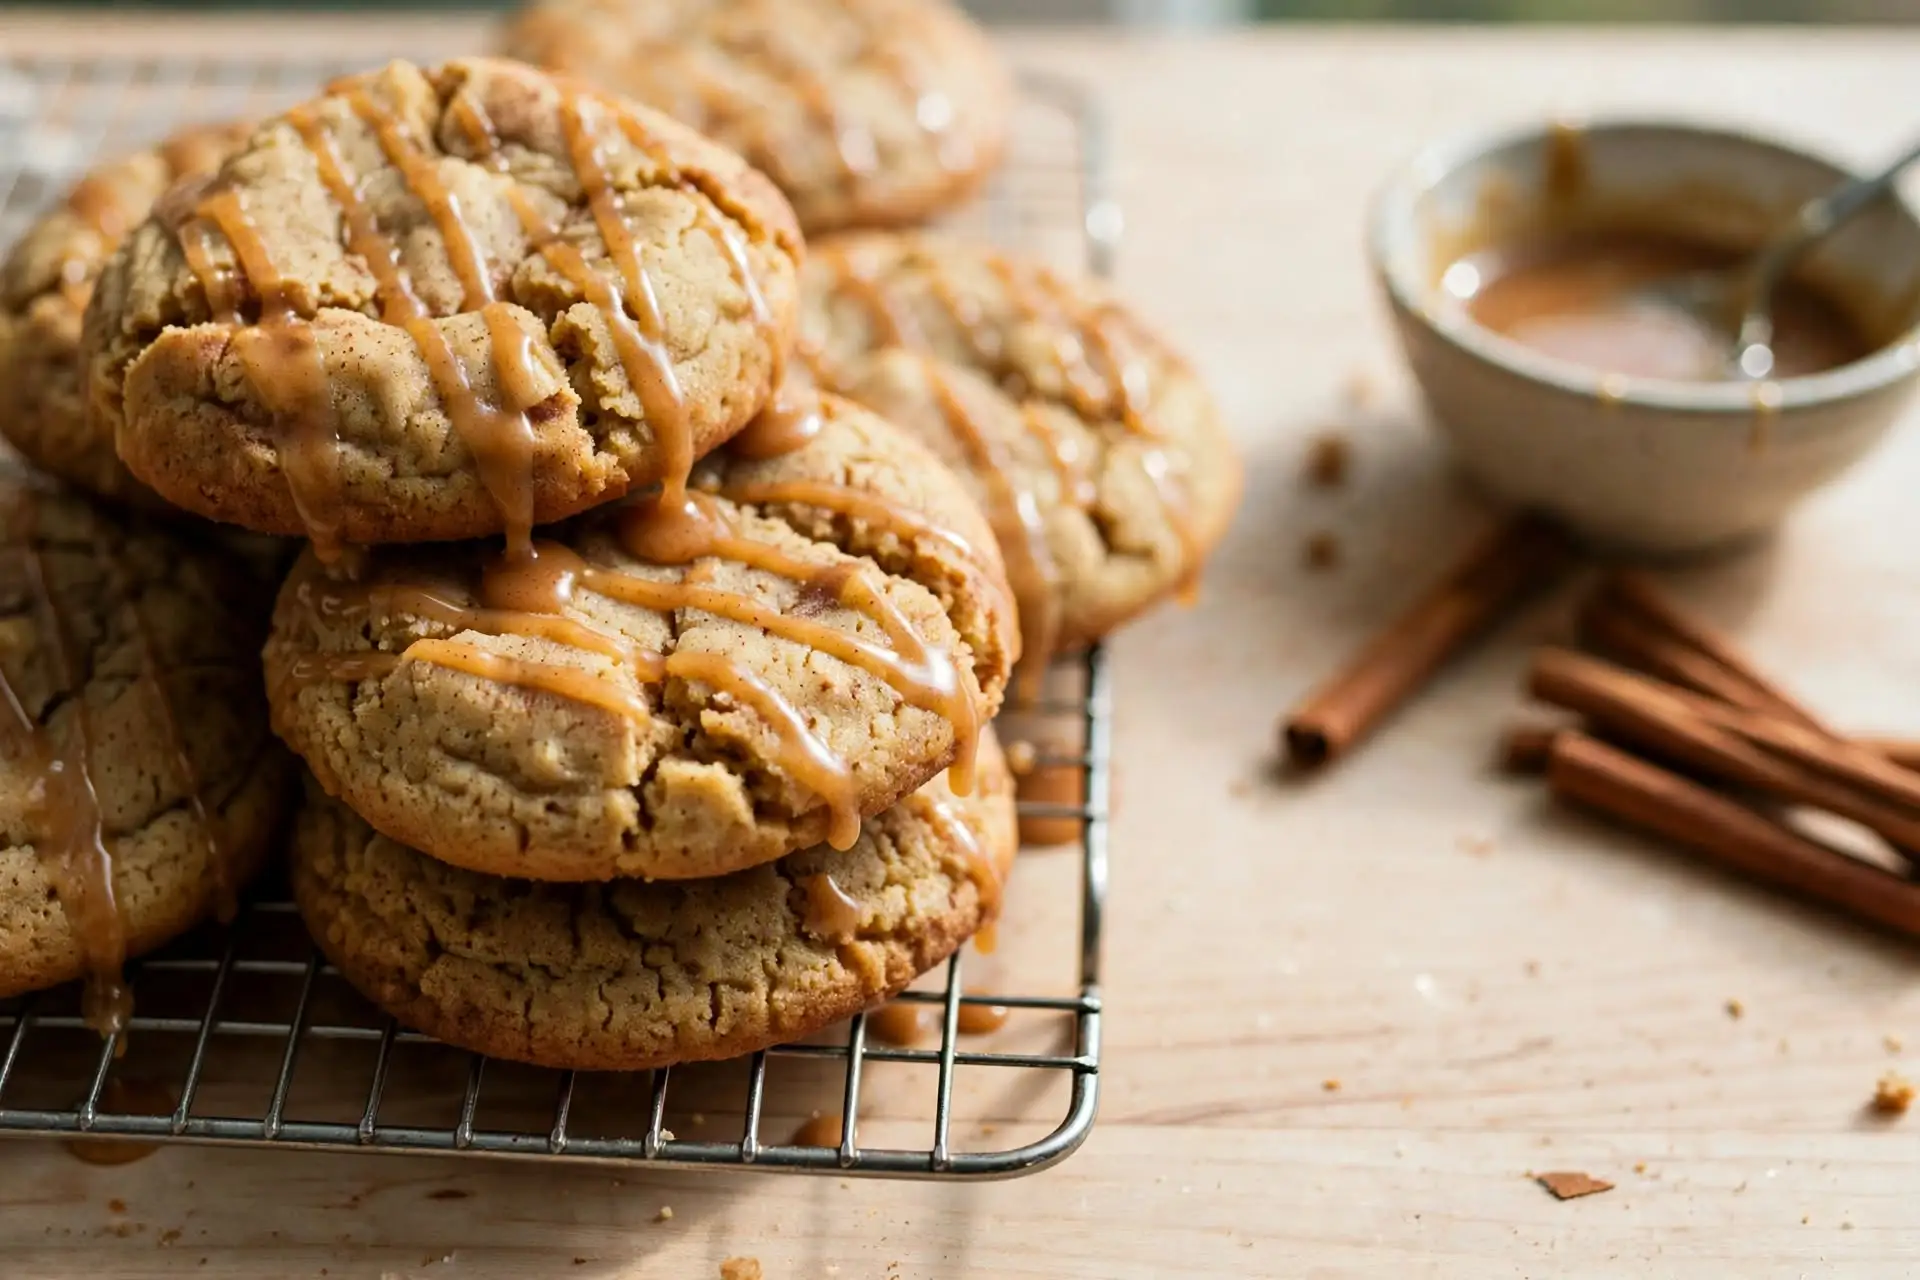
Once fully cool, whisk together the powdered sugar, maple syrup, 1 tablespoon of milk, cinnamon, and salt for the glaze, adding the second tablespoon of milk only if needed to reach a slow, ribbon like drizzle consistency. Drizzle over the cooled cookies and let the glaze set for about 10 minutes before serving.
Callout: Let the glaze sit for a full 10 minutes before stacking or packing the cookies. A glaze that hasn’t fully set will smear and stick cookies together the moment they touch.
Expert Tips and Tricks
- Make ahead: The dough can chill in the fridge for up to 2 days before baking, covered tightly, or the shaped balls can freeze for up to 2 months and bake directly from frozen with an extra minute or two added.
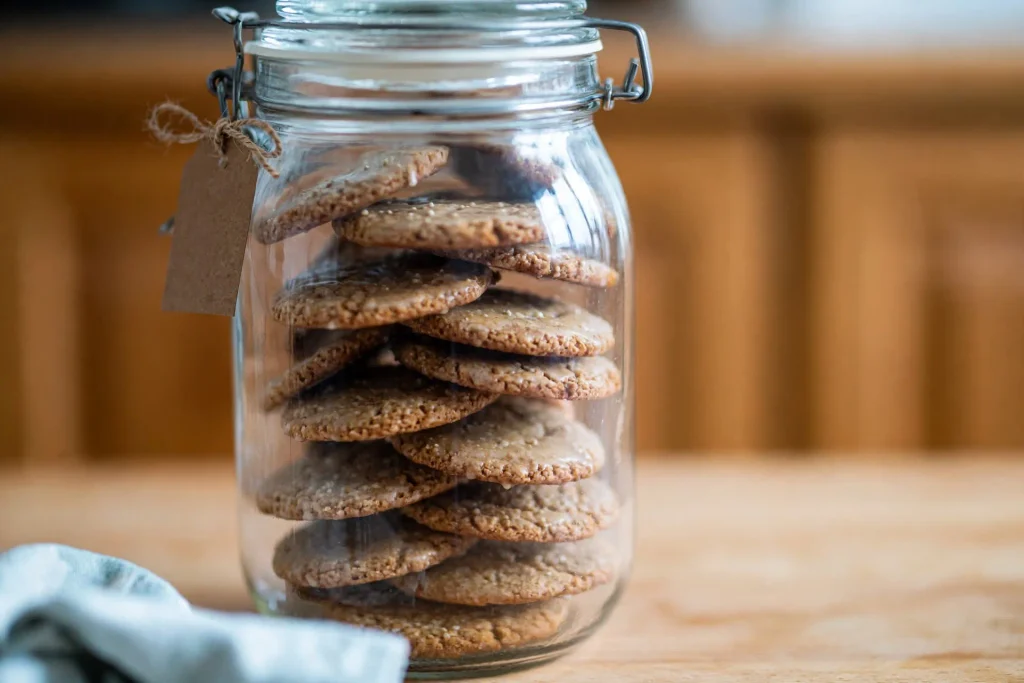
- Storage: Keep glazed cookies in a single layer until the glaze fully sets, then they can stack with parchment between layers.
- Watch the butter closely: The difference between browned and burnt butter is a matter of seconds once the color starts changing, so stay at the stove rather than stepping away.
- Don’t skip the chill: Dough baked straight from mixing spreads thinner and bakes flatter than dough given its full 30 minutes to rest.
- Measure spices generously: This dough mutes spice flavor more than expected once baked, so don’t be shy with the amounts listed.
- Pull cookies slightly underdone: A soft center when the cookies come out of the oven finishes setting on the hot pan, keeping the final texture chewy rather than dry.
- Glaze only fully cooled cookies: A warm cookie melts the glaze into the crumb instead of letting it set as a distinct layer on top.
Looking for another quick bread with the same warm fall spice blend? Pumpkin bread recipe uses a similar cinnamon and nutmeg combination in a moist, sliceable loaf.
Common Mistakes and Troubleshooting
The cookies spread too thin and turned crisp. The butter was likely still warm when mixed into the dough, or the chill time was skipped. Let the browned butter cool fully next time, and give the dough its full 30 minutes in the fridge before baking.
The butter burned instead of browning. It cooked a little too long past the point of turning golden. Pull the pan the moment it smells nutty and the color turns amber, since the window between browned and burnt is short.
The cookies tasted bland despite all the spices. Ground spices lose potency sitting in the pantry for months. Check that yours are less than a year old, and don’t be afraid to measure slightly heavier than the recipe lists if the jars have been open a while.
The glaze ran straight off the cookies. Too much milk was added too quickly. Start with the lesser amount and add more in small increments only if the glaze looks too thick to drizzle.
The cookies came out dry and crumbly. They likely baked a minute or two past the point where the centers still looked slightly underdone. Pull them while the centers look a touch soft, since carryover heat on the hot pan finishes the job.
Honest Trade-Off
Browning the butter adds a step and roughly 10 extra minutes compared to a cookie recipe that simply calls for softened butter straight from the fridge. Anyone who wants the fastest possible version of a spiced cookie, with no extra stovetop step, should use melted butter instead and accept a slightly less complex flavor. This recipe suits anyone who has a little extra time and wants the deeper, nuttier result that browning the butter brings.
Storage and Make Ahead
Room temperature: Glazed cookies keep in an airtight container for up to 5 days once the glaze has fully set.
Refrigerator: Not necessary for these cookies, and refrigeration can dry them out slightly faster than room temperature storage.
Freezer: Baked, unglazed cookies freeze well for up to 3 months. Thaw at room temperature and glaze just before serving. Raw dough balls also freeze well and can bake directly from frozen with 1 to 2 extra minutes added to the bake time.
Variations and Substitutions
- Chocolate chip: Fold 1 cup of semisweet or white chocolate chips into the dough just before chilling.
- Nutty: Add ¾ cup of chopped pecans or walnuts along with the dry ingredients.
- Pumpkin spice forward: Add ¼ teaspoon ground allspice alongside the other spices for a fuller pumpkin spice blend.
- Sandwich cookies: Skip the glaze and sandwich two cooled cookies together with a thin layer of cream cheese frosting instead.
- Simple sugar coating: Skip the glaze entirely and roll the dough balls in cinnamon sugar before baking for a snickerdoodle style finish.
Serving Suggestions
Fall cookies pair naturally with a mug of hot apple cider or a spiced chai latte, since both echo the same warm spice notes baked into the dough. A glass of cold milk works for a simpler, classic pairing. Set a batch out on a dessert table alongside other fall bakes for a seasonal spread that covers both cookies and something heavier. For a layered dessert that uses the same cinnamon and nutmeg flavors in a completely different format, chocolate chip banana bread rounds out a fall baking table well.
Callout: Warm a cookie for 10 seconds in the microwave before eating if it’s a day or two old. The brief heat brings back some of the soft, fresh from the oven texture without melting the glaze.
Frequently Asked Questions
Can I make fall cookies ahead of time?
Yes. The dough keeps covered in the fridge for up to 2 days, or shaped into balls and frozen for up to 2 months, baking directly from frozen with 1 to 2 extra minutes added. Baked cookies also keep well for several days once the glaze has set, so baking a day ahead of when you need them works fine.
Why did my cookies spread flat instead of staying thick?
The butter was likely still warm when it went into the dough, or the chill step was skipped entirely. Let browned butter cool fully to room temperature before mixing, and always give the dough its full 30 minutes in the fridge before the first batch goes into the oven.
Can I skip browning the butter to save time?
Yes, regular softened or melted butter can be used in its place, though the cookies lose the nutty, caramelized depth that browning adds. If skipping this step, use softened rather than fully melted butter to keep the dough’s structure closer to what the recipe is built around.
How do I know when the cookies are done baking?
The edges should look set and just barely golden, while the centers still look a touch soft and underdone, usually around the 10 to 11 minute mark. The residual heat of the pan finishes cooking the centers during the first few minutes of cooling, so pulling them slightly early is correct, not a mistake.
Are these fall cookies safe for someone with a dairy, egg, or gluten allergy?
The standard recipe contains dairy in the butter and glaze’s milk, egg in the dough, and gluten in the flour. A plant based butter and milk handle the dairy, a flax egg replaces the egg with a slightly denser result, and a gluten free 1:1 flour blend handles the gluten without much change to the method.
Conclusion
The few extra minutes spent browning the butter are where most of this cookie’s personality comes from, more than the spice blend itself. Watch the pan closely once the butter starts to turn color, since the difference between nutty and burnt happens fast. Keep the dough’s chill time non negotiable, and the next batch will hold its shape exactly the way the first one does.
Fall Cookies
Ingredients
Method
- Brown the butter until amber and nutty smelling, about 5 to 7 minutes. Cool to room temperature.
- Whisk the flour, leaveners, salt, and spices together.
- Beat the cooled butter with both sugars until light.
- Beat in the egg, egg yolk, and vanilla.
- Fold in the dry ingredients just until combined.
- Chill the dough 30 minutes.
- Scoop into balls and place on lined baking sheets.
- Bake at 350°F for 10 to 11 minutes, until edges are set and centers look slightly soft.
- Cool 5 minutes on the pan, then transfer to a rack to cool fully.
- Whisk the glaze ingredients and drizzle over cooled cookies.
3 Comments
Comments are closed.