Apple Crumble
Apple Crumble With a Topping That Stays Crisp, Not Soggy
Most apple crumble recipes come out of the oven looking perfect, then turn soggy within an hour as the topping absorbs moisture released from the apples underneath. The fix starts before the oven even gets involved: tossing the sliced apples with sugar and letting them sit releases excess juice you can drain off, so the filling doesn’t flood the topping during baking. This version also uses cold butter worked into the topping by hand rather than melted, which keeps the crumble texture closer to actual clumps instead of a flat, sandy layer.
Why This Apple Crumble Topping Stays Crunchy
Draining the macerated apple juice before baking means less liquid soaks upward into the topping, which is the main reason crumble toppings turn soggy in the first place.
Cold butter rubbed into the flour and oats by hand creates uneven, pea-sized clumps that bake up into actual crisp pieces, unlike melted butter stirred in, which bakes into a flatter, more uniform crust.
A mix of Granny Smith and Honeycrisp apples balances tartness against sweetness, so the filling doesn’t need as much added sugar to taste balanced.
Old-fashioned rolled oats in the topping, not instant oats, hold their shape and texture through the full bake time instead of dissolving into the butter and flour.
A short rest after baking lets the filling set slightly, so the first serving holds its shape on the plate instead of running into a puddle the moment you cut into it.
Quick Information
Prep time: 25 minutes. Cook time: 45 minutes. Total time: 1 hour 25 minutes (includes resting and maceration). Servings: 8. Difficulty: Easy. Calories: about 310 per serving. The one thing that matters most here is letting the apples macerate and draining that liquid off, since skipping it is the single biggest reason crumbles turn soggy. Good for a fall dessert or a make-ahead holiday dish.
Ingredients
For the apple filling:
- 6 cups apples, peeled and sliced about 1/4 inch thick (a mix of Granny Smith and Honeycrisp works well)
- 1/3 cup granulated sugar
- 2 tablespoons fresh lemon juice
- 1 tablespoon all-purpose flour
- 1 teaspoon ground cinnamon
- 1/4 teaspoon ground nutmeg
- Pinch of salt
Mixing tart and sweet apple varieties together means the filling doesn’t rely entirely on added sugar for flavor, since Granny Smith’s sharpness balances Honeycrisp’s natural sweetness on its own.
For the crumble topping:
- 1 cup all-purpose flour
- 1 cup old-fashioned rolled oats
- 3/4 cup light brown sugar, packed
- 1/2 teaspoon cinnamon
- 1/4 teaspoon salt
- 10 tablespoons unsalted butter, cold, cut into small cubes
Keeping the butter genuinely cold, straight from the fridge until the moment it’s needed, matters more than any other single ingredient choice here, since warm butter blends into the flour too smoothly and loses the clumping that gives crumble its texture.
You may also like: egg salad
Recipe Timing
Prep: 25 minutes. Cook: 45 minutes. Rest: 15 minutes maceration, plus 15 minutes after baking. Total: 1 hour 25 minutes. Servings: 8. Difficulty: Easy. Cuisine: American, British-inspired. Course: Dessert.
Allergen and Dietary Disclosure
This recipe contains gluten (flour, oats unless certified gluten-free) and dairy (butter). For a gluten-free version, a 1-to-1 gluten-free flour blend works in both the filling and topping, and certified gluten-free oats avoid any cross-contamination concern. For a dairy-free version, a plant-based butter stick, not a tub spread, cut cold and cubed the same way, works in the topping with a similar texture result.
Equipment Needed
A 9-inch baking dish or deep pie dish holds the filling without it overflowing during baking. A pastry cutter or two forks for working the cold butter into the topping, your fingers also work but warm the butter faster than tools do. A fine-mesh strainer for draining the macerated apple juice off before the filling goes into the dish. A sharp knife or mandoline for even apple slices, uneven thickness means some pieces finish cooking before others.
Nutrition Information
Calories: 310 per serving. Protein: 3g. Carbs: 48g. Fat: 13g. Fiber: 4g. Sugar: 30g. Sodium: 115mg. Serving size: about 3/4 cup. Servings per recipe: 8. This dessert is a reasonable source of fiber for the calorie count, mostly from the apples and oats combined. These figures are estimates based on standard USDA nutrition data and will shift depending on the exact apple varieties and butter brand used, not a substitute for a nutrition label or lab analysis.
Why Apple Crumble Turns Soggy (And How Draining the Apples Fixes It)
Apples are mostly water, and once sugar is added, osmosis pulls that water out of the fruit’s cells and into the surrounding bowl, a process that happens whether you plan for it or not. If that released liquid stays in the bowl and goes straight into the baking dish along with the apples, it has nowhere to go but up into the topping during baking, soaking the bottom layer of flour and oats before they’ve had a chance to crisp. Draining off that liquid after a short maceration period removes the problem at its source, rather than trying to compensate for it with more flour in the filling.
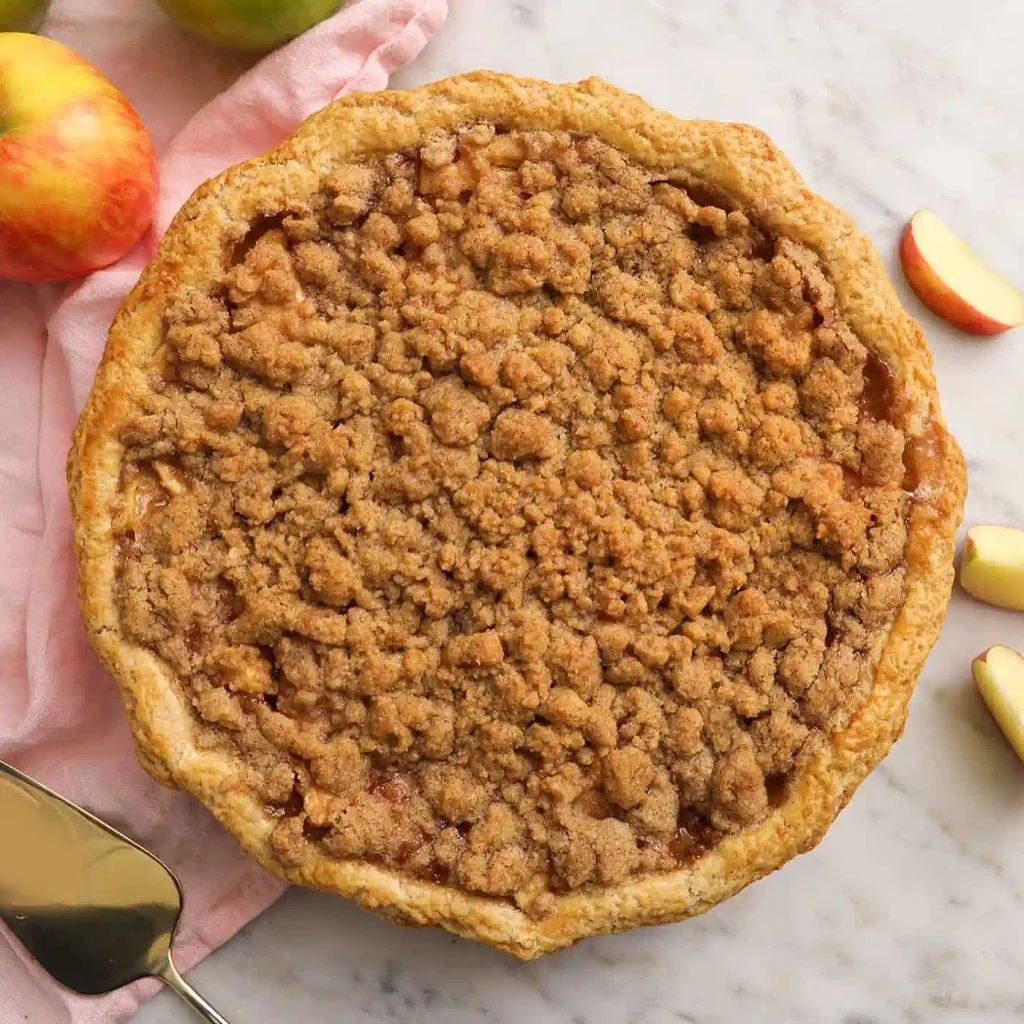
A tablespoon of flour mixed into the drained apples before they go into the baking dish adds one more layer of insurance, thickening whatever juice remains so it stays within the filling instead of migrating upward.
Preparation
Peel and slice the apples before anything else, since they need time to macerate while you prepare the topping. Cut the butter into small cubes and return it to the fridge immediately, you want it cold again by the time it’s needed, not sitting at room temperature on the counter. Preheat the oven to 350°F partway through the maceration time so it’s fully heated once the filling and topping are assembled.
Step-by-Step Method
- Toss the sliced apples with the granulated sugar and lemon juice in a large bowl, then let the mixture sit for 15 minutes. You’ll notice liquid pooling at the bottom of the bowl as the apples release moisture, that’s the process working as intended.
- Drain the apples in a fine-mesh strainer set over a bowl, reserving the liquid separately in case you want to use a few tablespoons of it later to adjust the filling’s sweetness.
- Return the drained apples to the bowl and toss with the flour, cinnamon, nutmeg, and salt, coating every slice evenly so no dry pockets of spice remain clumped in one spot.
- Spread the apple mixture into a greased 9-inch baking dish in an even layer, pressing down gently so there are no large air gaps between the slices.
- In a separate bowl, whisk together the flour, oats, brown sugar, cinnamon, and salt for the topping until evenly combined, breaking up any clumps of brown sugar with your fingers as you go.
- Add the cold, cubed butter to the dry topping mixture and work it in using a pastry cutter or your fingertips, pressing and breaking the butter into the flour until the mixture looks like coarse, uneven crumbs ranging from pea-sized to a bit larger.
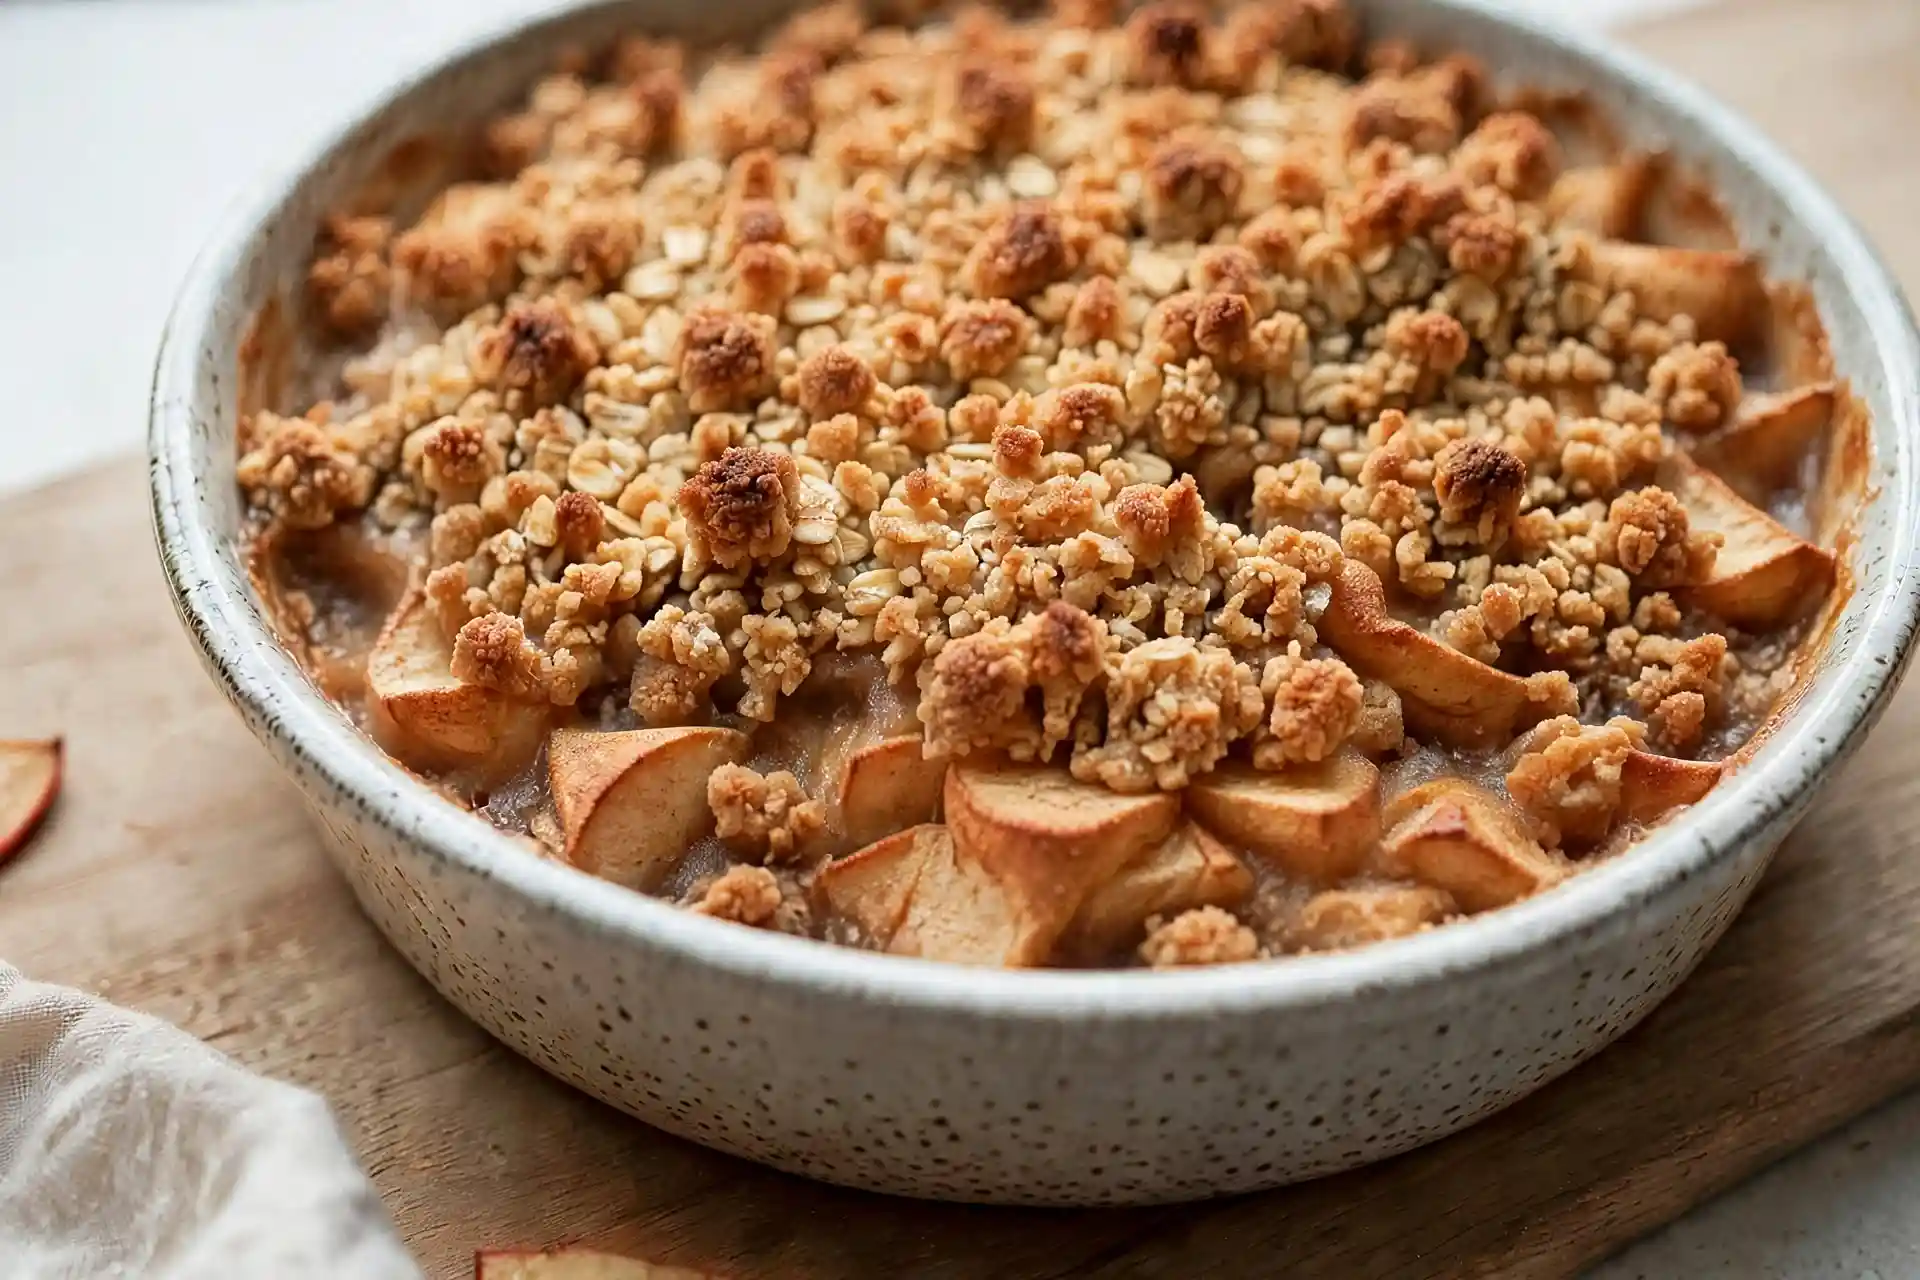
- Scatter the topping evenly over the apples, covering the surface completely but without pressing it down firmly, a loose scatter bakes up crisper than a tightly packed layer.
- Bake at 350°F for 40 to 45 minutes, until the topping turns deep golden brown and the filling bubbles visibly around the edges of the dish.
- If the topping browns too quickly before the filling has fully bubbled, loosely tent the dish with foil for the remaining bake time, checking again at the 5-minute mark.
- Let the crumble rest for at least 15 minutes before serving, since the filling is still actively thickening as it cools and cutting in too early lets it run thin across the plate.
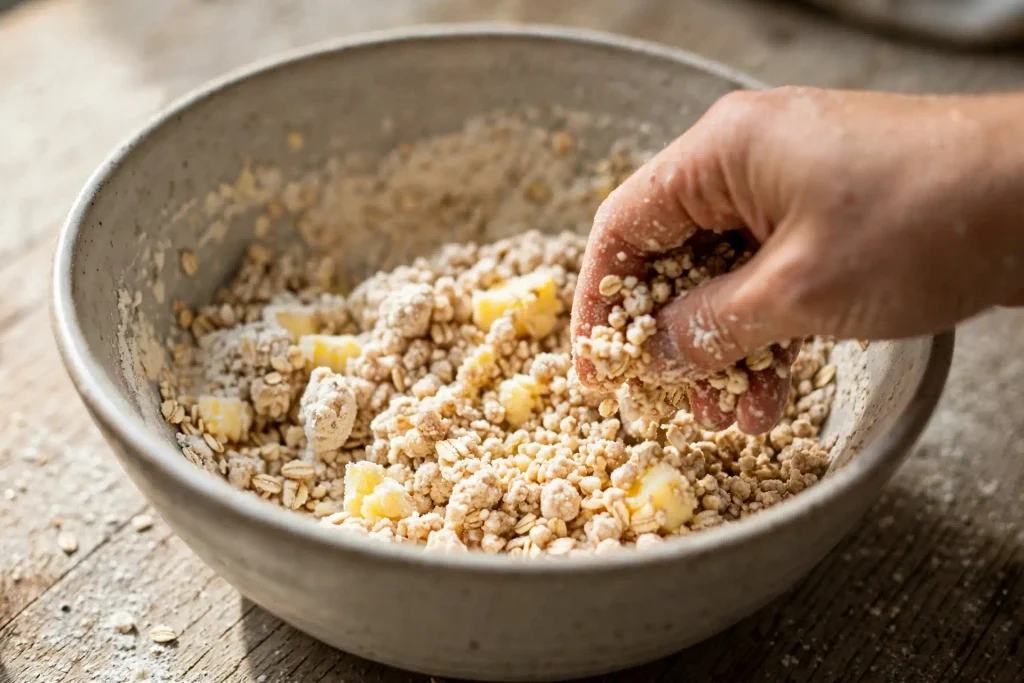
Chef’s Note: If your topping comes out flat and sandy instead of clumpy, the butter was probably too warm when it went in. Chill it again for 10 minutes and work faster next time, using your fingertips rather than your palms, which hold more body heat.
Chef’s Note: Reserving a splash of the drained apple liquid and brushing it over the topping partway through baking adds a slight shine and extra apple flavor, a trick most versions skip entirely.
Chef’s Note: The step people rush most often is the maceration time. Even 10 minutes less than the full 15 leaves noticeably more liquid in the apples, which shows up as a soggier bottom layer by the next day.
You may also like: cajun chicken pasta
Expert Tips & Tricks
You can prepare the topping up to 3 days ahead and store it in the fridge in an airtight container, keeping the butter cold the entire time until it’s scattered over the apples.
Leftovers keep in the fridge for up to 4 days, though the topping softens noticeably after the first day, a quick 5 minutes back in a 350°F oven brings some crispness back.
If you want extra crunch, stir 1/2 cup chopped pecans or walnuts into the topping mixture right after the butter is worked in.
Using a mix of three apple varieties instead of two adds more complexity to the filling’s flavor, though two is genuinely enough for most people and keeps the shopping list shorter.
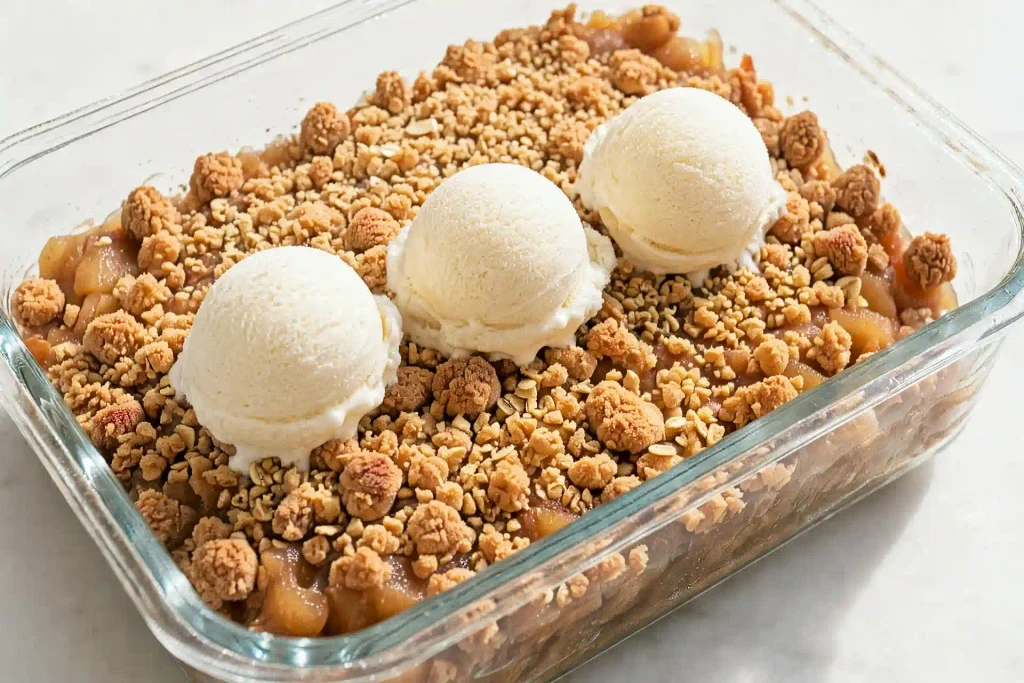
A scoop of vanilla ice cream melting into the warm crumble does more for the dessert than any extra spice could, the cold-hot contrast is part of what makes this work as a dessert in the first place.
Doubling this recipe works well in a 9×13 dish, just add about 10 extra minutes to the bake time since the filling layer runs deeper.
Common Mistakes & Troubleshooting
Topping comes out soggy instead of crisp. This almost always means the apples weren’t drained after macerating, so the released liquid soaked straight up into the flour and oats during baking. Always drain the apples before combining them with the spices and transferring to the dish.
Topping stays pale instead of browning. Usually means the oven wasn’t fully preheated before the dish went in, or the bake time was cut short. Give it the full 40 to 45 minutes and check for deep golden color, not just a light tan.
Filling runs thin and watery on the plate. This happens when the crumble is cut into too soon after coming out of the oven. Let it rest the full 15 minutes, since the filling continues to thicken as it cools.
Apples turn mushy instead of holding some bite. Slicing too thin or using only soft apple varieties like Red Delicious causes this. Stick to firmer varieties like Granny Smith and Honeycrisp, sliced about 1/4 inch thick.
Topping tastes bland despite the cinnamon. Salt gets lost easily in a sweet topping, so don’t skip the pinch called for even though it seems unnecessary in a dessert, it’s what makes the brown sugar taste rounder instead of flat.
Honest Trade-Off
Draining the macerated apples adds about 15 minutes of waiting time compared to recipes that skip this step and just toss everything together immediately. A faster version without maceration gets you into the oven sooner, it just risks a soggier bottom layer by the time it’s fully baked and cooled. Someone short on time for a last-minute dessert might skip the draining step and accept a slightly softer topping; someone making this for a gathering where it needs to hold up for hours should take the extra 15 minutes.
Storage & Make-Ahead
Store leftovers covered in the fridge for up to 4 days. Reheat individual portions in a 350°F oven for about 10 minutes to bring back some crispness in the topping, since the microwave leaves it soft.
Freezing works for the unbaked assembled crumble, wrapped tightly, for up to 3 months. Bake it straight from frozen, adding about 15 extra minutes to the bake time and checking that the center is fully bubbling before pulling it out.
Variations & Substitutions
For a spiced-up version, add 1/4 teaspoon ground cardamom or ginger to the filling alongside the cinnamon and nutmeg.
For a nuttier topping, substitute 1/4 cup of the flour with almond flour and add a handful of sliced almonds before baking.
For a lower-sugar version, cut the granulated sugar in the filling to 1/4 cup and rely more on the natural sweetness of the Honeycrisp apples to carry the dish.
For a gluten-free version, use a 1-to-1 gluten-free flour blend in both the filling and topping, along with certified gluten-free rolled oats.
Serving Suggestions
Vanilla ice cream is the classic pairing, melting slightly into the warm filling for a contrast the crumble alone doesn’t have. A drizzle of salted caramel sauce over the top adds extra richness for anyone who wants it. Lightly sweetened whipped cream works as a lighter alternative to ice cream if you want something less heavy. For drinks, a warm chai or spiced coffee pairs naturally with the cinnamon and nutmeg already in the filling.
You may also like: shrimp tacos
FAQ
Can I make apple crumble ahead of time?
Yes, assemble the full crumble unbaked, wrap it tightly, and refrigerate it for up to a day, or freeze it for up to 3 months. Bake straight from cold or frozen, adding 10 to 15 extra minutes to the bake time depending on how cold it is going in.
Why does my apple crumble topping always turn soggy?
This almost always traces back to skipping the step where the macerated apples get drained before baking. The sugar pulls liquid out of the apples as they sit, and if that liquid isn’t removed, it soaks upward into the topping during baking instead of staying in the filling.
Can I use a different apple variety than Granny Smith and Honeycrisp?
You can, Braeburn or Pink Lady both hold their shape well during baking and offer a similar tart-sweet balance. Avoid softer varieties like Red Delicious or McIntosh on their own, since they break down too much and leave the filling closer to applesauce than distinct slices.
How do I know when the crumble is fully baked?
Look for the topping to reach a deep golden brown, not just a light tan, and check that the filling is visibly bubbling around the edges of the dish. If the top browns before the filling bubbles, tent it loosely with foil and give it a few more minutes.
Is this recipe safe for someone with a gluten allergy?
As written, no, it contains regular flour and oats that may carry gluten cross-contamination. A 1-to-1 gluten-free flour blend works in both the filling and topping, paired with certified gluten-free rolled oats to keep the whole dish gluten-free.
One Thing Worth Remembering
The maceration and draining step is easy to skip because it doesn’t look like it’s doing much, just apples sitting in a bowl for 15 minutes. But that’s exactly where the difference between a crisp topping and a soggy one gets decided, long before the dish ever goes in the oven. Give the apples that time, drain off what they release, and the topping holds its crunch far longer than a version that skips straight to assembly.
Apple Crumble
Ingredients
Method
- Toss apples with sugar and lemon juice, let sit 15 minutes.
- Drain apples in a strainer, reserving liquid separately.
- Toss drained apples with flour, cinnamon, nutmeg, and salt.
- Spread apple mixture in a greased 9-inch baking dish.
- Whisk together topping flour, oats, brown sugar, cinnamon, and salt.
- Work cold butter into topping mixture until coarse crumbs form.
- Scatter topping evenly over apples, without pressing down.
- Bake at 350°F for 40 to 45 minutes until golden and bubbling.
- Tent with foil if topping browns too fast.
- Rest 15 minutes before serving.

2 Comments
Comments are closed.