Chicken Pot Pie Casserole
Chicken Pot Pie Casserole Without a Soggy Bottom
Chicken pot pie casserole usually comes out with a crust that’s soggy against the filling and only crisp around the exposed edges, because most recipes pour hot filling straight under a raw crust and hope the oven sorts it out. The fix is building the filling thick enough on its own before it ever meets the crust, so there’s no excess liquid steaming the bottom of the topping from below. This version also bakes the biscuit or puff pastry topping with real butter contact instead of resting flat on wet filling, which is what actually gets it to crisp through and not just on top.
Why This Chicken Pot Pie Casserole Doesn’t Go Soggy
The filling reduces to a thick, gravy-like consistency on the stovetop before it ever touches the baking dish, so there’s no thin liquid left to soak upward into the topping.
A layer of melted butter brushed directly onto the biscuit or pastry topping before baking creates a barrier against the filling’s moisture, something a dry topping placed straight on top doesn’t have.
Frozen peas and carrots go in at the very end rather than simmering the whole time, keeping their color and bite instead of turning gray and mushy by the time the casserole bakes.
Rotisserie chicken, shredded rather than diced, blends into the thick sauce more evenly, so you get chicken in every spoonful instead of large chunks sitting apart from the gravy.
Venting a few slits in the topping lets steam escape during baking rather than trapping it underneath, which is part of what keeps the crust from turning gummy even in the center of the dish.
Quick Information
Prep time: 20 minutes. Cook time: 35 minutes. Total time: 55 minutes. Servings: 6. Difficulty: Easy. Calories: about 490 per serving. The one thing that matters most here is reducing the filling to the right thickness before it meets the topping, since skipping that step is the main reason this dish turns soggy. Good for a cold-weather weeknight dinner using leftover or rotisserie chicken.
Ingredients
For the filling:
- 4 tablespoons unsalted butter
- 1 medium onion, diced
- 2 celery stalks, diced
- 2 large carrots, diced
- 3 cloves garlic, minced
- 1/3 cup all-purpose flour
- 3 cups chicken broth
- 1 cup whole milk
- 3 cups cooked chicken, shredded (rotisserie works well)
- 1 cup frozen peas
- 1 teaspoon dried thyme
- Salt and black pepper, to taste
Diced carrots and celery go in early here since they need real cook time to soften, while the peas wait until the very end so they stay bright and distinct instead of turning drab.
For the topping:
- 1 can (16.3 oz) refrigerated biscuit dough, or 1 sheet frozen puff pastry, thawed
- 2 tablespoons unsalted butter, melted
- 1 egg, beaten (for puff pastry only, as an egg wash)
Puff pastry gives a flakier, more dramatic finish, while biscuit dough bakes up heartier and closer to a traditional casserole feel, either works with the same filling underneath.
You may also like: tuna noodle casserole
Recipe Timing
Prep: 20 minutes. Cook: 35 minutes. Rest: 10 minutes. Total: 1 hour 5 minutes. Servings: 6. Difficulty: Easy. Cuisine: American. Course: Main dish.
Allergen and Dietary Disclosure
This recipe contains dairy (butter, milk), gluten (flour, biscuit dough or puff pastry), and egg (if using puff pastry with an egg wash, skip this for a biscuit version). For a dairy-free version, a dairy-free butter substitute and unsweetened oat milk work in the filling, though most refrigerated biscuit and puff pastry products contain butter or dairy, so check labels carefully or make a dairy-free pastry from scratch. For gluten-free, a 1-to-1 gluten-free flour blend works in the roux, and a gluten-free biscuit or pie crust recipe can replace the topping, though texture will vary from the original.
Equipment Needed
A large oven-safe skillet or Dutch oven lets you build the filling and bake the whole casserole in one pan, cutting down on dishes. A 9×13 baking dish works fine too if you’d rather transfer the filling over. A whisk, since lumps in the roux are the most common point of failure in this filling. A pastry brush for applying the melted butter or egg wash evenly across the topping.
Nutrition Information
Calories: 490 per serving. Protein: 28g. Carbs: 38g. Fat: 24g. Fiber: 3g. Sugar: 5g. Sodium: 780mg. Serving size: about 1.5 cups. Servings per recipe: 6. This dish leans higher in sodium mainly from the broth and biscuit or pastry topping combined, so a low-sodium broth is worth using if that’s a concern. These figures are estimates based on standard USDA nutrition data and will shift depending on the exact topping and broth used, not a substitute for a nutrition label or lab analysis.
Why the Bottom of the Crust Stays Soggy (And How Reducing the Filling Fixes It)
A casserole topping sits directly against whatever liquid is underneath it, and if that liquid is thin, it behaves exactly like water poured onto bread, soaking upward through capillary action the entire time it bakes. A properly reduced filling, thick enough to hold its shape on a spoon rather than pour freely, has far less free liquid available to migrate into the topping in the first place. That’s the same principle behind why a well-made stew thickens before it’s served over biscuits, rather than relying on the biscuits to somehow stay dry while sitting in broth.
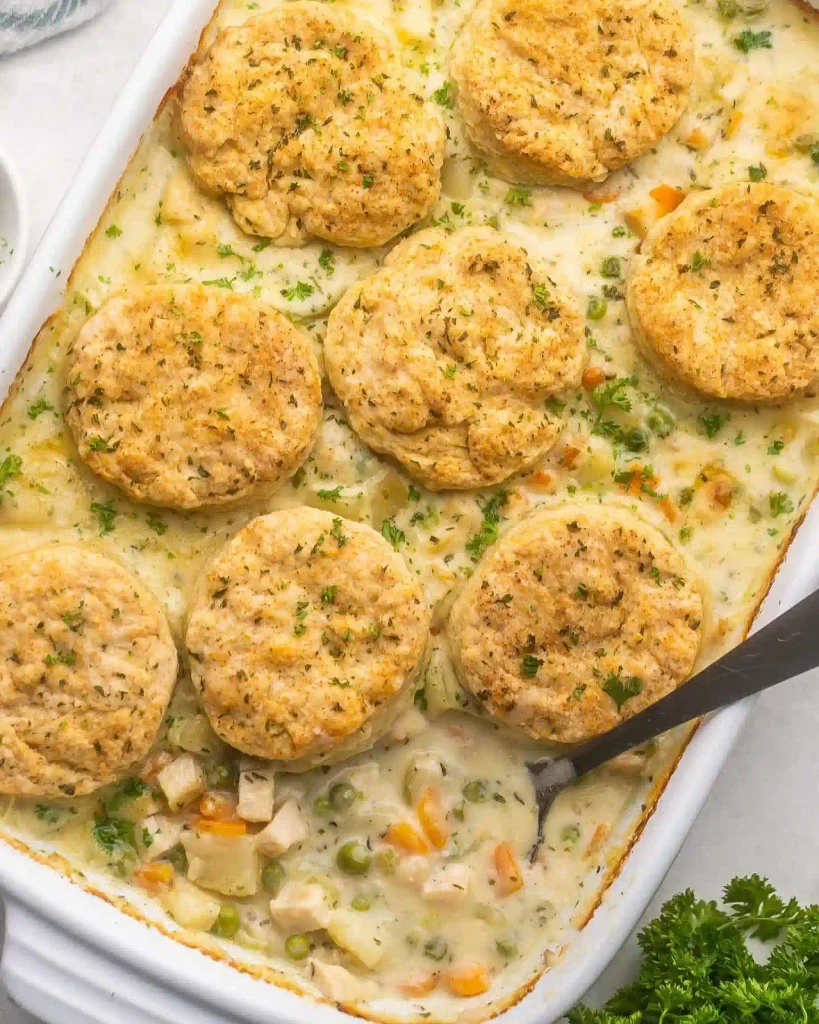
Brushing melted butter over the topping before baking adds a second layer of protection, since a thin fat barrier resists moisture penetration better than bare dough does on its own.
Preparation
Dice the onion, celery, and carrots before starting the stovetop filling, since they go in together early and you don’t want to be chopping while the roux is already forming. Shred the rotisserie chicken if you haven’t already. Preheat the oven to 400°F partway through building the filling, so it’s fully heated by the time the casserole is assembled. If using puff pastry, let it thaw according to the package directions rather than rushing it, since cold, stiff pastry tears more easily when unrolled.
Step-by-Step Method
- Melt the butter in a large oven-safe skillet or Dutch oven over medium heat, then add the onion, celery, and carrots. Let these cook for about 6 minutes, until the onion turns translucent and the carrots have softened slightly at the edges.
- Stir in the garlic and cook for 30 seconds, just long enough to smell it turn fragrant, since garlic left in the hot butter much longer than that starts to taste bitter.
- Sprinkle the flour over the vegetables and stir until every piece is coated, cooking this mixture for a full 2 minutes so the raw flour taste cooks out before any liquid goes in.
- Slowly pour in the chicken broth while whisking constantly, working out any flour clumps as they form against the sides of the pan.
- Whisk in the milk and dried thyme, then bring the mixture to a gentle simmer, small bubbles breaking steadily rather than a hard boil.
- Let the filling simmer for 8 to 10 minutes, stirring occasionally, until it thickens enough to coat the back of a spoon and hold a clear line when you drag a finger through it. Because this filling contains dairy and needs real reduction time, rushing this step with higher heat risks scorching the bottom before the thickness actually develops.
- Stir in the shredded chicken and frozen peas, folding them through until evenly distributed, then season with salt and pepper, tasting before adding much salt since the broth and chicken both already carry some.
- Remove the skillet from heat. If using biscuit dough, arrange the biscuits in a single layer over the top of the filling, leaving small gaps between them for steam to escape. If using puff pastry, drape the sheet over the top, trimming any excess that overhangs the pan by more than an inch.
- Brush the biscuits with melted butter, or brush the puff pastry with the beaten egg wash, covering the surface evenly so it browns consistently rather than in patches.
- Cut a few small slits into the puff pastry if using it, giving steam somewhere to go other than straight up against the crust’s underside.
- Bake at 400°F for 20 to 25 minutes, until the topping turns deep golden brown and the filling bubbles visibly around the edges of the dish.
- Let the casserole rest for 10 minutes before serving, since the filling is still actively settling and cutting in too soon lets it run thin across the plate.
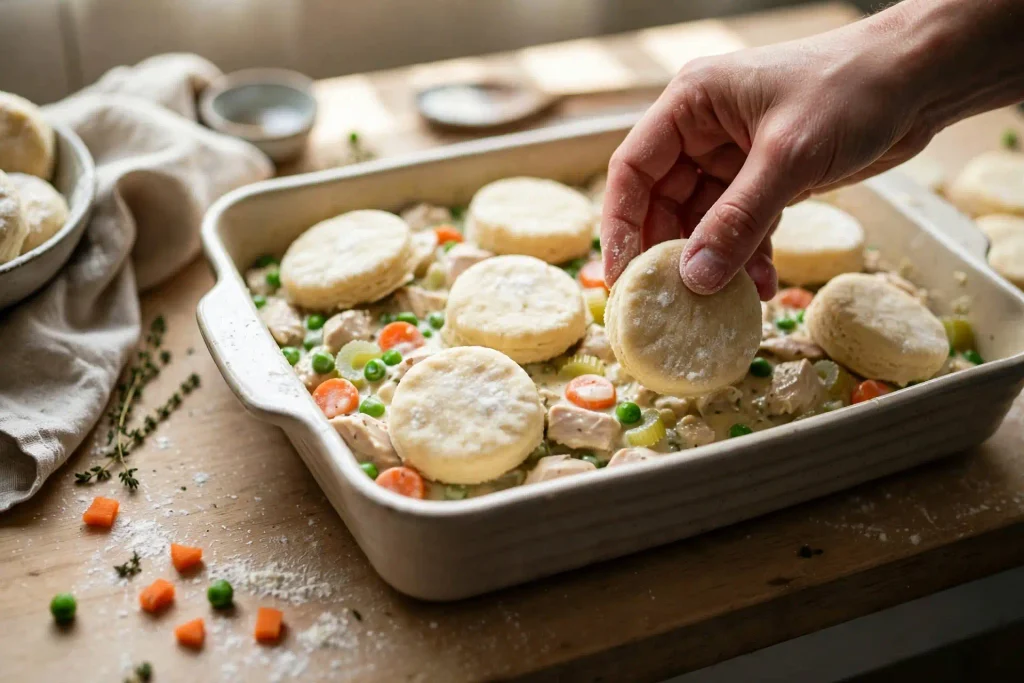
Chef’s Note: If your filling looks thin even after 10 minutes of simmering, your heat is probably too low to actually reduce it. Raise it slightly rather than extending the time further, or you risk a filling that’s just warm and still thin.
Chef’s Note: Puff pastry shrinks slightly as it bakes, so cutting it a touch larger than the dish itself before draping it on gives enough overhang to account for that pull.
Chef’s Note: The step most people skip is venting the topping. Without a few slits or natural gaps between biscuits, steam builds up underneath and the crust turns gummy even when the filling itself was properly thickened.
You may also like: cheeseburger soup
Expert Tips & Tricks
You can make the filling up to 2 days ahead and store it in the fridge, then reheat it gently on the stove and add a fresh topping right before baking.
Leftovers keep in an airtight container in the fridge for up to 3 days, though the topping softens considerably, a few minutes back in a 375°F oven brings some crispness back.
If you want more vegetables, a cup of diced potato added alongside the carrots in step one works well, just extend the initial sauté by a couple of minutes so it has time to soften.
Using heavy cream instead of whole milk makes a noticeably richer filling, though it also raises the calorie count meaningfully if that’s a concern.
A splash of dry white wine added right after the garlic, before the flour, deepens the flavor if you have an open bottle, letting it cook off for about a minute before the roux step.
Doubling this recipe works in a 9×13 dish, just extend the bake time by about 10 minutes since the filling layer runs deeper and takes longer to bubble through.
Common Mistakes & Troubleshooting
Bottom of the crust stays soggy no matter how long it bakes. This almost always means the filling wasn’t reduced enough before the topping went on. Give it the full 8 to 10 minutes at a steady simmer and check for a spoon-coating thickness first.
Topping browns on top but stays pale or gummy in the center. Usually caused by skipping the vent slits or gaps between biscuits, trapping steam directly underneath. Always leave room for steam to escape, whether that’s natural gaps or cut slits.
Filling tastes bland despite the thyme and seasoning. Salt gets diluted across a large volume of broth, chicken, and vegetables, so taste again after everything is combined, not just at the start of the roux.
Vegetables turn mushy instead of holding texture. This happens when peas or other quick-cooking vegetables go in too early and simmer the whole time. Add peas at the very end, right before the topping goes on, so they only cook through baking.
Puff pastry doesn’t puff up the way it’s supposed to. Usually means the pastry wasn’t cold enough when it went into the oven, or the oven wasn’t fully preheated. Keep the pastry chilled until the last possible moment and make sure the oven has reached full temperature first.
Honest Trade-Off
Building the filling fully on the stovetop before assembling the casserole takes about 15 minutes longer than versions where everything goes into the dish raw and bakes together from the start. The all-in-one method is faster to assemble and uses one less pan, it just risks a thinner filling and soggier crust since there’s no reduction step built in. Someone who wants dinner assembled and in the oven fast should skip the stovetop reduction; someone who wants a crust that stays genuinely crisp should take the extra time.
Storage & Make-Ahead
Refrigerate leftovers in an airtight container for up to 3 days. Reheat individual portions in a 375°F oven for about 10 minutes to bring back some crispness in the topping, since the microwave leaves it soft and sometimes rubbery.
Freezing the baked casserole isn’t ideal, since both the biscuit or pastry topping and the dairy-based filling change texture noticeably after thawing. If you want to freeze ahead, freeze the filling alone in an airtight container for up to 3 months, then thaw, reheat, and add a fresh topping before baking.
Variations & Substitutions
For a heartier version, add a cup of diced potatoes to the filling alongside the carrots, extending the initial sauté time slightly to soften them.
For a lighter version, swap the whole milk for 2% and use a bit less butter in the roux, though the filling will be slightly less rich.
For a vegetarian version, swap the chicken for a mix of mushrooms and white beans, and use vegetable broth in place of chicken broth, the thickening method stays the same.
For a spicier version, add a pinch of cayenne or a few dashes of hot sauce to the filling right before it goes under the topping.
Serving Suggestions
A simple green salad with a vinegar-based dressing cuts through the richness of the filling well. Cranberry sauce on the side adds a tart contrast that works especially well if you’re serving this around the holidays. Roasted Brussels sprouts or green beans round out the meal with some color and texture the casserole itself doesn’t have. For drinks, a dry white wine like Chardonnay pairs naturally with the creamy filling.
You may also like: guacamole
FAQ
Can I make chicken pot pie casserole ahead of time?
Yes, make the filling up to 2 days ahead and store it in the fridge, then reheat it gently on the stove and add a fresh biscuit or pastry topping right before baking. This works better than assembling the whole casserole ahead, since the topping holds its texture best when it’s fresh.
Why does my chicken pot pie casserole have a soggy bottom crust?
This almost always means the filling wasn’t thick enough before the topping went on, leaving excess liquid to soak upward during baking. Simmer the filling until it coats the back of a spoon and holds a clear line when you run a finger through it, usually 8 to 10 minutes.
Can I use puff pastry instead of biscuit dough?
Yes, puff pastry gives a flakier, more dramatic finish compared to the heartier texture of biscuit dough. Brush it with a beaten egg wash instead of melted butter for the best browning, and cut a few slits to let steam escape during baking.
How do I know when the casserole is done baking?
Look for the topping to turn deep golden brown, not just a light tan, and check that the filling is visibly bubbling up around the edges of the dish. If the topping is browning too fast before the filling bubbles, loosely tent it with foil for the remaining bake time.
Is this recipe safe for someone with a dairy allergy?
As written, no, it contains butter and milk in the filling along with dairy in most biscuit or puff pastry products. A dairy-free butter substitute and oat milk work in the filling itself, though finding a genuinely dairy-free topping usually means making one from scratch rather than relying on a store-bought product.
One Thing Worth Remembering
The filling needs to stand on its own before it ever meets the topping, thick enough to hold its shape rather than pour like a thin soup. Skip that reduction step, and no amount of butter brushed on top or slits cut into the crust fully makes up for the moisture working its way upward from underneath. Get the filling right first, and the topping’s job becomes simple: brown and stay crisp, instead of fighting a losing battle against liquid it was never built to hold back.
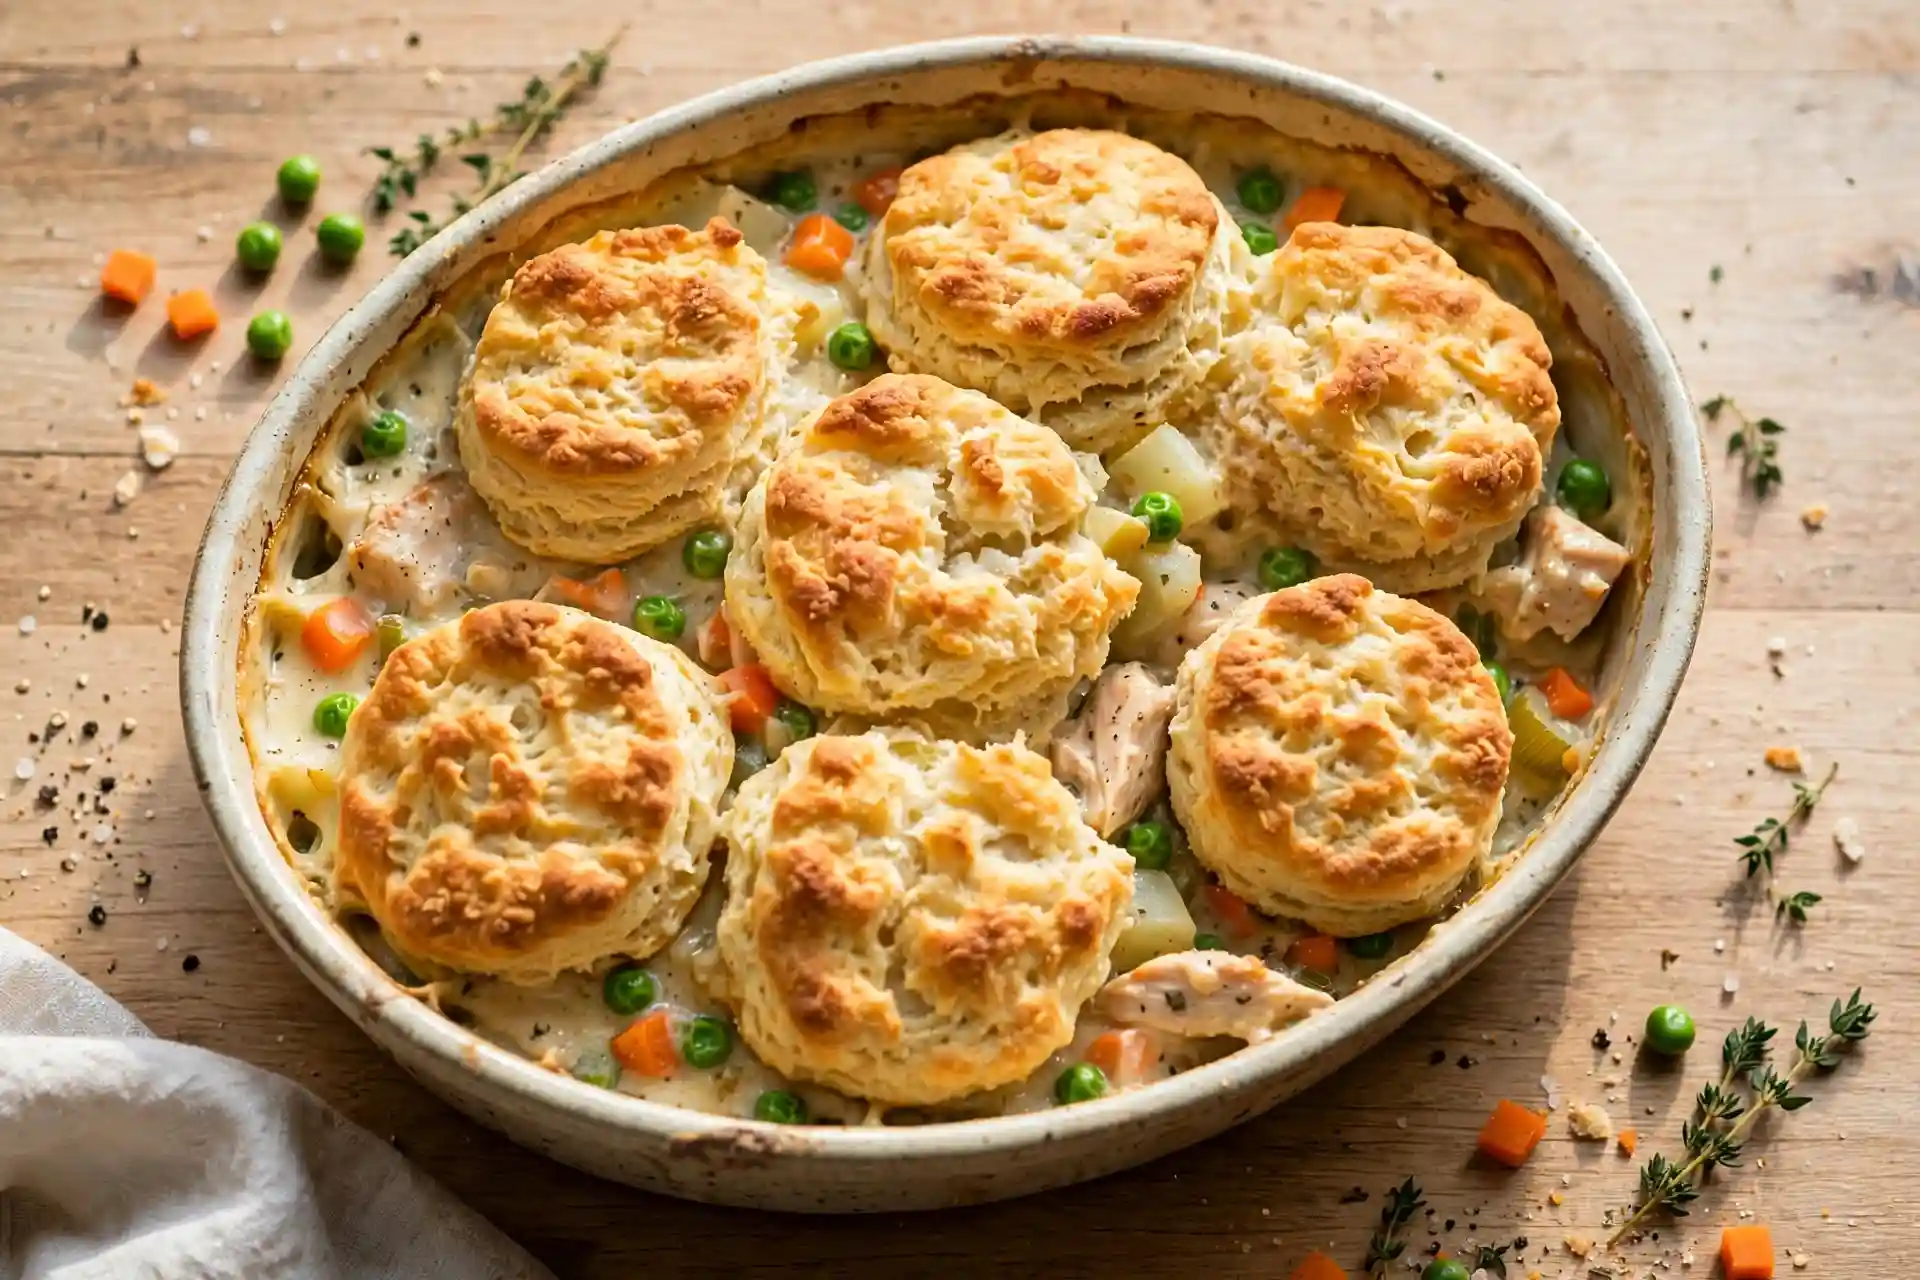
Chicken Pot Pie Casserole
Ingredients
Method
- Sauté onion, celery, and carrots in butter, about 6 minutes.
- Add garlic, cook 30 seconds.
- Stir in flour, cook 2 minutes.
- Whisk in broth gradually until smooth.
- Add milk and thyme, bring to a simmer.
- Simmer 8 to 10 minutes until spoon-coating thick.
- Stir in chicken and peas, season with salt and pepper.
- Top with biscuits or puff pastry, leaving vents for steam.
- Brush with melted butter or egg wash.
- Bake at 400°F for 20 to 25 minutes until golden and bubbling.
- Rest 10 minutes before serving.

3 Comments
Comments are closed.