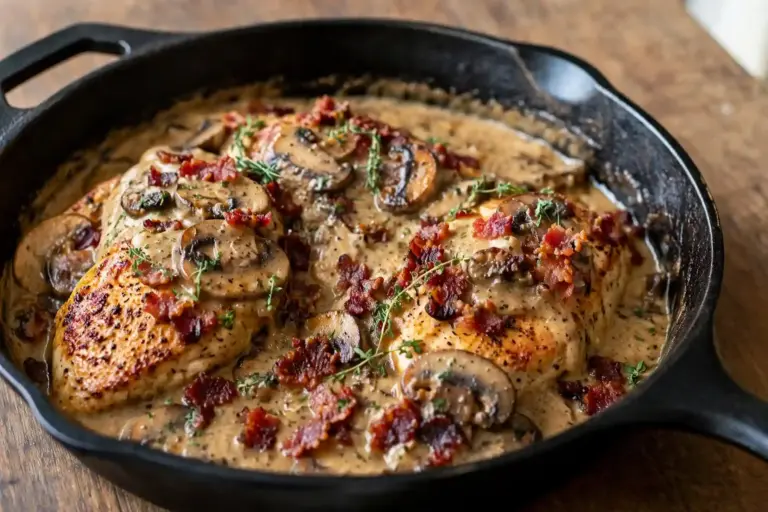
Cheeseburger Sliders
Cheeseburger Sliders With Melty Cheese and a Buttery Garlic Top
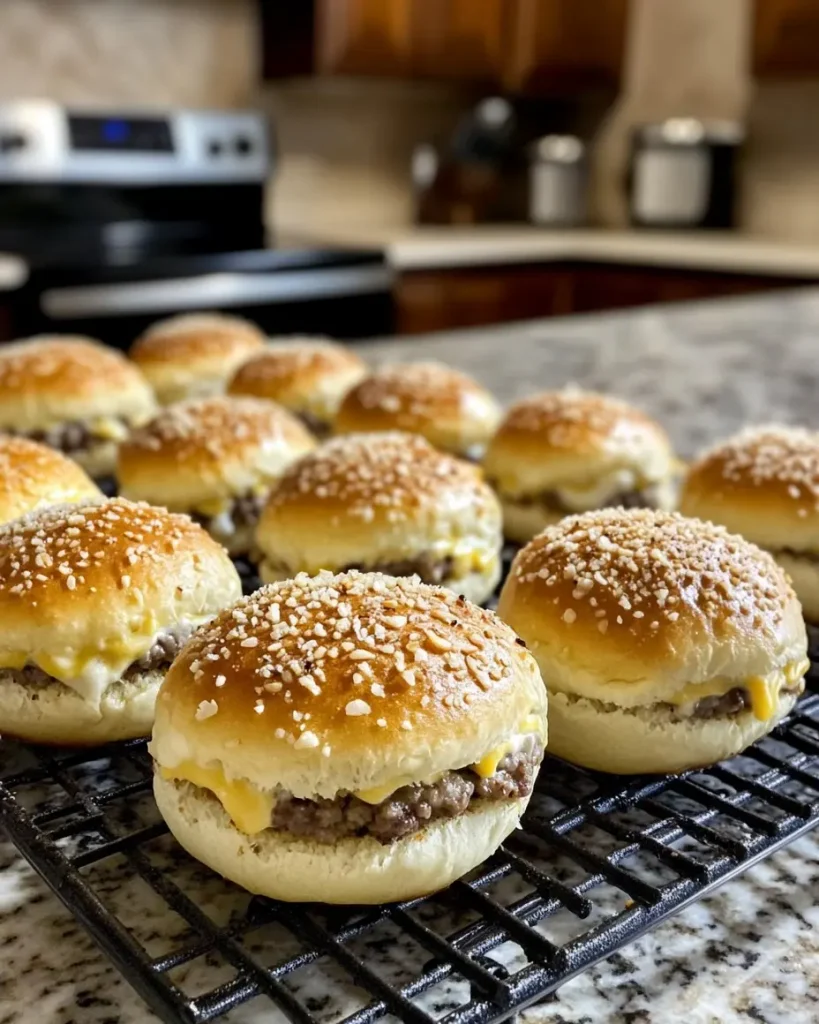
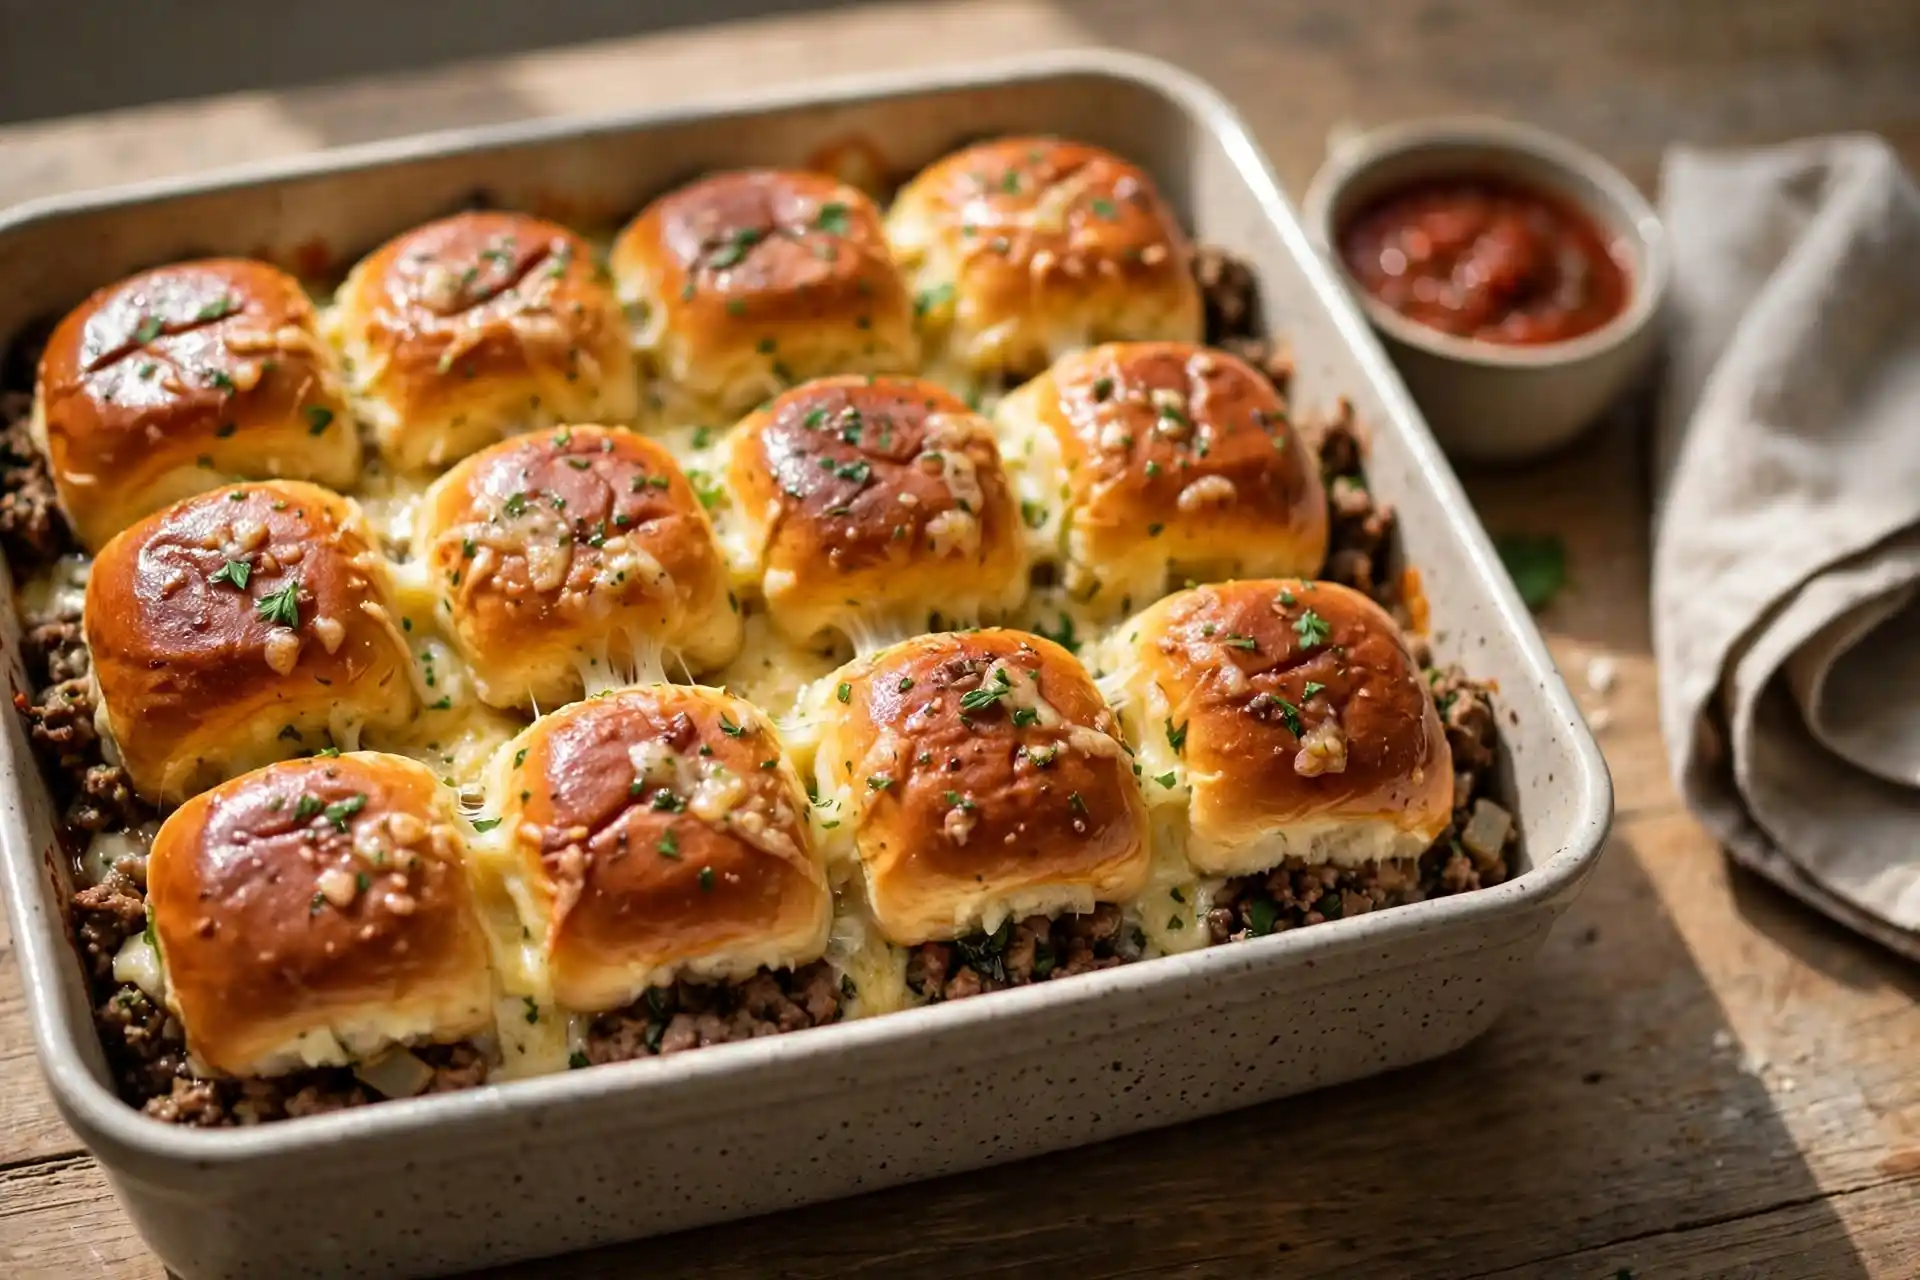
Cheeseburger sliders turn a dozen small burgers into one pan you pull straight from the oven, already assembled, already cut into neat squares. Seasoned ground beef cooks into a thin, even layer, gets topped with cheese, and bakes between two halves of soft slider buns brushed with a garlic butter that crisps the tops while the inside stays soft and melty.
The usual problem with baked sliders is a soggy bottom bun or beef that’s seasoned so lightly it tastes like filler. This version avoids both. The beef is spread and pressed into an even layer before baking rather than piled into individual patties that leak grease, and the bottom buns get a light brush of butter before the beef goes on, which keeps moisture from soaking all the way through.
The recipe makes 12 sliders, takes about 35 minutes, and works for game day, a quick dinner, or feeding a group that wants to eat with their hands.
Why These Cheeseburger Sliders Disappear Fast
- The beef layer is seasoned the way a griddle patty would be, with Worcestershire sauce and onion powder mixed directly into the meat rather than relying on the cheese and bun alone for flavor.
- A light brush of butter on the bottom buns before the beef goes on creates a barrier that keeps the bread from turning soggy underneath a juicy layer of meat.
- Two layers of cheese, one directly on the beef and one under the top bun, means every bite pulls a stretch of melted cheese instead of a dry gap in the middle.
- The garlic butter brushed on top does double duty: it crisps the bun into a shatter at the edges and carries the garlic flavor through the whole pan as it bakes.
- Twelve sliders come out of one pan in one bake, so there’s no standing at a griddle flipping patties in batches.
- They reheat well enough that leftovers taste nearly as good as the first night.
Quick Recipe Snapshot
- Prep time: 15 minutes
- Cook time: 20 minutes
- Rest time: 5 minutes
- Total time: 40 minutes
- Servings: 12 sliders
- Difficulty: Easy
- Calories: About 310 per slider
- Most important tool: A 9×13 inch baking dish
- Best for: Game day, parties, quick weeknight dinners
Ingredients
The Beef Layer
Pressing the beef into one even sheet, rather than forming individual patties, is what keeps every slider the same thickness and the same doneness.
- 1½ pounds ground beef (80/20)
- 1 small yellow onion, finely diced
- 2 teaspoons Worcestershire sauce
- 1 teaspoon garlic powder
- 1 teaspoon onion powder
- ¾ teaspoon fine salt
- ½ teaspoon black pepper
The Buns and Cheese
Hawaiian rolls hold together better than a standard dinner roll once they’re soaked in butter and baked, since their slightly sweet, dense crumb resists turning mushy.
- 12 Hawaiian sweet rolls, or slider buns, left connected
- 8 slices American cheese
- 8 slices sharp cheddar
The Garlic Butter Topping
Brushing the butter on right after it melts, while it’s still warm, helps it soak evenly into the bun tops instead of sitting in one spot.
- 6 tablespoons unsalted butter, melted
- 1 tablespoon Dijon mustard
- 1 tablespoon Worcestershire sauce
- 3 garlic cloves, minced
- 1 teaspoon dried minced onion, or onion powder
- 1 teaspoon poppy seeds, optional
- 2 tablespoons chopped fresh parsley
Optional Add-Ins
- ½ cup diced dill pickles
- ¼ cup ketchup mixed with 2 tablespoons mayonnaise, for serving
Substitutions that hold up: Ground turkey works at the same weight, with 1 tablespoon of oil mixed in since lean meat releases far less fat. Potato rolls or King’s Hawaiian original rolls both work in place of the sweet rolls. Pepper jack replaces the cheddar for a spicier version. Sesame seeds can stand in for the poppy seeds on top.
Recipe Timing
- Prep: 15 minutes
- Cook: 20 minutes
- Rest: 5 minutes
- Total: 40 minutes
- Servings: 12 sliders
- Difficulty: Easy
- Cuisine: American
- Course: Dinner, appetizer
Feeding a crowd that wants a bigger spread? Chicken pot pie casserole bakes in the same hands off style and rounds out a buffet table well.
Allergen and Dietary Disclosure
These sliders contain dairy (butter, cheese), wheat/gluten (buns), and egg (in the rolls and optional mayo based sauce). Worcestershire sauce sometimes contains fish or soy, so check the label if either is a concern.
- Dairy: A dairy free butter and plant based cheese slice both work, though the melt won’t stretch quite the same way.
- Gluten: Gluten free slider buns replace the Hawaiian rolls, though they’re more delicate, so handle the assembled pan gently when slicing.
- Egg: Most slider buns contain egg in the dough. A certified egg free roll can replace them if needed, and the mayo based dipping sauce can be skipped entirely.
Equipment Needed
- 9×13 inch baking dish. The right size for 12 connected slider buns to fit snugly without gaps.
- Large skillet. Browns the beef in one even batch before it goes into the buns.
- Serrated knife. Slicing connected slider rolls in half horizontally works far better with a serrated edge than a straight blade.
- Pastry brush. Spreads the garlic butter evenly across the tops without soaking one spot more than another.
Nutrition Information
Per slider (12 sliders per recipe):
- Calories: 310
- Protein: 16 g
- Carbohydrates: 18 g
- Fat: 19 g
- Fiber: 1 g
- Sugar: 4 g
- Sodium: 520 mg
Two layers of cheese and a buttered top push the fat and sodium higher than a single plain cheeseburger patty, so using one cheese layer instead of two trims roughly 50 calories per slider. These figures are estimates built from USDA FoodData Central data and shift with the beef’s fat percentage and how much butter soaks into the buns.
How Baked Sliders Get Crisp Tops and a Soggy-Free Bottom
Bread placed directly under a layer of hot, juicy meat absorbs moisture fast, which is why a plain slider bun often turns gummy on the bottom by the time it reaches the table. A thin layer of butter brushed onto the bottom bun before the beef goes on works as a barrier, since fat repels water better than dry bread does, the same principle behind brushing butter under a pie crust to keep a wet filling from soaking through.
The garlic butter on top does something different. Butter melting into bread as it bakes carries flavor into the crumb, while the surface left exposed to direct oven heat crisps and browns, the same contrast that makes garlic bread work: soft and buttery underneath, crackly on top.
Pressing the beef into one even sheet rather than forming separate patties solves a timing problem specific to sliders. Individual mini patties cook unevenly in a crowded dish, with edges drying out before the centers finish, while one even layer of meat cooks at a single consistent rate across the whole pan.
What are cheeseburger sliders? Cheeseburger sliders are small cheeseburgers made by baking a seasoned beef layer and melted cheese between halves of soft dinner rolls, usually brushed with a garlic butter topping and baked together as one connected tray.
Preparation
Preheat the oven to 350°F. Melt the butter for the topping in a small saucepan or the microwave and whisk in the mustard, Worcestershire sauce, garlic, and dried onion while it’s still warm. Dice the onion for the beef and shred or slice the cheeses if they aren’t already pre-sliced. Keep the slider rolls connected as one sheet rather than separating them into individual buns.
Step by Step Method
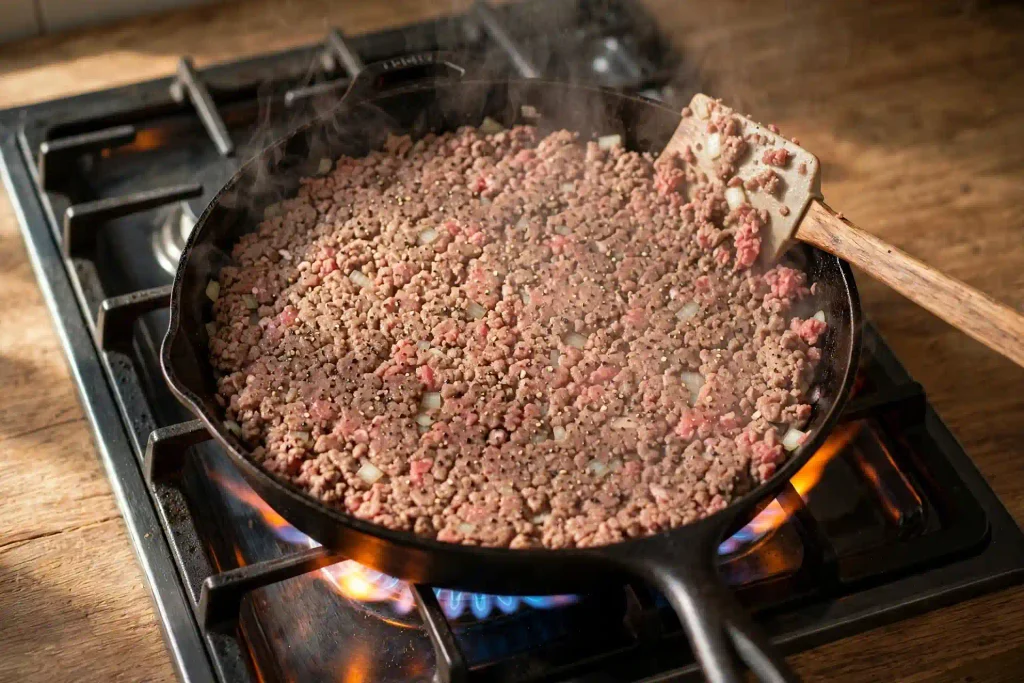
Warm a large skillet over medium high heat and add the ground beef, onion, Worcestershire sauce, garlic powder, onion powder, salt, and pepper all at once. Break the beef apart as it cooks, stirring until no pink remains and it reaches 160°F, about 7 minutes.
Drain any excess fat from the skillet, then spread the cooked beef mixture into as even a layer as you can manage right in the pan, pressing gently with the back of the spatula.
Chef’s Note: An uneven beef layer means some sliders end up thin and some end up overloaded. Taking an extra minute to press it flat pays off across all 12 pieces.
Using a serrated knife, slice the connected slider rolls in half horizontally in one cut, keeping both the top and bottom halves intact as single sheets.
Place the bottom half of the rolls into the greased baking dish, cut side up. Brush lightly with about 1 tablespoon of the garlic butter mixture.
Lay the American cheese slices evenly across the buns, then spread the beef mixture over the cheese in an even layer. Top the beef with the cheddar slices, then set the top half of the rolls over everything.
Chef’s Note: Two cheese layers, one under and one directly touching the top bun, keep the cheese from pooling only in the middle once it melts.
Brush the remaining garlic butter generously over the top of the rolls, letting it pool slightly in the seams between individual buns. Sprinkle with poppy seeds if using.
Cover the dish tightly with foil and bake for 12 minutes, until the cheese is fully melted.
Remove the foil and bake uncovered for another 6 to 8 minutes, until the tops turn deep golden brown and slightly crisp at the edges.
Let the pan rest for 5 minutes before slicing. Cutting immediately lets the cheese run out instead of staying put between the layers.
Slice along the natural seams of the rolls into 12 individual sliders and scatter the parsley over the top.
Callout: Pierce a small vent hole in the foil before the first bake. A fully sealed cover traps steam that can make the tops soggy before they ever reach the uncovered browning stage.
Expert Tips and Tricks
- Make ahead: Assemble the full pan up through the garlic butter step, cover tightly, and refrigerate for up to 1 day. Bake straight from the fridge, adding about 5 extra minutes to the covered stage.
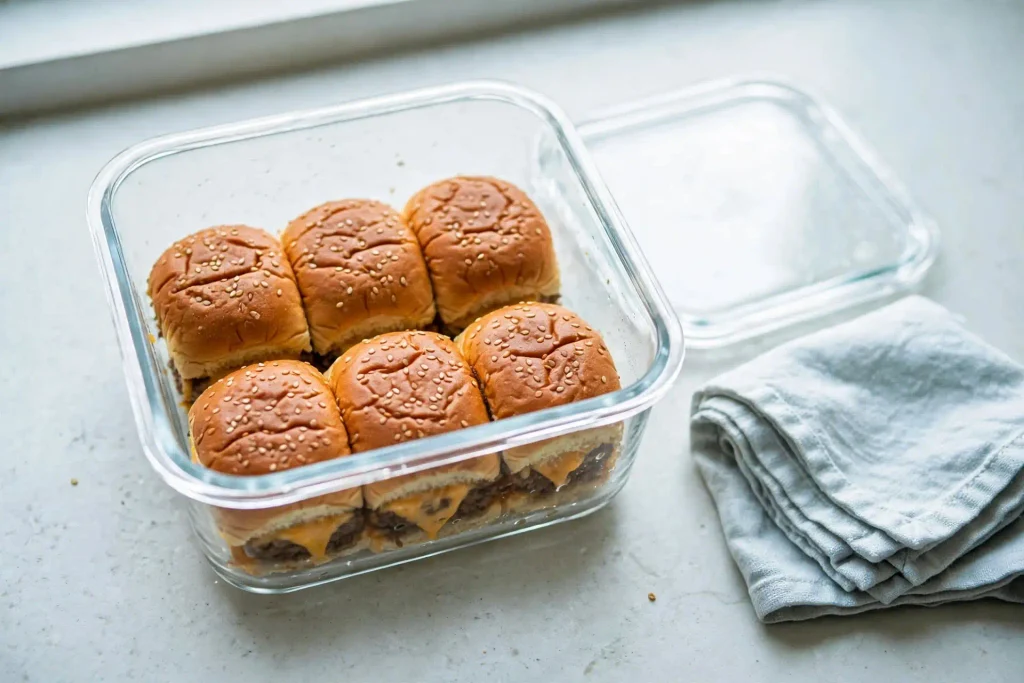
- Storage: Cool leftovers to room temperature within 2 hours before moving them to an airtight container.
- Keep the rolls connected: Slicing the whole sheet in one cut keeps the layers aligned, while separating individual buns first makes even layering much harder.
- Don’t skip draining the beef: Excess grease left in the pan soaks straight into the bottom buns no matter how much butter is brushed on first.
- Vent the foil: A small slit or a loosely tented cover lets steam escape so the tops don’t turn soggy during the covered bake.
- Double the garlic butter for extra crisp tops: A second light brushing right when the foil comes off adds another layer of browning in the final uncovered minutes.
- Use a sharp knife for the final cut: A dull blade drags the melted cheese and tears the soft buns instead of cutting clean lines.
Craving something saucier and baked for the same easygoing crowd? Million dollar spaghetti bakes in one dish with a similar cheesy, crowd pleasing appeal.
Common Mistakes and Troubleshooting
The bottoms turned soggy. The beef layer sat directly on dry bread without a butter barrier, or excess grease wasn’t drained before assembly. Brush the bottom buns with butter first and drain the beef thoroughly next time.
The tops didn’t brown. The foil stayed on too long, or the oven ran cooler than expected. Remove the foil for the full final 6 to 8 minutes and check your oven’s actual temperature if browning still lags.
The cheese pooled in the middle instead of spreading evenly. Only one layer of cheese was used, or the beef wasn’t pressed flat. Use both cheese layers and take the extra minute to press the beef into an even sheet.
The sliders fell apart when cut. They were sliced immediately out of the oven before resting. Give the pan the full 5 minutes to set before cutting along the roll seams.
The beef tasted bland. The seasoning was added too sparingly, or it was mixed in without really combining. Stir the seasonings through thoroughly as the beef browns, and taste a crumble before assembling the pan.
Honest Trade-Off
Baked sliders trade the charred, griddled crust of an individually seared patty for the convenience of one pan cooking twelve servings at once. Anyone chasing that deep sear and smoky char should griddle individual patties instead. This recipe suits anyone feeding a group who wants minimal hands on time and a tray that comes out of the oven ready to serve.
Storage and Make Ahead
Refrigerator: Store in an airtight container for up to 4 days.
Reheating: Cover with foil and warm in a 325°F oven for about 10 minutes, or microwave individual sliders for 20 to 30 seconds. The oven method keeps the tops from going fully soft.
Freezer: Baked sliders freeze well for up to 2 months. Wrap individually in foil, thaw overnight in the fridge, and reheat covered in a 325°F oven until warmed through.
Variations and Substitutions
- Bacon cheeseburger sliders: Add ½ cup of cooked, crumbled bacon or a halal bacon alternative between the beef and top cheese layer.
- Spicy: Use pepper jack instead of cheddar and stir ¼ teaspoon cayenne into the beef seasoning.
- Mushroom and swiss: Swap the cheddar for Swiss cheese and sauté ½ cup of sliced mushrooms to layer in with the beef.
- BBQ style: Mix 2 tablespoons of barbecue sauce into the cooked beef before layering, and brush a little extra over the top buns.
- Smaller batch: Halve all ingredients and use a 9×9 inch dish with 6 slider rolls for a smaller gathering.
Serving Suggestions
Cheeseburger sliders pair naturally with classic sides like crinkle cut fries, a simple coleslaw, or kettle chips for something that needs no extra prep. A platter of pickles and extra ketchup and mustard lets everyone customize their own slider at the table. For a cheesy, comforting dinner option to round out a bigger spread, white chicken enchiladas brings a different flavor profile that still feels like crowd pleasing comfort food. Cold soda or lemonade keeps the whole table feeling casual.
Callout: Set out small cups of the ketchup mayo sauce rather than one shared bowl. It keeps the serving line moving faster at a party and avoids a crowd around a single dipping bowl.
Frequently Asked Questions
Can I make cheeseburger sliders ahead of time?
Yes. Assemble the full pan through the garlic butter brushing step, cover tightly, and refrigerate for up to 1 day. Bake straight from the fridge, adding about 5 extra minutes to the covered portion of the bake since the pan starts out cold.
Why did my sliders turn out soggy on the bottom?
Grease left in the beef, or skipping the butter brushed onto the bottom buns, are the usual causes. Drain the cooked beef well before layering it on, and don’t skip that first light brush of butter, since it acts as a barrier between the bread and the juicy meat.
What can I use instead of Hawaiian rolls?
Regular slider buns or potato rolls both work, though Hawaiian rolls hold up best against the butter and beef juices because of their denser, slightly sweet crumb. Keep whichever roll you use connected as one sheet for the cleanest slicing and most even layering.
How do I know when the beef is fully cooked?
The beef should show no pink throughout and reach 160°F on an instant read thermometer, which the USDA lists as the safe temperature for ground beef. Visually, it should look uniformly browned with no translucent or pink sections remaining.
Are cheeseburger sliders safe for someone with a dairy, egg, or gluten allergy?
The standard recipe contains dairy in the butter and cheese, egg in the slider rolls and optional sauce, and gluten in the buns. Dairy free butter and cheese, egg free rolls, and gluten free buns can each swap in, though the texture and melt will change somewhat with each substitution. Check every label carefully before serving anyone with an allergy.
Conclusion
The butter brushed on the bottom buns is the detail easiest to skip and the one most responsible for whether this tray holds together cleanly or falls apart soggy. Give that step the full minute it takes, press the beef into one even layer, and let the pan rest before cutting. Double the garlic butter next time if a crisper top matters more to your crowd than it does to the standard version here.
Cheeseburger Sliders
Ingredients
Method
- Brown the beef with onion and seasonings until it reaches 160°F. Drain excess fat.
- Press the beef into an even layer.
- Slice the connected rolls in half horizontally in one cut.
- Place the bottom halves in a baking dish and brush with butter.
- Layer American cheese, the beef, and cheddar, then the top rolls.
- Brush the top with remaining garlic butter and sprinkle with poppy seeds.
- Cover with vented foil and bake at 350°F for 12 minutes.
- Uncover and bake 6 to 8 minutes until golden.
- Rest 5 minutes.
- Slice along the roll seams and top with parsley.