
Easy Chicken Pot Pie
Easy Chicken Pot Pie That Skips Homemade Crust Without Tasting Like It
A chicken pot pie doesn’t need a from-scratch crust to taste like it came from real effort, store-bought pie crust or puff pastry handles that part just fine when the filling underneath is actually good. The filling is where most “easy” versions fall flat, thin and watery from skipping the roux step, or bland from relying on canned soup alone. Build the filling properly and let a store-bought crust do its job on top, and this comes together in under an hour with no shortcuts in flavor.
Why This Easy Chicken Pot Pie Still Tastes Homemade
Making the roux from scratch with butter and flour, rather than relying on a can of condensed soup, gives the filling real body and a flavor base that isn’t dominated by one generic, overly salty note. Using rotisserie chicken instead of cooking raw chicken from scratch cuts a real chunk of time without sacrificing flavor, since the chicken’s already well-seasoned and tender. A splash of apple cider vinegar stirred in near the end brightens the richness of the cream-based filling in a way salt alone doesn’t achieve. Pre-baking the top crust separately for a few minutes before it ever meets the filling keeps the bottom from turning soggy once it’s set over the hot, thick mixture. Cutting steam vents into the crust lets moisture escape evenly, which keeps the top from cracking open randomly as it finishes baking.
Quick Information
- Prep time: 15 minutes
- Cook time: 35 minutes
- Total time: 50 minutes
- Servings: 6
- Difficulty: Easy
- Calories per serving: approximately 460
- Most important ingredient: rotisserie chicken, for a real time-saver
- Best for: weeknight dinners, feeding a family fast, using up leftover chicken
Ingredients
For the filling:
- 4 tablespoons unsalted butter
- 1 medium yellow onion, diced
- 2 carrots, diced small
- 2 celery stalks, diced small
- 3 cloves garlic, minced
- ⅓ cup all-purpose flour
- 2 cups chicken broth
- 1 cup milk
- 3 cups cooked rotisserie chicken, shredded or diced
- 1 cup frozen peas
- 1 teaspoon dried thyme
- 1 teaspoon apple cider vinegar
- 1 teaspoon salt, plus more to taste
- ½ teaspoon black pepper
Rotisserie chicken saves real time here without sacrificing flavor, it’s already well-seasoned and tender, which means this filling can focus its effort on building a good sauce rather than cooking raw chicken from scratch.
For the crust:
- 1 store-bought pie crust or sheet of puff pastry, thawed if frozen
- 1 egg, beaten (for egg wash)
A store-bought crust handles the part most home bakers find intimidating, if it’s rolled out and chilled properly before baking, nobody at the table will know the difference once it’s golden and flaky on top of a good filling.
You may also like: shepherds pie
Recipe Timing
Prep 15 minutes, cook 35 minutes, no rest time needed, total 50 minutes. Serves 6. Easy difficulty. American comfort food, main dish.
Allergen and Dietary Disclosure
This recipe contains dairy (butter, milk), gluten (flour, crust), and egg (egg wash). For a dairy-free version, swap the butter for a plant-based alternative and the milk for unsweetened oat milk, both work reasonably well in the sauce. For gluten-free, swap in a gluten-free pie crust and replace the flour with an equal amount of cornstarch, added as a slurry near the end rather than cooked with the butter at the start.
Equipment Needed
- 9-inch pie dish or similar-sized baking dish
- Large saucepan or skillet
- Whisk
- Rolling pin, if the crust needs rolling out
- Pastry brush
A whisk matters more here than it sounds, whisking the flour into the melted butter for a full minute before adding liquid is what prevents a lumpy, unevenly thickened filling once the broth and milk go in.
Nutrition Information
Per serving (based on 6 servings): 460 calories, 24g protein, 32g carbohydrates, 26g fat, 2g fiber, 5g sugar, 780mg sodium. This is an estimate based on standard USDA nutrition data for the ingredients listed and will vary by brand and exact portion size.
Why the Filling Matters More Than the Crust Here
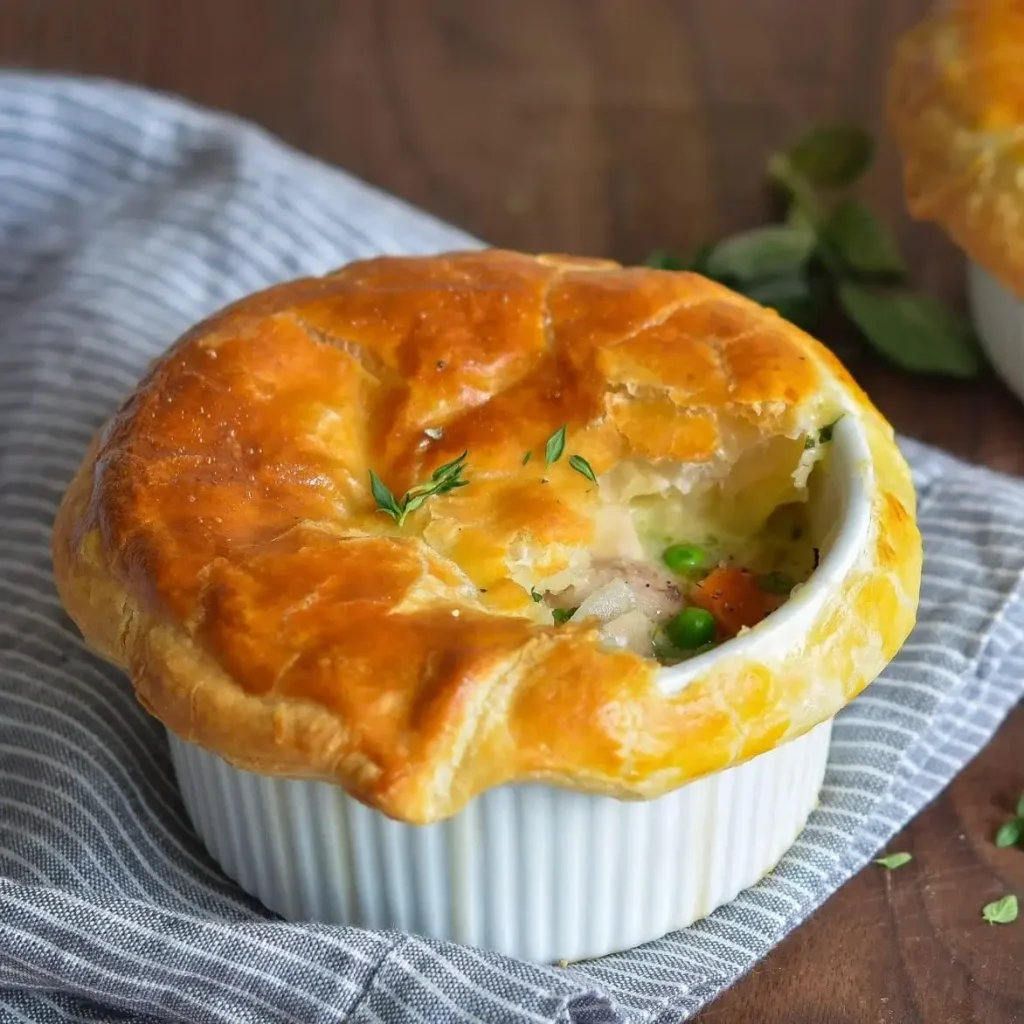
A chicken pot pie’s reputation rests almost entirely on its filling, whether it tastes rich and well-balanced or thin and bland from a canned shortcut, the crust is really just the vessel that delivers it. Building a proper roux from butter and flour, rather than dumping in a can of condensed soup, is what gives this version the same depth a fully homemade pie has, the crust shortcut barely registers once the filling underneath is doing its job properly.
Preparation
Preheat the oven to 400°F. Dice the onion, carrots, and celery ahead of time so they’re ready to go in right when the butter’s melted. If your pie crust is frozen, let it thaw according to the package directions before you need it for the top.
Step-by-Step Method
1. Melt the butter in a large saucepan or skillet over medium heat. Add the diced onion, carrots, and celery, and cook until softened, about 6 to 7 minutes, stirring occasionally so nothing sticks and burns.
2. Stir in the garlic and cook for 30 seconds, just until fragrant, garlic burns quickly in a hot pan and turns bitter if it sits too long before the next step.
3. Sprinkle the flour over the vegetables and stir constantly for about 1 minute, coating everything evenly. This step is what gives the filling its body later, skipping it leaves the filling thin no matter how long it simmers afterward.
4. Slowly whisk in the chicken broth, a splash at a time at first to avoid lumps forming before more liquid is added. Once fully combined, whisk in the milk.
5. Bring the mixture to a gentle simmer, whisking occasionally, and let it cook for 4 to 5 minutes until it thickens enough to coat the back of a spoon.
6. Stir in the shredded rotisserie chicken, frozen peas, dried thyme, apple cider vinegar, salt, and pepper. Simmer for another 2 to 3 minutes, just until the peas are heated through.
7. Taste the filling and adjust the seasoning here, this is your last real chance to fix the balance before it goes under the crust and into the oven.
8. Pour the filling into a 9-inch pie dish or similar-sized baking dish, spreading it into an even layer.
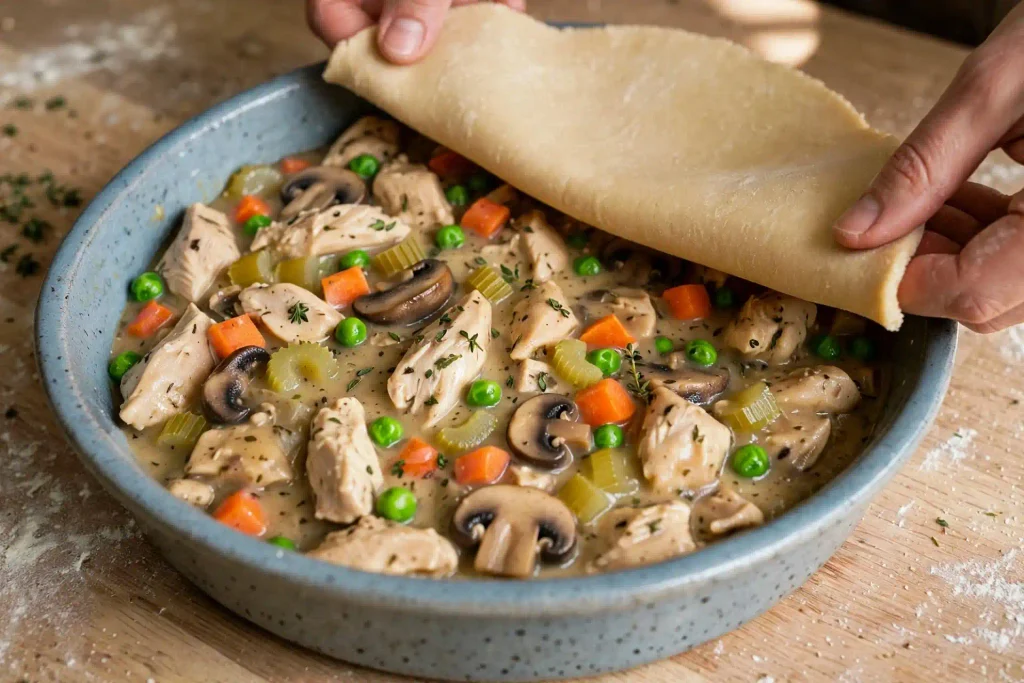
9. Roll out the pie crust or puff pastry if needed, and lay it over the filling, trimming any excess and crimping the edges against the dish to seal. Cut 3 to 4 small steam vents into the top, then brush the entire surface with the beaten egg.
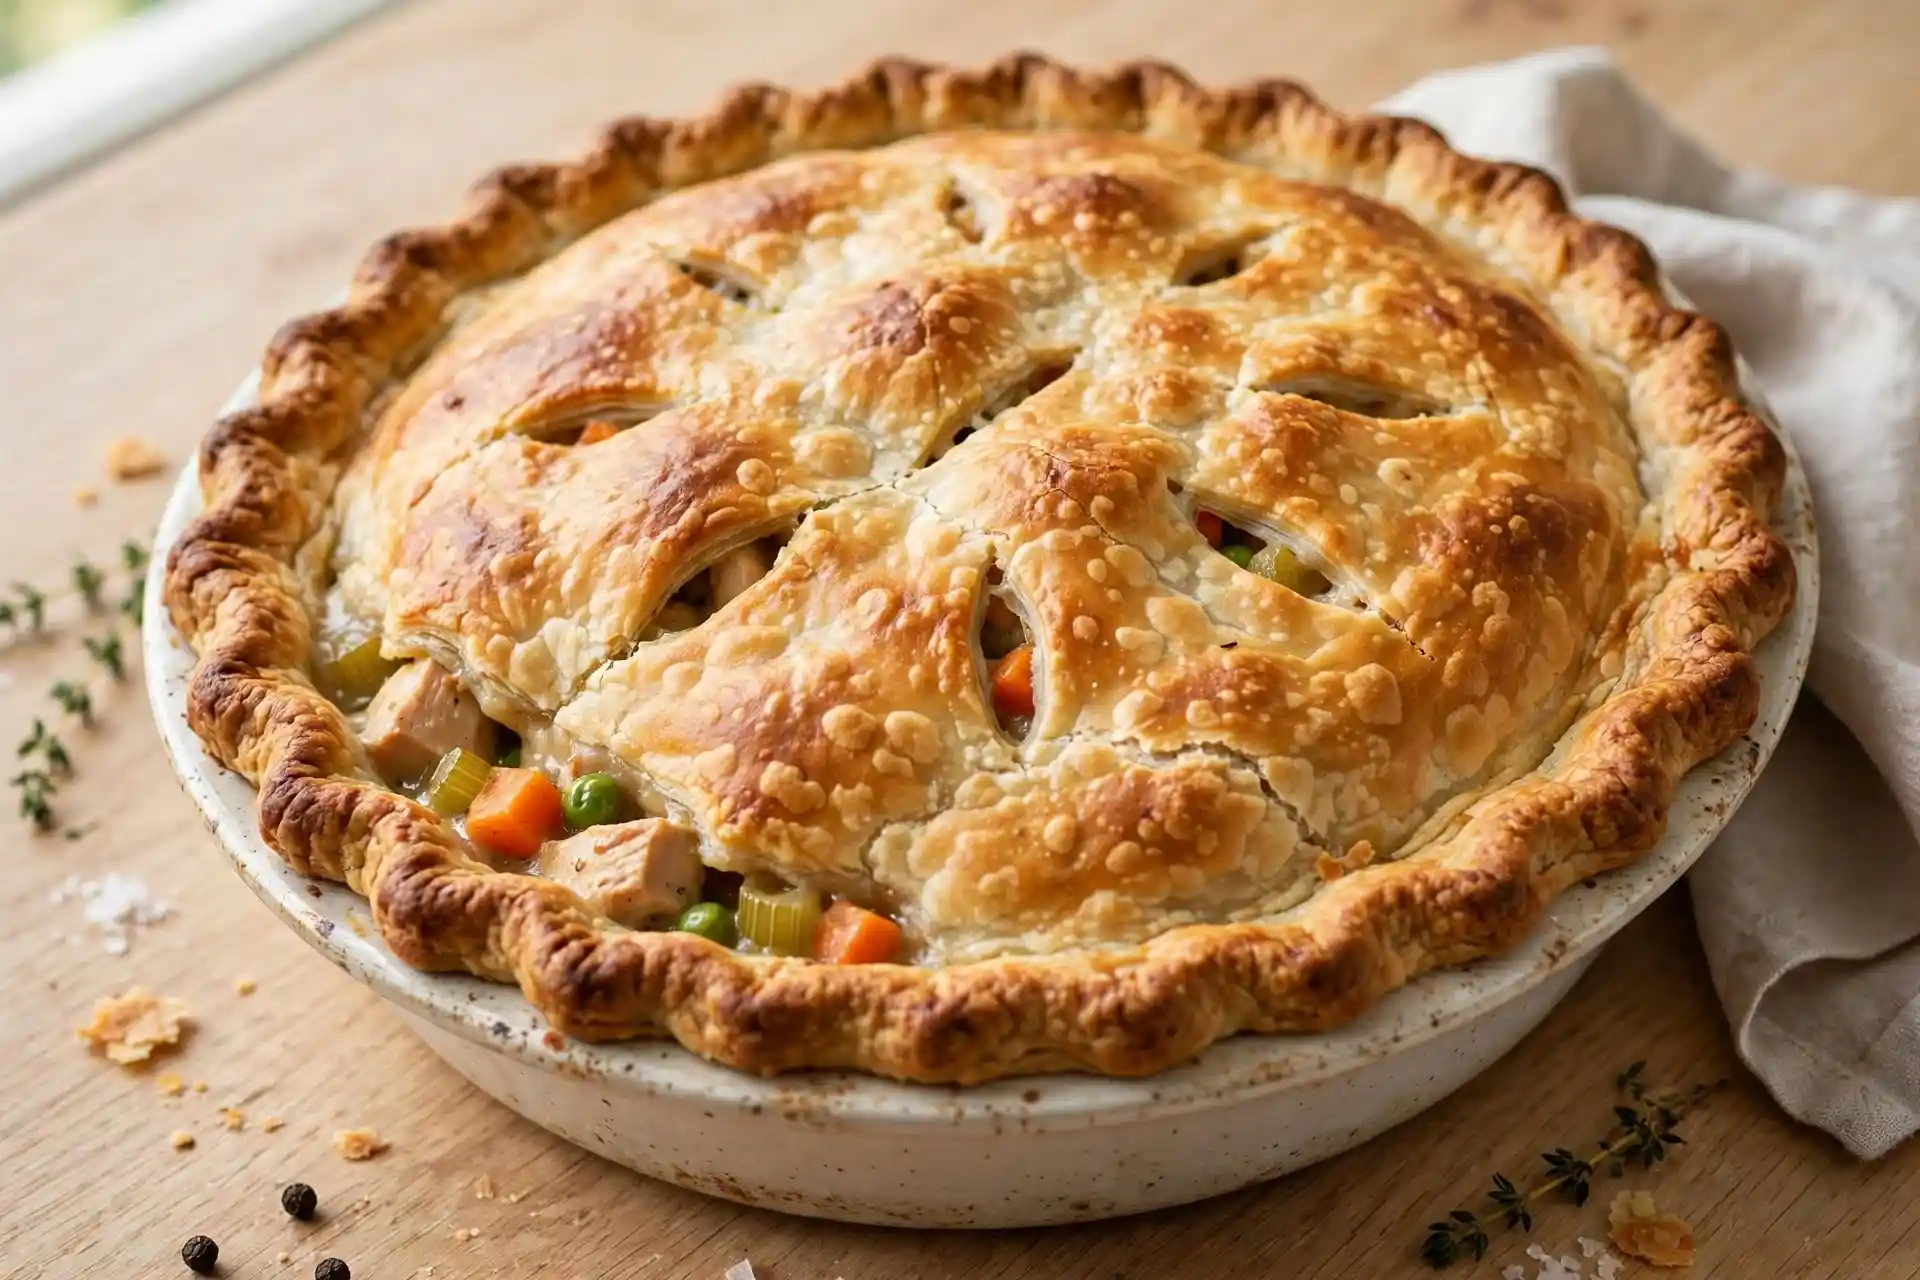
10. Bake for 25 to 30 minutes, until the crust is deep golden brown and the filling is visibly bubbling up through the vents.
Chef’s Note: If the crust is browning too fast before the full bake time is up, tent it loosely with foil for the remaining minutes.
Chef’s Note: Don’t skip whisking in the broth gradually at first. Dumping it all in at once is the most common reason this step turns lumpy instead of smooth.
Chef’s Note: If using puff pastry instead of pie crust, keep it cold right up until it goes over the filling, warm puff pastry won’t puff properly once baked.
You may also like: chicken pot pie soup
Expert Tips & Tricks
- Make-ahead: The filling can be made up to 2 days ahead and refrigerated, assemble with the crust and bake fresh when you’re ready to eat, rather than storing the fully assembled unbaked pie.
- Storage: Keeps in the fridge for up to 4 days in an airtight container, the crust softens somewhat on reheat but still tastes good.
- Use a glass or ceramic pie dish rather than metal, it lets you see the bottom crust’s color if you’re using a bottom crust as well, helping you judge doneness without guessing.
- If you’re short on rotisserie chicken, canned chicken breast works in a pinch, drained well, though the flavor won’t be quite as rich as freshly shredded rotisserie meat.
- Brush the egg wash in one direction with light, even strokes, pressing too hard can tear the delicate top layer of a store-bought crust before it even bakes.
- Add a diced potato to the filling along with the carrots and celery if you want a heartier, more traditional version with an extra vegetable.
Common Mistakes & Troubleshooting
Filling turns out thin and watery. The flour step was likely skipped or rushed, without it cooking into the butter for a full minute, there’s nothing to properly thicken the broth and milk once they’re added.
Crust is soggy on the bottom or where it meets the filling. The filling was likely too hot or too thin when the crust went over it. Let the filling thicken fully on the stove before pouring it into the dish, and make sure it’s not still steaming heavily when the crust goes on top.
Filling tastes bland despite the seasoning. It wasn’t tasted and adjusted on the stove before baking. Taste the filling while it’s still simmering, that’s the easiest point to fix the balance before it’s sealed under the crust.
Top crust burns before the filling is fully heated through. The oven ran hot, or the dish sat too close to the top heating element. Move the rack to the center position and tent with foil if browning gets ahead of the bake time.
Crust shrinks or pulls away from the edges. It was stretched too thin while fitting it over the dish, which causes it to pull back as it bakes. Let rolled-out crust rest for a minute before placing it, and avoid stretching it to fit the dish.
Honest Trade-Off
This shortcut version trades the slightly more distinctive texture and flavor of a fully homemade, from-scratch crust for real time savings, a store-bought crust is good, but a well-made scratch crust has a flakiness that’s hard to fully replicate. If you have the extra time and want that difference, a homemade crust will get you there, though it adds a real chunk of hands-on time this version is specifically built to skip.
Storage & Make-Ahead
Store in an airtight container in the refrigerator for up to 4 days. Reheat individual portions in a 350°F oven for about 15 minutes to help the crust recrisp somewhat, since a microwave will leave it soft. This pie freezes reasonably well for up to 2 months, though the crust’s texture softens once thawed, wrap it tightly and thaw overnight in the fridge before reheating.
Variations & Substitutions
For a spicier version, add ½ teaspoon of cayenne or a few dashes of hot sauce into the filling while it simmers.
For a vegetable-forward version, add a diced potato or swap the peas for corn, both work well alongside the existing carrots and celery.
For a single-crust version, skip rolling out a top crust entirely and top the filling with a layer of mashed potatoes instead, baking until the potato top turns golden at the edges.
Callout: Pre-bake the crust alone for about 8 minutes on a separate baking sheet before placing it over the hot filling if you want extra insurance against a soggy bottom, this isn’t strictly necessary with a thick filling, but it adds an extra layer of protection.
Serving Suggestions
Easy chicken pot pie pairs well with a simple green salad or steamed green beans on the side to balance out the richness of the crust. A dinner roll rounds the plate out if you want something heartier alongside it. If you’re looking for another comforting, crust-topped dish to rotate into the week, meat pie takes the flavor in a beef-forward direction worth trying alongside this one. A glass of white wine or sparkling water with lemon complements the creamy filling well.
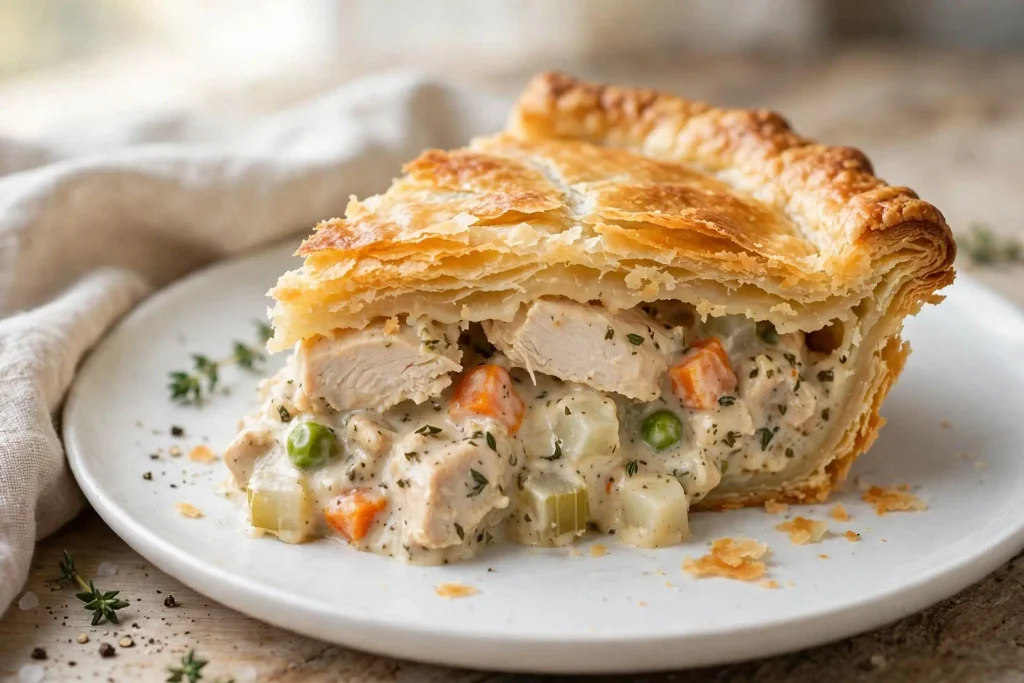
Callout: Let the pie rest for 5 minutes after baking before cutting into it. Slicing too early means the filling runs out instead of holding its shape on the plate.
FAQ
Can I make easy chicken pot pie ahead of time?
Yes, make the filling up to 2 days ahead and refrigerate it separately from the crust. Assemble and bake fresh when you’re ready to eat, rather than storing the fully assembled unbaked pie, which can lead to a soggier crust.
Why did my filling turn out thin instead of thick?
This almost always comes down to the flour step, either it was skipped, or it wasn’t cooked into the butter long enough before the broth and milk were added. Give it the full minute of cooking, stirring constantly, before adding any liquid.
Can I use raw chicken instead of rotisserie?
Yes, dice raw chicken breast or thigh and cook it through in the butter before adding the vegetables, this adds about 8 to 10 extra minutes to the process but works fine if rotisserie chicken isn’t available.
How do I know when the pie is fully done baking?
Look for the crust to turn a deep golden brown and check that the filling is visibly bubbling up through the steam vents cut into the top. That bubbling confirms the filling has reheated fully after going from stove to crust.
Is this recipe safe for someone with a gluten allergy?
Not as written, since both the crust and the thickening agent in the filling rely on gluten-containing ingredients. Swap in a gluten-free pie crust and replace the flour with cornstarch, added as a slurry near the end of the filling’s simmer instead.
One Last Thing
Easy chicken pot pie earns the word “easy” from the crust shortcut, not from cutting corners on the filling, that part still needs the real roux and a proper simmer to taste like something worth making again. Once that filling’s right, a store-bought crust on top is more than enough to pull the whole dish together into something that tastes like real effort went in, because it did, just in the right place.
Easy Chicken Pot Pie
Ingredients
Method
- Cook onion, carrots, and celery in melted butter until softened, 6-7 minutes. Add garlic for 30 seconds.
- Stir in flour, cook 1 minute, then whisk in broth gradually, followed by milk. Simmer 4-5 minutes until thickened.
- Stir in chicken, peas, thyme, vinegar, salt, and pepper. Simmer 2-3 minutes. Taste and adjust seasoning.
- Pour filling into a pie dish. Top with crust, trim and crimp edges, and cut steam vents.
- Brush with egg wash and bake at 400°F for 25-30 minutes until golden and bubbling.
- Rest 5 minutes before serving.





One Comment
Comments are closed.