Mongolian Beef
Mongolian Beef With a Crispy Edge That Actually Holds Up to the Sauce
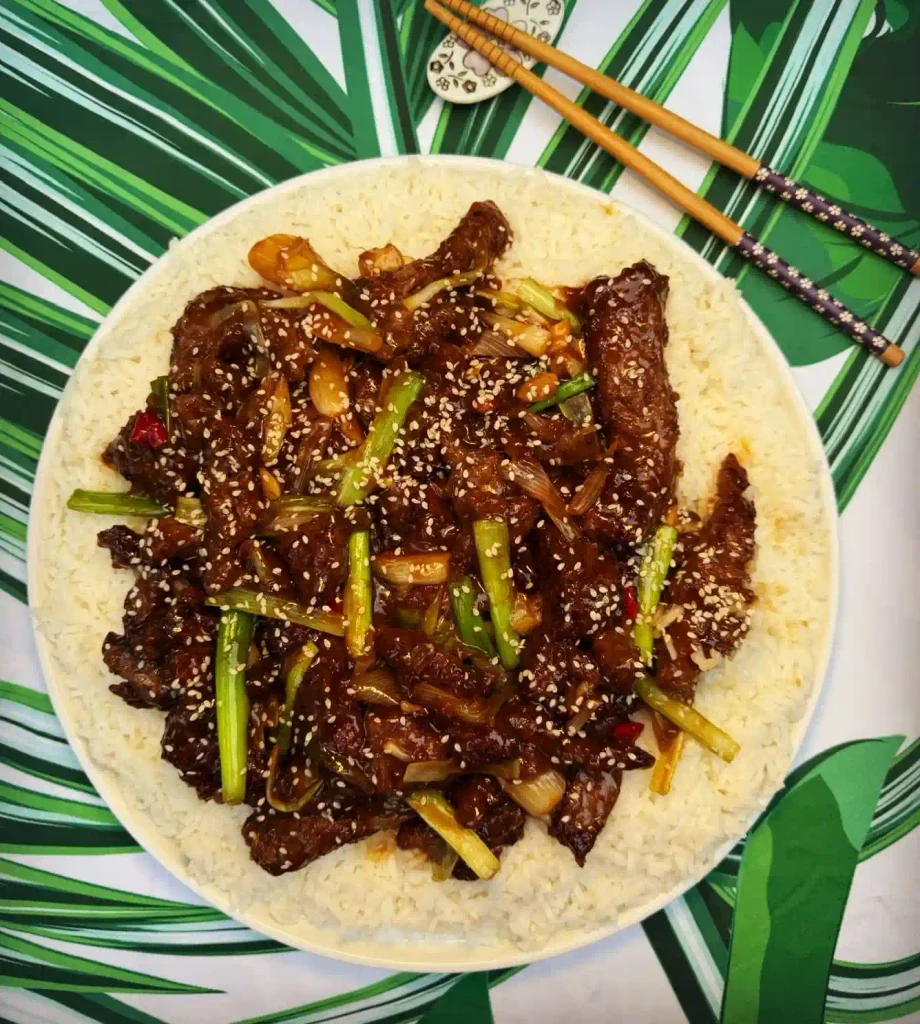
The difference between Mongolian beef that tastes like a restaurant’s and a soggy stir-fry version at home comes down to one step most recipes skip: coating the beef in cornstarch and frying it until the edges actually crisp before the sauce ever touches it. Skip that step, or rush it, and the beef just steams in its own liquid, then goes limp the second it hits the sauce. Get the fry right, and the sauce clings instead of drowning it.
Why This Mongolian Beef Stays Crispy Under the Sauce
A thin, even coating of cornstarch on the beef creates a slightly crisp shell when it hits hot oil, giving the sauce something textured to cling to instead of just sliding off smooth meat. Slicing the flank steak against the grain, and thin, shortens the muscle fibers so the beef stays tender even after a hot, fast fry. Frying in batches instead of crowding the pan keeps the oil temperature high enough for a real crisp, a crowded pan drops the temperature and the beef ends up steaming instead. Building the sauce separately and only combining it with the beef at the very end, off high heat, keeps that crispy edge from going soft too early. A touch of cornstarch slurry whisked into the sauce itself thickens it just enough to coat each piece without pooling at the bottom of the pan.
Quick Information
- Prep time: 15 minutes
- Cook time: 10 minutes
- Total time: 25 minutes
- Servings: 4
- Difficulty: Easy
- Calories per serving: approximately 420
- Most important ingredient: cornstarch, for both the crispy coating and the sauce
- Best for: faster-than-takeout weeknight dinners, meal prep
Ingredients
For the beef:
- 1 ½ pounds flank steak, thinly sliced against the grain
- ⅓ cup cornstarch
- 3 tablespoons vegetable or canola oil, for frying
Slicing flank steak thin and against the grain matters more here than almost any other single step, cutting with the grain instead leaves long muscle fibers intact, which turns chewy no matter how well the rest of the dish comes together.
For the sauce:
- 1 tablespoon vegetable oil
- 1 tablespoon fresh ginger, minced
- 4 cloves garlic, minced
- ⅔ cup low-sodium soy sauce
- ⅔ cup water
- ½ cup packed brown sugar
- 1 tablespoon cornstarch, mixed with 2 tablespoons water
- 3 green onions, cut into 2-inch pieces, white and green parts separated
Low-sodium soy sauce gives you more control over the final saltiness than regular soy sauce, since the brown sugar is already doing a lot of the balancing work and regular soy sauce can push the dish over into overly salty territory.
You may also like: beef and broccoli
Recipe Timing
Prep 15 minutes, cook 10 minutes, no rest time needed, total 25 minutes. Serves 4. Easy difficulty. Chinese-American takeout style, main dish.
Allergen and Dietary Disclosure
This recipe contains soy (soy sauce). For a gluten-free version, swap the regular soy sauce for tamari or a certified gluten-free soy sauce, both work identically in flavor and consistency.
Equipment Needed
- Large wok or heavy-bottomed skillet
- Tongs
- Small bowl (for the cornstarch slurry)
- Paper towels, for draining the beef
A wok or a heavy skillet with high sides matters here since the beef needs to fry in a decent amount of oil without splattering everywhere, a shallow pan makes that step far messier than it needs to be.
Nutrition Information
Per serving (based on 4 servings): 420 calories, 29g protein, 34g carbohydrates, 18g fat, 1g fiber, 22g sugar, 980mg sodium. This is an estimate based on standard USDA nutrition data for the ingredients listed and will vary by brand and exact portion size.
Why the Cornstarch Coating Does More Than Add Crunch
A dry cornstarch coating on raw beef creates a barrier that seals in moisture while the outside crisps in hot oil, the same principle behind a lot of Chinese stir-fry techniques where meat is “velveted” before cooking. Without that coating, the beef’s surface moisture hits the hot oil directly and steams rather than sears, which is the real reason so many homemade versions of this dish come out soft and gray instead of lightly crisp at the edges the way a restaurant version does.
Preparation
Slice the flank steak thin, against the grain, before you do anything else, this part needs a bit of time and a sharp knife, so get it out of the way early. Mince the ginger and garlic, and mix the cornstarch slurry for the sauce ahead of time, since once the frying starts, everything else moves fast.
Step-by-Step Method
1. Toss the sliced beef with the cornstarch in a large bowl until every piece is evenly coated, shaking off any excess that doesn’t stick before frying. A heavy coating here leads to a gummy texture rather than a crisp one, so aim for a thin, even layer.
2. Heat the 3 tablespoons of oil in a wok or heavy skillet over medium-high heat until it shimmers. Working in two batches to avoid crowding the pan, add the beef in a single layer and let it sear undisturbed for about 2 minutes before flipping.
3. Cook the second side for another 1 to 2 minutes, until the beef is golden and slightly crisp at the edges. Food safety note: beef needs to reach an internal temperature of 145°F for medium, though thin slices like these cook through quickly and are easy to check by cutting into a piece.
4. Transfer the first batch to a paper towel-lined plate to drain slightly, then repeat with the second batch, adding a touch more oil to the pan if it’s looking dry.
5. Once both batches are done, wipe the pan clean of any burnt bits with a paper towel, leaving just a thin film of oil behind.
6. Heat the 1 tablespoon of oil for the sauce over medium heat, then add the minced ginger and garlic, stirring constantly for about 30 seconds, just until fragrant. Garlic burns quickly in a hot pan, so don’t walk away during this step.
7. Pour in the soy sauce, water, and brown sugar, stirring to combine. Bring the mixture to a gentle simmer and let it cook for 2 to 3 minutes, until the sugar has fully dissolved into the sauce.
8. Whisk the cornstarch slurry once more to make sure it hasn’t settled, then pour it into the simmering sauce while stirring constantly. The sauce will thicken within about 30 seconds, enough to coat the back of a spoon.
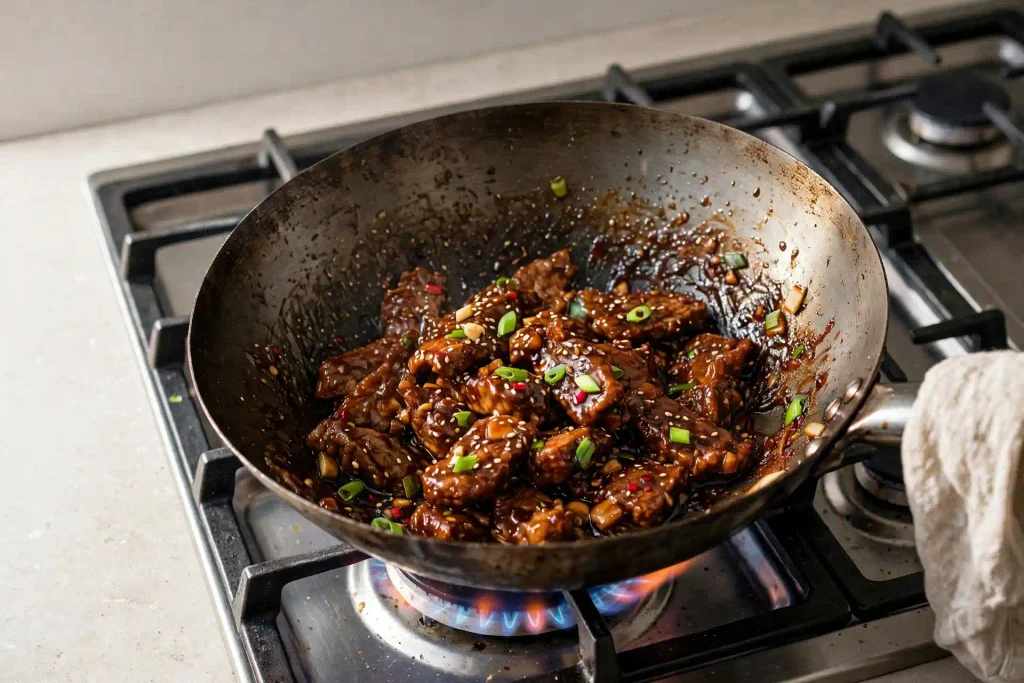
9. Add the fried beef and the white parts of the green onion back into the pan, tossing quickly to coat everything in the thickened sauce without letting the beef sit in the liquid too long, since that’s what starts softening the crispy edges.
10. Remove from heat immediately once everything is coated, and stir in the green parts of the green onion right at the end for a pop of fresh color and bite against the rich sauce.
Chef’s Note: If your sauce thickens too much before the beef goes back in, whisk in a splash of water off the heat to loosen it back to the right consistency.
Chef’s Note: Don’t skip frying in batches. A crowded pan drops the oil temperature fast, and that’s the single biggest reason homemade versions of this dish turn out soft instead of crisp.
Chef’s Note: Toss the beef in the sauce for no more than a minute total. The longer it sits in the hot, sticky sauce, the more that crispy exterior starts to soften back down.
You may also like: korean beef bowl
Expert Tips & Tricks
- Make-ahead: The sauce can be made up to 3 days ahead and reheated gently before combining with freshly fried beef. Frying the beef ahead of time isn’t recommended, since it loses its crispness sitting in the fridge.
- Storage: Keeps in the fridge for up to 3 days in an airtight container, though the crispy texture softens considerably once the beef has sat in the sauce overnight.
- Pat the sliced beef dry with a paper towel before tossing it in cornstarch, any extra surface moisture keeps the coating from adhering evenly.
- Use a thermometer to check the oil temperature if you have one, aiming for around 350°F before the first batch of beef goes in gives the most consistent crisp.
- Double the sauce if you prefer a saucier dish, the ratio in this recipe leans toward coated rather than swimming in sauce, which is closer to the restaurant style most people are after.
- Freeze thinly sliced flank steak for 15 minutes before cutting if you’re having trouble slicing it thin, a slightly firm piece of meat is much easier to cut evenly than one fully at room temperature.
Common Mistakes & Troubleshooting
Beef turns out soggy instead of crispy. The pan was likely crowded during frying, which drops the oil temperature and causes the beef to steam rather than sear. Fry in smaller batches, giving each piece enough space to crisp properly.
Sauce tastes too salty. Regular soy sauce was used instead of low-sodium, or too much was added without tasting along the way. Stick with low-sodium soy sauce and taste the sauce before adding the beef back in, adjusting with a touch more water if needed.
Sauce doesn’t thicken properly. The cornstarch slurry either wasn’t whisked right before adding, letting it settle and clump, or it was added to liquid that wasn’t actively simmering. Give it a final whisk and make sure the sauce is at a gentle simmer before pouring it in.
Beef loses its crisp texture almost immediately. It likely sat in the sauce too long after being added back to the pan. Toss it quickly, no more than a minute, and serve right away rather than letting the finished dish sit before eating.
Beef is tough and chewy. It was probably sliced with the grain instead of against it, or cut too thick. Look closely at the direction the muscle fibers run in the flank steak before slicing, and keep the pieces thin.
Honest Trade-Off
This version leans slightly sweeter and less spicy than some traditional takeout versions of Mongolian beef, which sometimes include dried chilies for heat. If you want more spice, this recipe trades it away for a more universally approachable sweet-savory balance, though adding a diced chili or a dash of chili flakes to the sauce easily brings that heat back if you prefer it.
Storage & Make-Ahead
Store in an airtight container in the refrigerator for up to 3 days. Reheat gently in a hot skillet rather than the microwave if you want to recapture at least some of the original texture, a microwave tends to soften everything evenly and loses whatever crispness remained. This dish isn’t a great candidate for freezing, since the beef’s texture suffers noticeably once thawed and reheated.
Variations & Substitutions
For a spicier version, add ½ teaspoon of red pepper flakes or a diced fresh chili to the sauce while it simmers.
For a lighter version, skip the frying step and sear the beef in a hot, lightly oiled pan instead, you’ll lose some of the crisp texture, but the dish still carries plenty of flavor from the sauce.
For a chicken version, swap the flank steak for thinly sliced chicken breast or thigh, following the same cornstarch coating and frying method, just checking for an internal temperature of 165°F instead of the beef’s lower safe temperature.
Callout: Toast the green onion whites briefly in the pan with the garlic and ginger instead of adding them only at the end. It mellows their sharpness and builds another small layer of flavor into the sauce base.
Serving Suggestions
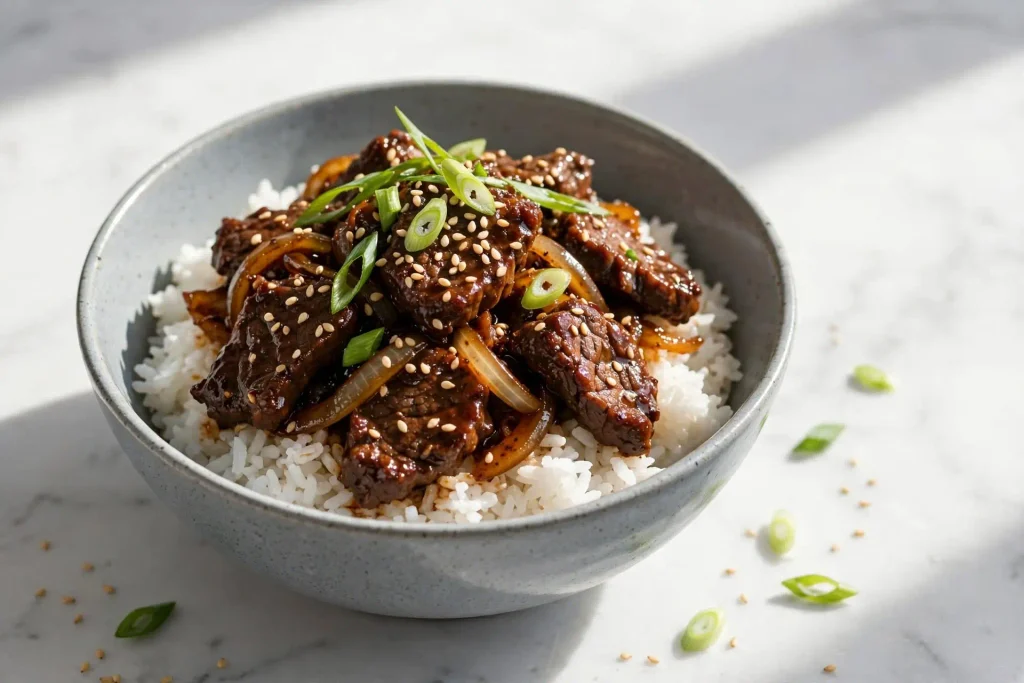
Mongolian beef pairs naturally with steamed white or jasmine rice to soak up the sticky sauce. Steamed broccoli or snap peas on the side add a fresh, crisp contrast to the rich, sweet beef. If you’re planning a bigger spread with more than one beef dish, swedish meatballs takes the flavor in a completely different direction worth rotating in on another night. A cold Asian lager or iced green tea works well alongside the richness of the sauce.
Callout: Toast a small handful of sesame seeds in a dry pan for a minute and scatter them over the finished dish right before serving, it adds a subtle crunch that the soft rice and sauce don’t otherwise have.
FAQ
Can I make Mongolian beef ahead of time?
The sauce can be made up to 3 days ahead and reheated gently before combining with freshly fried beef. Frying the beef itself ahead of time isn’t recommended, since it loses its crisp texture sitting in the fridge and doesn’t crisp back up well on reheat.
Why did my beef turn out soggy instead of crispy?
This almost always comes down to a crowded pan during frying, which drops the oil’s temperature and causes the beef to steam rather than sear properly. Fry in two batches instead of one, giving each piece enough room to crisp.
Can I use a different cut of beef instead of flank steak?
Skirt steak works as a close substitute and follows the same slicing and frying method. Sirloin can work too, though it carries less marbling, so watch the frying time closely to avoid drying it out.
How do I know when the beef is done frying?
Look for a golden, slightly crisp edge on both sides, about 2 minutes per side total. Since the slices are thin, they cook through fast, cutting into a piece to check for doneness is the most reliable way to confirm.
Is this recipe safe for someone with a soy allergy?
Not as written, since soy sauce is the base of the entire sauce. There isn’t a direct soy-free substitute that replicates the same flavor and umami depth, though some coconut aminos products offer a different but usable alternative worth experimenting with.
One Last Thing
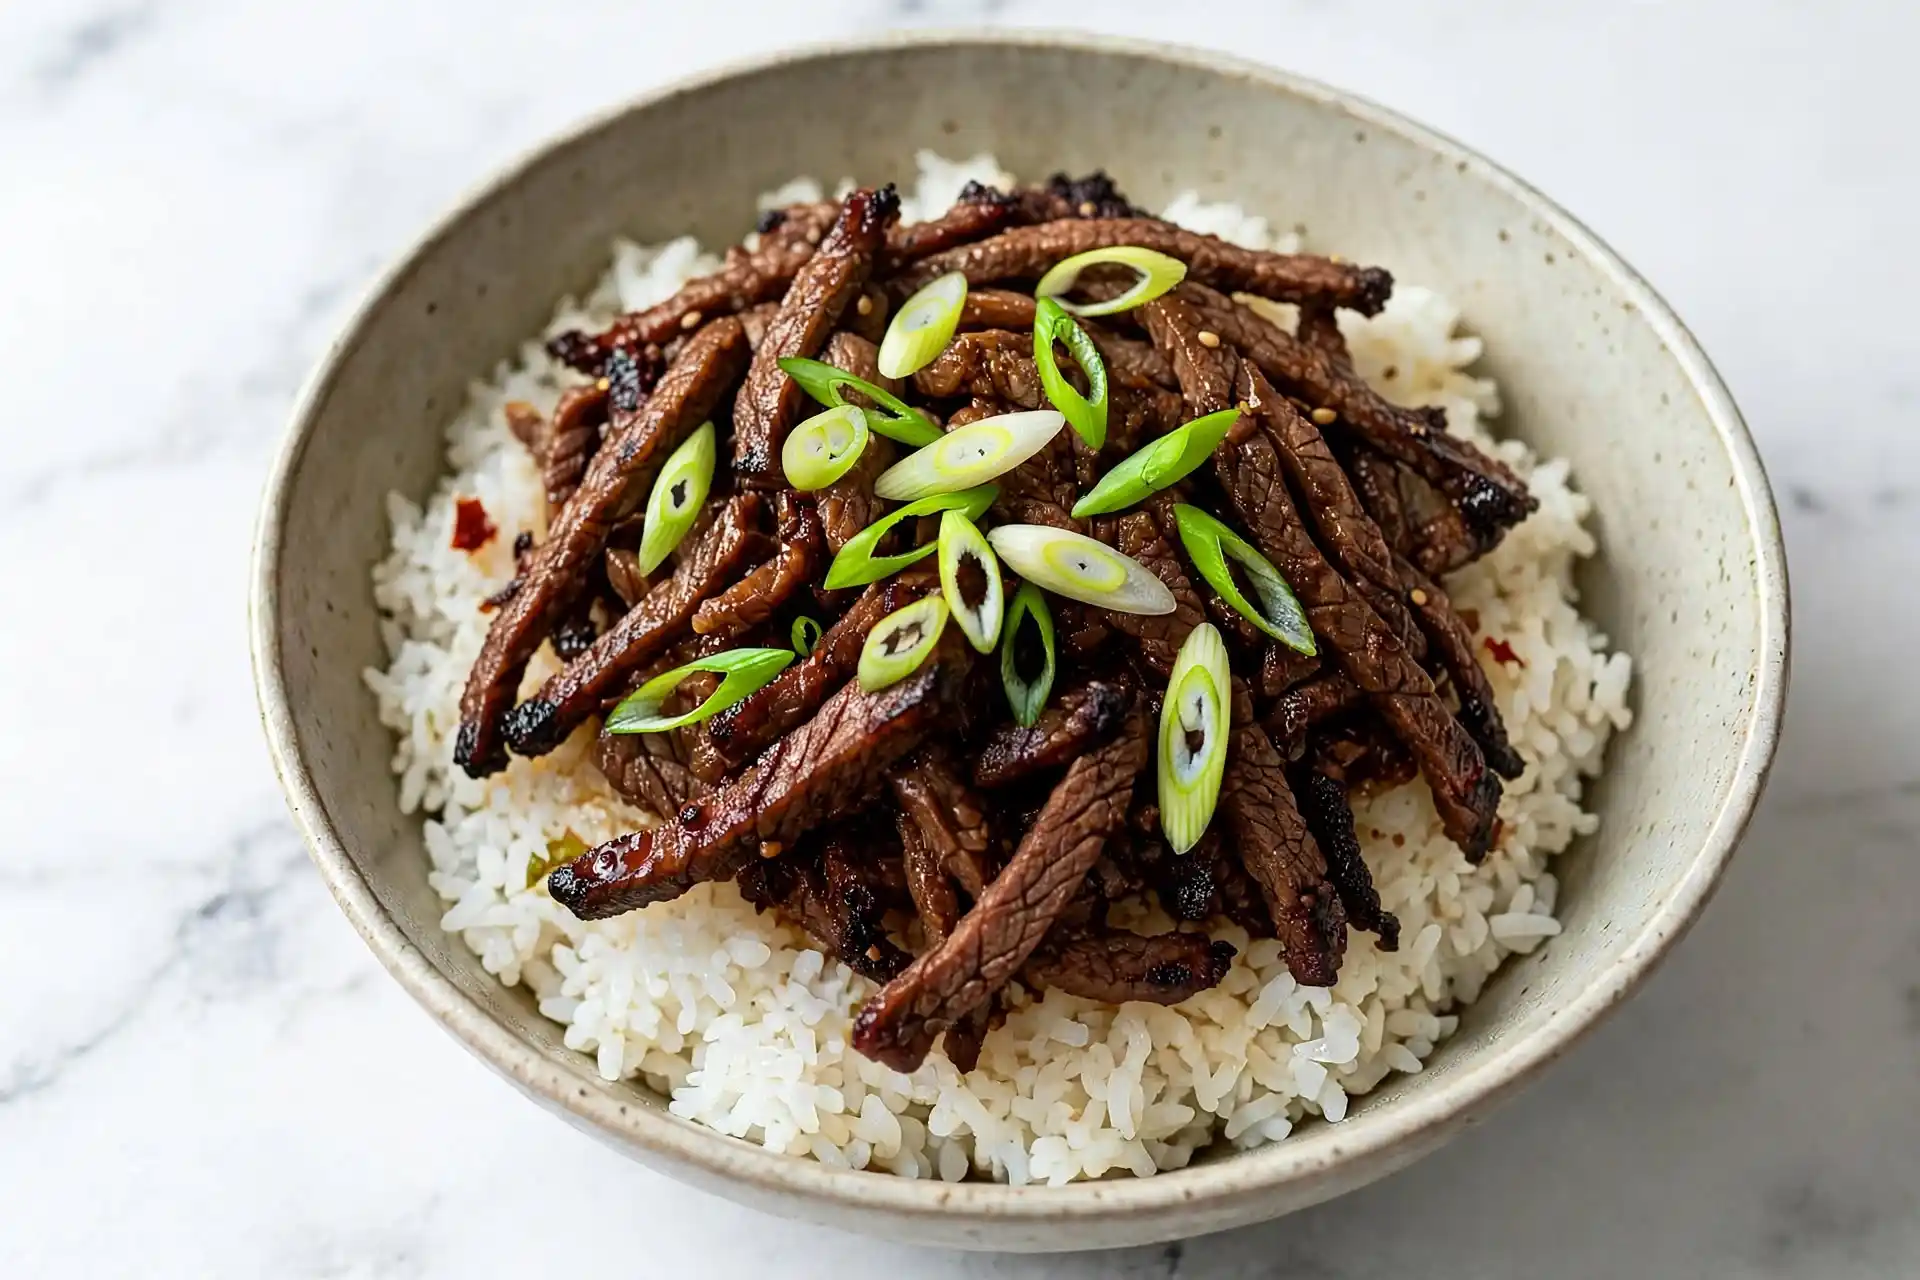
Mongolian beef comes down to timing more than any single ingredient, frying the beef hot and in batches, then tossing it in the sauce for only as long as it takes to coat. Rush either of those steps and the dish still tastes fine, but it loses the textural contrast that separates a genuinely good homemade version from one that just tastes like soy sauce poured over beef.
Mongolian Beef
Ingredients
Method
- Toss sliced beef in cornstarch until evenly coated.
- Fry in two batches in hot oil, about 2 minutes per side, until golden and crisp. Drain on paper towels.
- Wipe pan clean. Cook ginger and garlic in oil for 30 seconds.
- Add soy sauce, water, and brown sugar. Simmer 2-3 minutes.
- Whisk in cornstarch slurry until sauce thickens, about 30 seconds.
- Add beef and green onion whites, tossing quickly to coat. Remove from heat and stir in green onion tops.