
Meat Pie
Meat Pie With a Crust That Doesn’t Go Soggy Underneath
The thing that ruins most meat pies isn’t the filling, it’s a soggy bottom crust that can’t hold up under a wet filling. Getting a crisp base means thickening the filling properly before it ever touches the dough, and giving the bottom crust a head start in a hot oven before the filling goes in. Skip either step and you end up with a pie that tastes fine but falls apart the second you cut into it.
Why This Meat Pie Holds Its Shape So Well
Reducing the filling on the stove until it’s thick enough to mound on a spoon means almost no excess liquid ends up soaking into the bottom crust once it’s assembled. A blind-baked base, even a partial one, builds a barrier between the dough and the filling that a straight-from-the-fridge crust just can’t match. Browning the beef in batches instead of all at once keeps the pan hot enough for a proper sear, rather than steaming the meat in its own released liquid. An egg wash brushed over the top crust gives it a deep golden color and a slight shine that an unbrushed crust bakes up pale and matte by comparison. Cutting steam vents into the top isn’t just for looks, it lets the filling’s moisture escape as steam instead of building up pressure that can crack the crust open unevenly.
Quick Information
- Prep time: 25 minutes
- Cook time: 55 minutes
- Total time: 1 hour 20 minutes
- Servings: 8
- Difficulty: Moderate
- Calories per serving: approximately 420
- Most important ingredient: cold butter in the crust
- Best for: Sunday dinners, holiday tables, freezer meals
Ingredients
For the crust:
- 2 ½ cups all-purpose flour
- 1 teaspoon salt
- 1 cup cold unsalted butter, cubed
- 6 to 8 tablespoons ice water
- 1 egg, beaten (for egg wash)
Cold butter is the entire reason a pie crust turns out flaky instead of dense. As the butter melts in the oven, it releases steam that pushes the layers of dough apart, so keeping it cold right up until it hits the oven matters more than almost any other step in the crust.
For the filling:
- 1 ½ pounds ground beef (85/15)
- 1 medium yellow onion, diced
- 2 carrots, diced small
- 2 celery stalks, diced small
- 3 cloves garlic, minced
- 3 tablespoons all-purpose flour
- 1 ½ cups beef broth
- 2 tablespoons tomato paste
- 1 teaspoon Worcestershire sauce
- 1 teaspoon dried thyme
- 1 teaspoon salt, plus more to taste
- ½ teaspoon black pepper
- 1 cup frozen peas
Dicing the carrots and celery small matters here, large chunks won’t soften fully in the time it takes the filling to thicken, leaving crunchy bites in an otherwise smooth filling.
You may also like: mississippi pot roast
Recipe Timing
Prep 25 minutes, cook 55 minutes, rest 10 minutes, total 1 hour 20 minutes. Serves 8. Moderate difficulty. British-style comfort food, main dish.
Equipment Needed
- 9-inch pie dish
- Large skillet
- Pastry cutter or food processor (for the crust)
- Rolling pin
- Pastry brush
A pastry cutter makes a real difference here if you don’t have a food processor. Working the butter into the flour by hand with your fingertips instead risks warming it too much, which flattens out the flaky layers before the dough even gets near the oven.
Nutrition Information
Per serving (based on 8 servings): 420 calories, 18g protein, 32g carbohydrates, 25g fat, 2g fiber, 3g sugar, 540mg sodium. This is an estimate based on standard USDA nutrition data for the ingredients listed and will vary by brand and exact portion size.
Why the Filling Needs to Be Thick Before It Meets the Crust
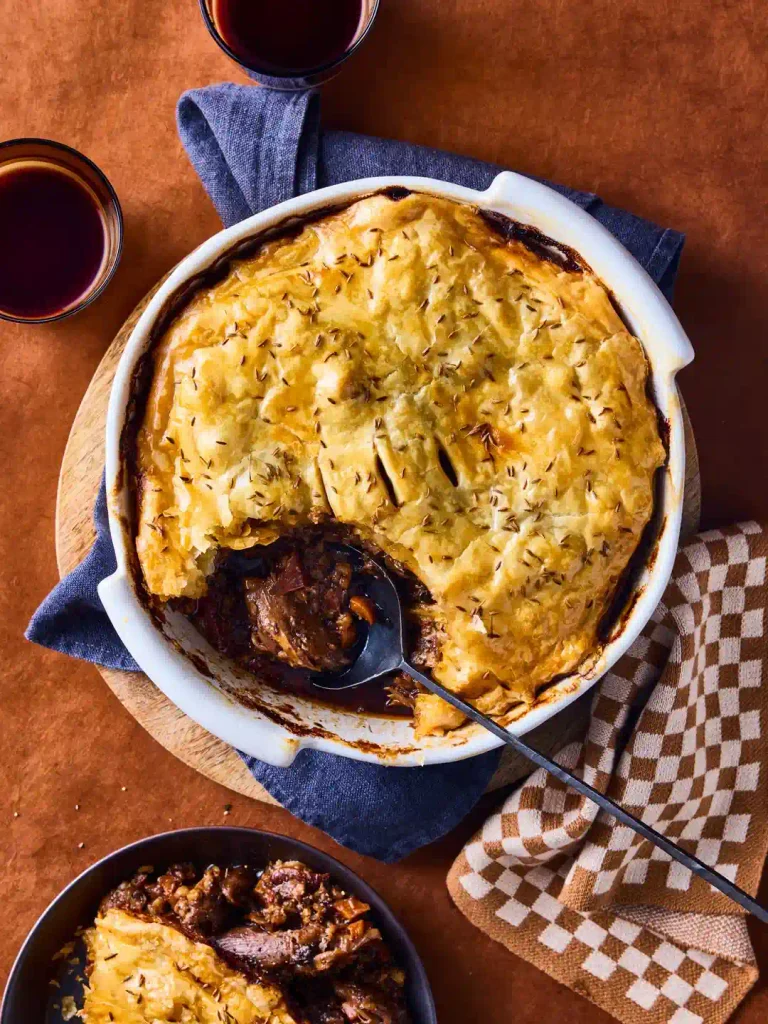
A meat pie filling that’s still thin and soupy when it goes into the crust has nowhere for that liquid to go except straight down into the dough. Reducing the filling on the stove until a spoon dragged through it leaves a clear trail is the real test, not a timer. That thickness comes from the flour cooked into the fat at the start, acting the same way a roux does in a stew, giving the liquid something to cling to instead of running free.
Preparation
Make the crust first so it has time to chill while you prep the filling. Combine the flour and salt in a large bowl, cut in the cold cubed butter until the mixture looks like coarse crumbs with some pea-sized pieces still visible, then add ice water a tablespoon at a time until the dough just comes together. Divide it in half, shape each half into a disc, wrap in plastic, and refrigerate for at least 30 minutes.
Step-by-Step Method
1. Heat a large skillet over medium-high heat and brown the ground beef in two batches, breaking it apart as it cooks, about 5 to 6 minutes per batch. Food safety note: ground beef needs to reach an internal temperature of 160°F before it’s safe to eat. Browning in batches keeps the pan hot enough for a real sear instead of the meat releasing liquid and steaming.
2. Remove the browned beef with a slotted spoon and set aside, leaving the fat in the pan. Add the diced onion, carrots, and celery, and cook until softened, about 6 to 7 minutes, stirring occasionally so nothing sticks and burns at the bottom.
3. Stir in the garlic and cook for 30 seconds, just until fragrant. Garlic added too early burns fast in a hot pan and turns noticeably bitter, so this timing matters more than it seems.
4. Sprinkle the flour over the vegetables and stir constantly for about a minute, coating everything evenly. This step is what gives the filling its body later, skip it and the filling will stay thin no matter how long it simmers.
5. Slowly pour in the beef broth while stirring, followed by the tomato paste, Worcestershire sauce, thyme, salt, and pepper. Return the browned beef to the pan and stir to combine everything evenly.
6. Simmer uncovered for 12 to 15 minutes, stirring occasionally, until the mixture has thickened enough that dragging a spoon through it leaves a clear trail that doesn’t immediately fill back in. Stir in the frozen peas during the last 2 minutes, just long enough to heat through without turning mushy.
7. Remove the filling from heat and let it cool for about 10 minutes while you preheat the oven to 400°F and roll out the chilled dough.
8. Roll out one disc of dough on a floured surface to about 12 inches across, and fit it into the pie dish, letting any excess hang over the edge for now.
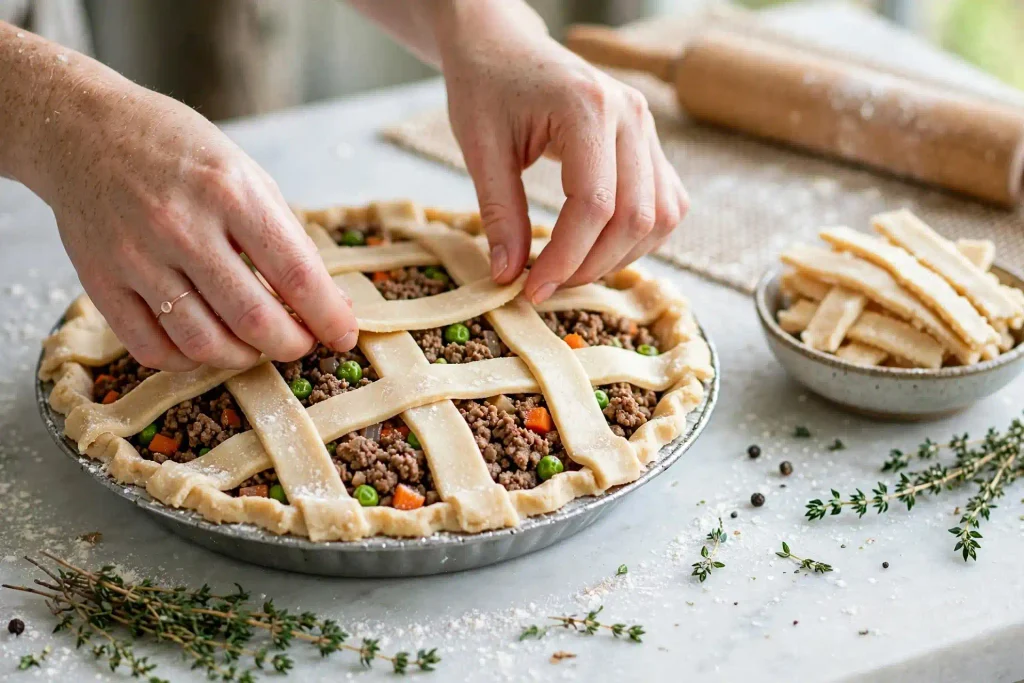
9. Pour the cooled filling into the crust, spreading it into an even layer. Roll out the second disc of dough and lay it over the top, crimping the edges together to seal and trimming away excess dough.
10. Cut 3 to 4 small steam vents into the top crust, brush the whole surface with the beaten egg, and bake for 35 to 40 minutes, until the crust is deep golden brown and the filling is visibly bubbling through the vents.
Chef’s Note: If the edges of the crust start browning too fast before the center catches up, cover just the edges loosely with strips of foil for the remaining bake time.
Chef’s Note: Let the filling cool before it goes into the crust. A hot filling poured straight into cold dough can start melting the butter prematurely, which costs you some of the flakiness you worked for.
Chef’s Note: Don’t skip the steam vents. Without them, trapped steam can force the crust to crack open in a random spot instead of releasing evenly along the cuts you made on purpose.
You may also like: shepherds pie
Expert Tips & Tricks
- Make-ahead: The filling can be made up to 2 days ahead and refrigerated, and the crust discs can be made up to 3 days ahead, both ready to assemble the day you want to bake.
- Storage: A baked meat pie keeps in the fridge for up to 4 days, loosely covered so the crust doesn’t turn soft from trapped condensation.
- Chill the assembled, unbaked pie for 15 minutes before it goes in the oven if your kitchen is warm, this firms the butter back up and helps the layers hold their structure.
- Use a glass or ceramic pie dish rather than metal, it shows you the bottom crust’s color so you can judge doneness without guessing.
- If you’re short on time, a store-bought pie crust works fine here, though the texture won’t be quite as flaky as one made from scratch.
- Brush the egg wash in one direction with light, even strokes, pressing too hard can deflate the delicate top layers of dough before they even bake.
Common Mistakes & Troubleshooting
Bottom crust comes out soggy. The filling wasn’t reduced enough before assembly, or it went into the crust while still hot. Simmer the filling longer next time until it holds its shape on a spoon, and let it cool fully before filling the crust.
Crust shrinks away from the edges of the dish while baking. The dough was stretched too thin while fitting it into the pan, which causes it to pull back as it bakes. Let the rolled dough rest for a minute before fitting it in, and avoid stretching it to fit.
Filling tastes bland despite all the seasoning. The seasoning was never tasted and adjusted on the stove before it went into the crust. Taste the filling while it’s still simmering, that’s your last real chance to fix the balance.
Top crust burns before the filling is fully heated through. The oven ran hot, or the pie sat on a rack too close to the top heating element. Move the rack to the center position and tent the edges with foil if browning gets ahead of the bake time.
Crust turns out tough instead of flaky. The butter warmed up too much while mixing, or the dough was overworked once the water went in. Handle the dough as little as possible once it comes together, and chill it again if it ever starts feeling soft or sticky.
Honest Trade-Off
A homemade crust takes real time and a bit of practice to get consistently flaky, compared to a store-bought crust that’s ready in minutes with no chilling required. If you’re short on time or new to pastry, a store-bought crust is a fair trade, you’ll lose a bit of the shatter-crisp texture but gain back close to an hour.
Storage & Make-Ahead
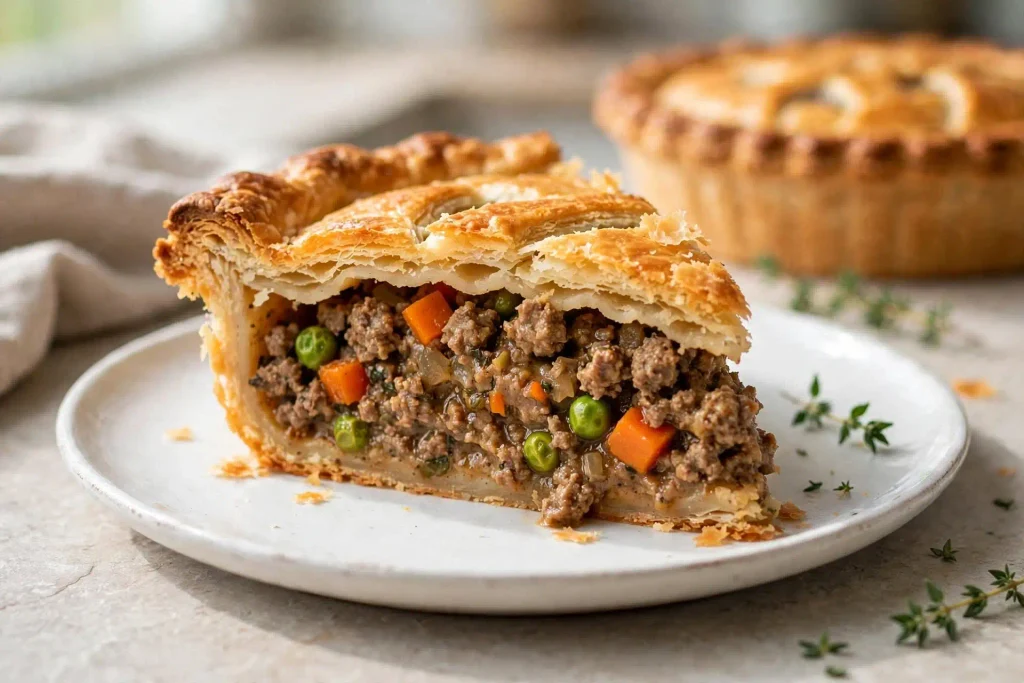
Store a baked meat pie loosely covered in the fridge for up to 4 days. Reheat individual slices in a 350°F oven for about 15 minutes to re-crisp the crust, since a microwave will leave it soft. This pie freezes well either baked or unbaked, wrap tightly in foil and plastic, and if freezing unbaked, add about 15 extra minutes to the bake time straight from frozen.
Variations & Substitutions
For a spicier version, add ½ teaspoon of cayenne or a few dashes of hot sauce into the filling while it simmers.
For a lighter version, swap half the ground beef for ground turkey, though the filling will taste slightly less rich since turkey carries less fat.
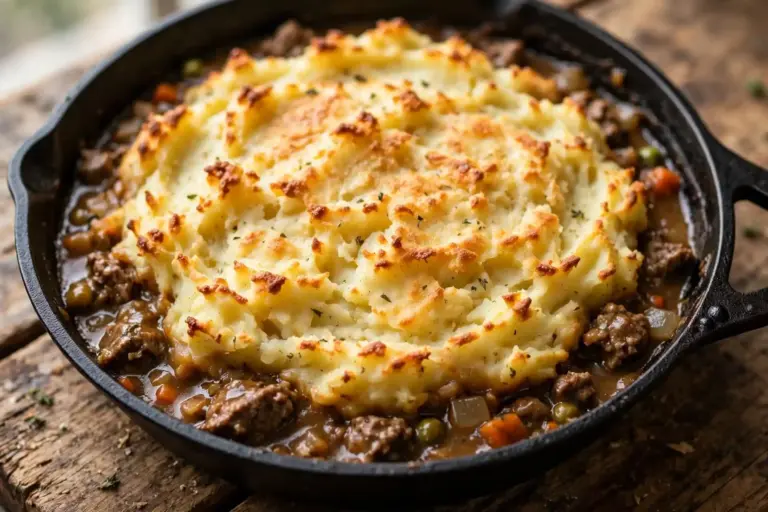
For a single-crust version, skip the top crust entirely and top the filling with a layer of mashed potatoes instead, baking until the potato top turns golden at the edges.
Callout: Freeze the rolled-out dough discs flat between sheets of parchment if you’re making the crust ahead. They thaw faster and more evenly than a dough disc frozen in a thick ball.
Serving Suggestions
Meat pie pairs well with a side of buttered peas or a simple green salad to cut through the richness of the crust. Mashed potatoes on the side round the plate out if you want something heartier. If you’re looking for another comforting beef dish to rotate into the week,
takes a completely different flavor direction worth trying alongside this one. A glass of red wine or a dark beer complements the savory filling well.
Callout: Let the pie rest the full 10 minutes after baking before cutting into it. Slicing too early means the filling runs out instead of holding its shape on the plate.
You may also like: turkey meatballs
FAQ
Can I make meat pie ahead of time and bake it later?
Yes, assemble the full pie unbaked and refrigerate for up to 24 hours before baking, or freeze it for longer storage. If baking straight from the fridge, add a few extra minutes to the bake time since the dough starts out colder.
Why did my bottom crust turn out soggy?
This almost always comes down to the filling not being reduced thick enough before it went into the crust, or being added while still hot. Simmer it longer until a spoon dragged through leaves a clear trail, and let it cool before assembly.
Can I substitute the ground beef with something else?
Ground lamb works well and gives a richer, slightly gamier flavor closer to a traditional British meat pie. Ground turkey or chicken also work, though the filling will taste a bit lighter overall.
How do I know when the pie is fully done baking?
Look for the top crust to turn a deep golden brown and check that filling is visibly bubbling up through the steam vents you cut earlier. That bubbling is a good sign the filling has reheated fully after going from stove to crust.
Is this recipe safe for someone with a dairy allergy?
Not as written, since the crust relies on butter for its texture and flakiness. A dairy-free butter substitute can work in the crust, though the texture will be slightly less flaky than one made with real butter.
One Last Thing
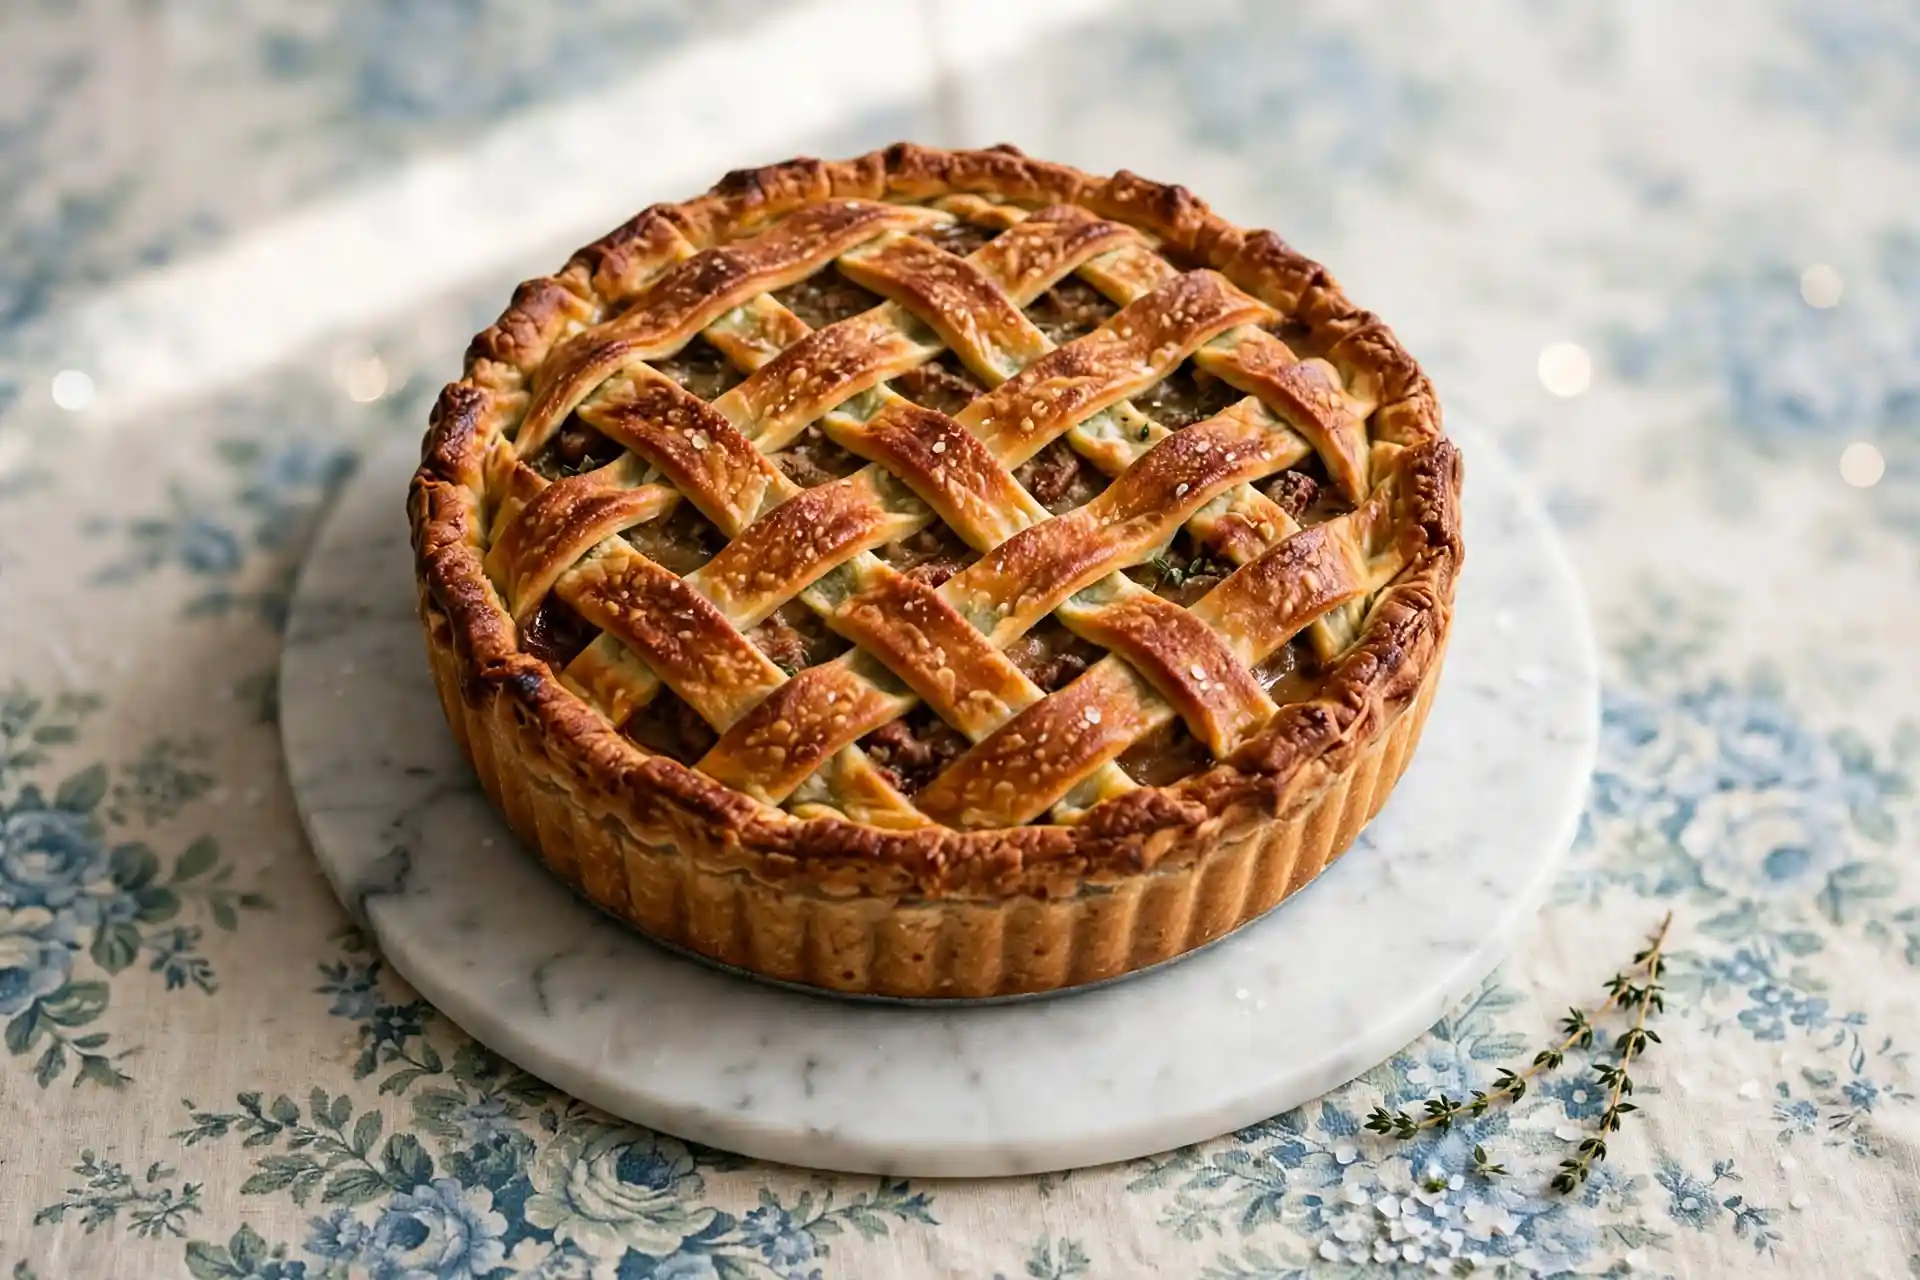
Meat pie comes down to patience in two places: letting the filling reduce until it’s properly thick, and letting the whole pie rest before you cut into it. Both steps feel like they’re slowing you down, but they’re the entire reason the finished pie holds its shape on the plate instead of collapsing into a puddle the second the crust breaks.
Meat Pie
Ingredients
Method
- Make the crust: cut cold butter into flour and salt until crumbly, add ice water until dough comes together. Divide, wrap, and chill 30 minutes.
- Brown ground beef in batches, about 5-6 minutes per batch. Set aside.
- Cook onion, carrots, and celery until softened, about 6-7 minutes. Add garlic for 30 seconds.
- Stir in flour, cook 1 minute, then add broth, tomato paste, Worcestershire sauce, and seasonings. Return beef to pan.
- Simmer 12-15 minutes until thickened. Stir in peas during the last 2 minutes. Cool 10 minutes.
- Roll out dough, line pie dish with bottom crust, fill, top with second crust, crimp edges, and cut steam vents.
- Brush with egg wash and bake at 400°F for 35-40 minutes until golden and bubbling.



One Comment
Comments are closed.